For a hack day at work, I’ve been trying to integrate our code generator into the online Swagger editor and generator. Of course, I’ve been trying to use the latest version, which appears to be 2.3.0-SNAPSHOT (although I just saw there’s also a 3.0.0 branch).
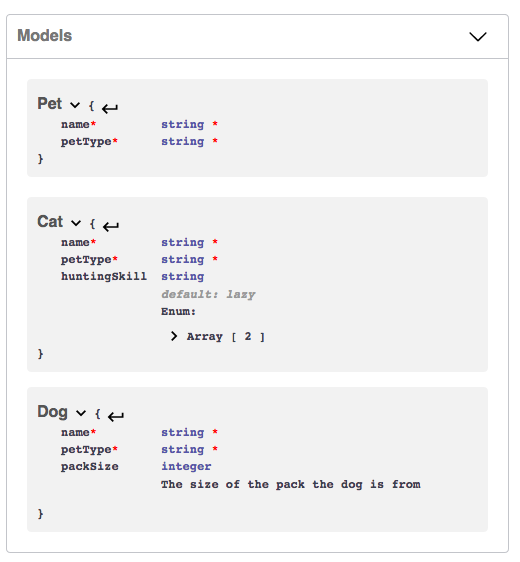
Unfortunately, it seems like inheritance (which is kind of a big deal for actual software systems) is fundamentally broken in 2.3.0.
Here’s my sample spec in YAML:
swagger: "2.0"

info:

  description: "This is a sample server Petstore server.  You can find out more about     Swagger at [http://swagger.io](http://swagger.io) or on [irc.freenode.net, #swagger](http://swagger.io/irc/).      For this sample, you can use the api key `special-key` to test the authorization     filters."

  version: "1.0.0"

  title: "Swagger Petstore"

  termsOfService: "http://swagger.io/terms/"

  contact:

    email: "apiteam@swagger.io"

  license:

    name: "Apache 2.0"

    url: "http://www.apache.org/licenses/LICENSE-2.0.html"

host: "petstore.swagger.io"

basePath: "/v2"

tags:

- name: "pet"

  description: "Everything about your Pets"

  externalDocs:

    description: "Find out more"

    url: "http://swagger.io"

- name: "store"

  description: "Access to Petstore orders"

- name: "user"

  description: "Operations about user"

  externalDocs:

    description: "Find out more about our store"

    url: "http://swagger.io"

schemes:

- "http"

paths:

  /pet/:

    get:

      tags:

      - "pet"

      summary: "Find pet by ID"

      description: "Returns a single pet"

      operationId: "getPet"

      produces:

      - "application/xml"

      - "application/json"

      responses:

        200:

          description: "successful operation"

          schema:

            $ref: "#/definitions/Pet"

        400:

          description: "Invalid ID supplied"

        404:

          description: "Pet not found"

definitions:

  Pet:

    discriminator: petType

    required:

      - name

      - petType # required for inheritance to work

    properties:

      name:

        type: string

      petType:

        type: string

  Cat:

    allOf:

      - $ref: '#/definitions/Pet' # Cat has all properties of a Pet

      - properties: # extra properties only for cats

          huntingSkill:

            type: string

            default: lazy

            enum:

              - lazy

              - aggressive

  Dog:

    allOf:

      - $ref: '#/definitions/Pet' # Dog has all properties of a Pet

      - properties: # extra properties only for dogs

          packSize:

            description: The size of the pack the dog is from

            type: integer
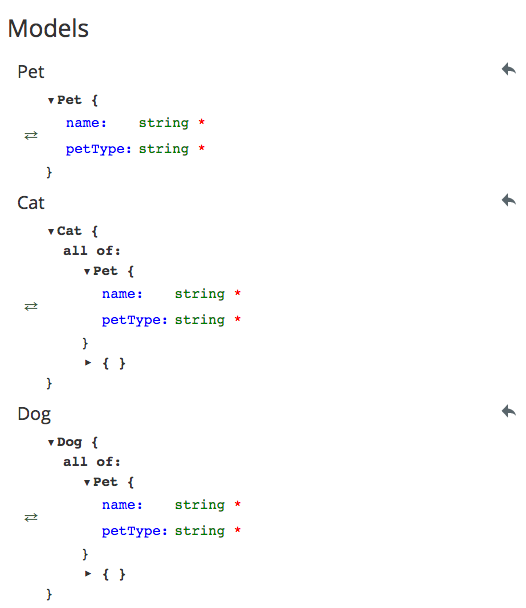
Cat and Dog extend Pet. Very simple.
The older swagger editor, which reports a version number of 2.10.4 for the swagger-api/swagger-editor GitHub project, understands this and generates the expected code:
I’d like to say I began to adopt two-factor authentication pretty early. I’ve had it enabled for Google for a long time, I jumped on it when Amazon and Dropbox made it available, I enjoy it on several of my banking accounts, of course.
At work, I got a Yubikey a few months ago, a hardware token that is used in combination with a password. It’s the “have” part of the “something you know, something you have, and something you are” philosophy of protecting secrets. A fingerprint or iris scan would be “something you are.”
With all of the recent hacks and ransomware attacks, I decided to beef up security at home as well. I ordered two Yubikeys, a primary one and one to lock away as a backup. As primary Yubikey I chose the Yubikey NEO, which has NFC and can be used with a phone. As backup, I chose the cheap Yubikey FIDO U2F key.
Unfortunately, the results are a mixed bag.
Yubikey for LastPass requires LastPass Premium ($12 a year, plus taxes). I signed up, then found out that LastPass Premium does not seem to support the cheap Yubikey FIDO U2F key. So I couldn’t use that one as a backup for LastPass.
KeePass on Windows has a plug-in that allows a Yubikey to provide one-time pads (OTPs). Again, this doesn’t work on the cheapest key. Also, it’s a bit cumbersome, since it requires at least three presses of the Yubikey button, for three separate OTPs. Initially, I had also configured this for 2nd slot on the Yubikey, which meant I had to hold the button for three seconds, three times (the 2nd slot is triggered by a 3-second press; the first slot is triggered by a simple press of the button).
I also used KeePassDroid on my phone, and that app plain and simply does not support OTPs at all. I could have programmed the NEO for a static password, though.
There is a newer app, KeePass2Android, that does apparently support getting OTPs from a Yubikey NEO, but I haven’t tried it yet.
LastPass on Android does support the NEO, but with NFC, you cannot switch which slot is going to be used. By default, it’s always slot 1. That means I can’t use NFC for both LastPass and KeePass2Android, because both would be using the same slot, and that doesn’t work.
So, I have hardware two-factor authentication in a bunch of places now, but I’m not sure I’ve added that much security. I strengthened some of my most important passwords, though. Maybe that “something you know” part is still most important after all.
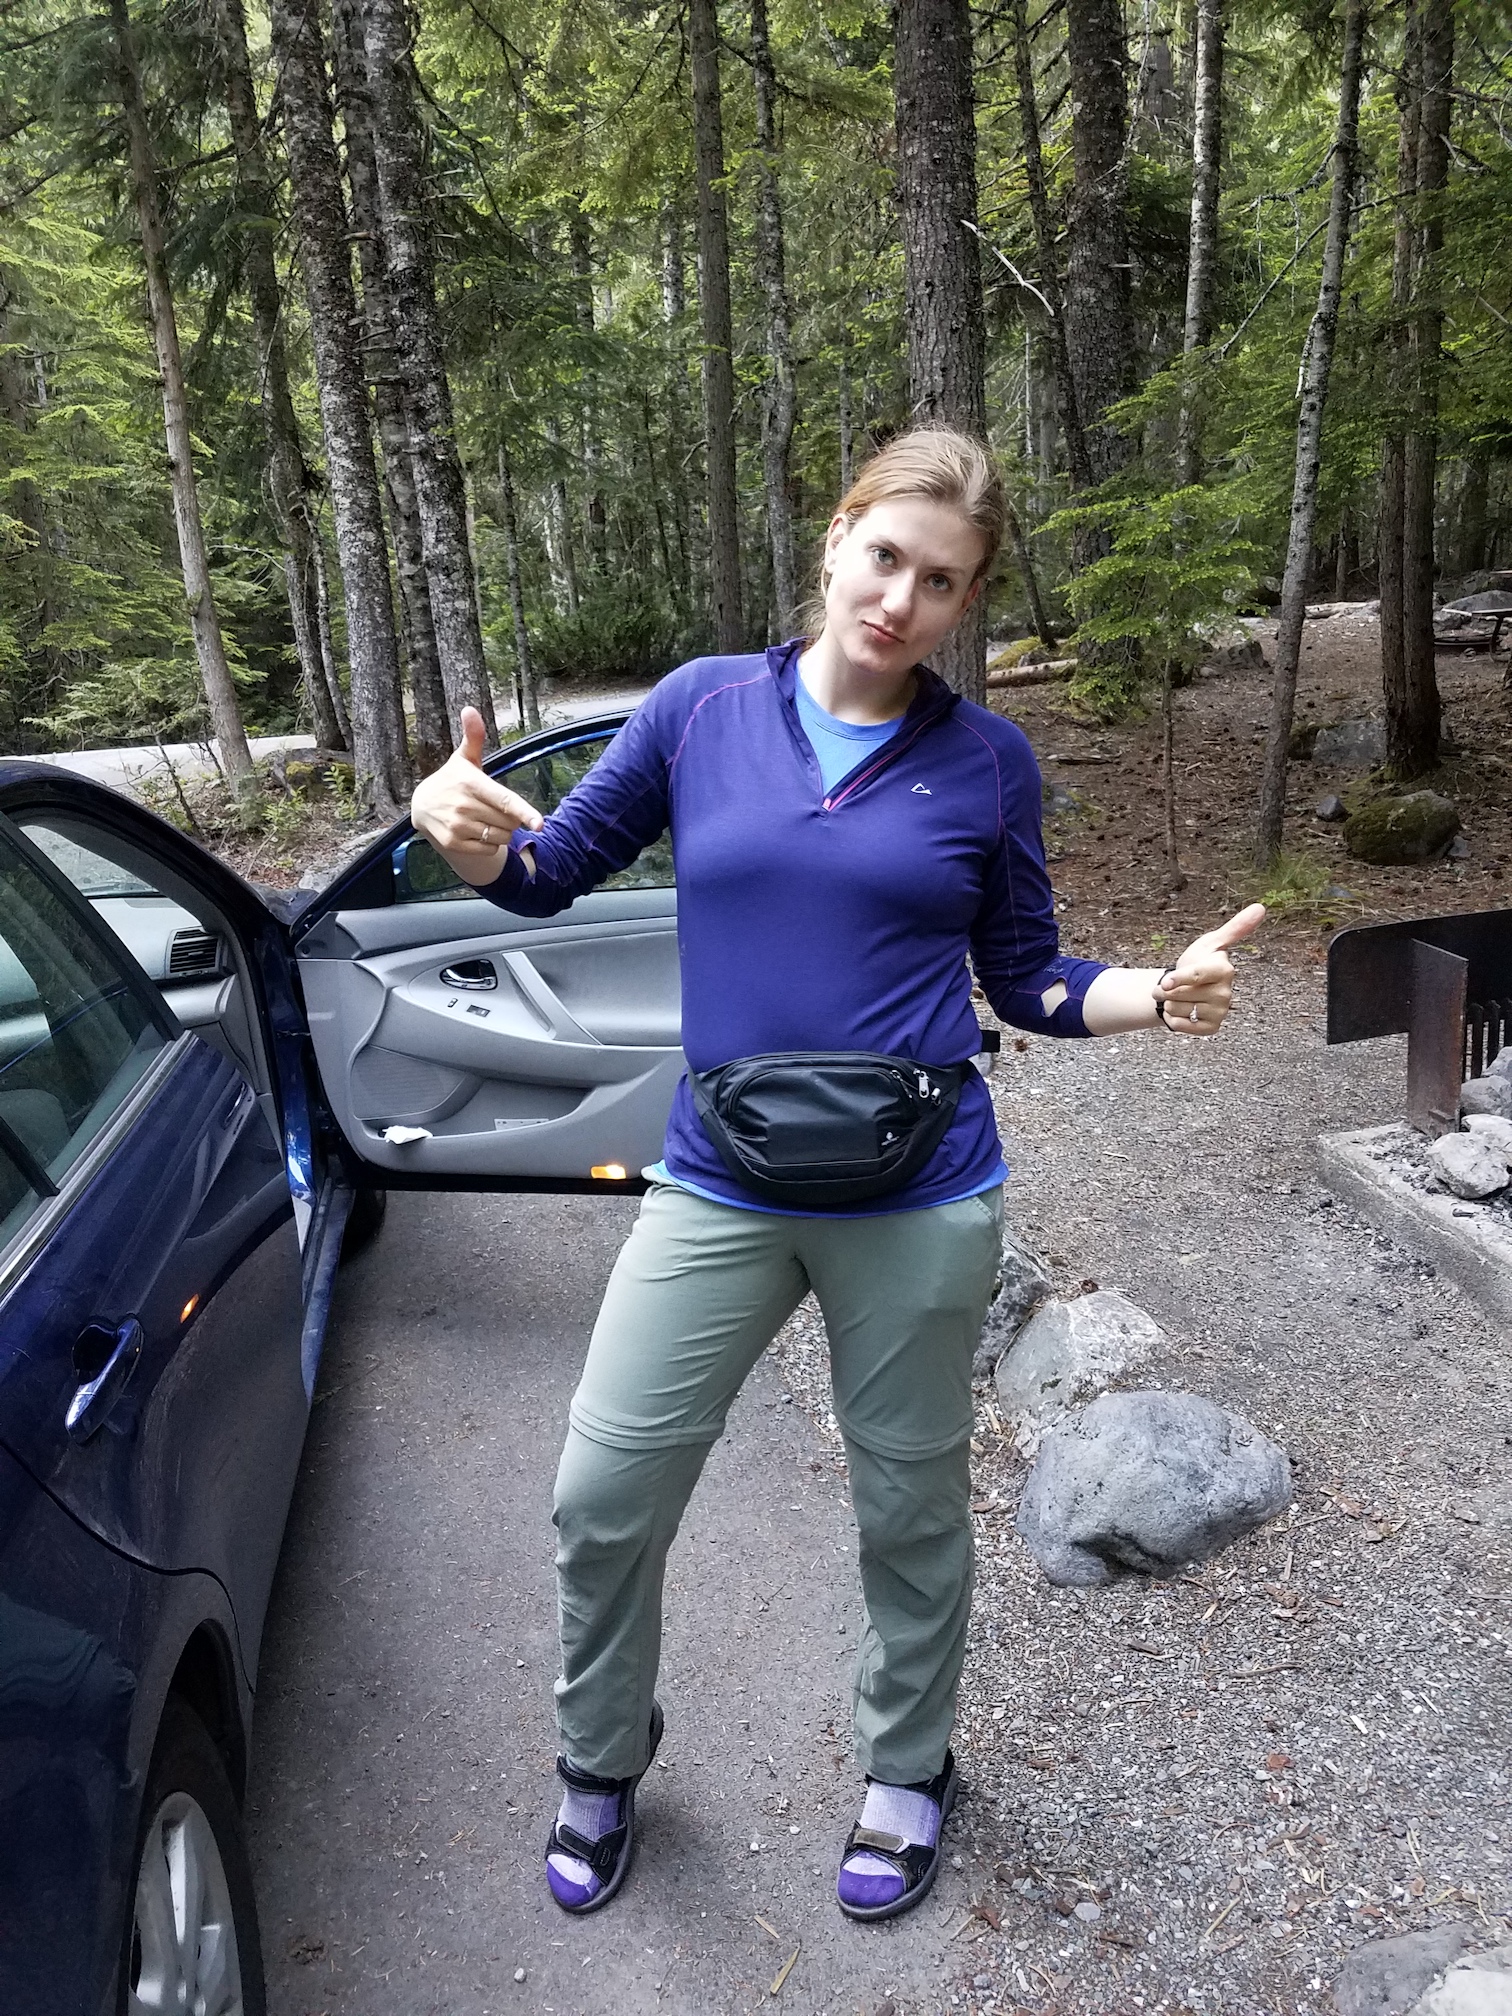
Jenny and I drove out on Friday afternoon and picked up our wilderness camping permit for Camp Muir. We had dinner at the Paradise visitor center (a first for me), and then drove down to Cougar Rock campground to sleep. We drank half a gallon of water, peed like crazy, but got about 7.5 hours sleep in and felt very hydrated in the morning.
Jenny at our camp site on Friday, excited about her fanny pack.
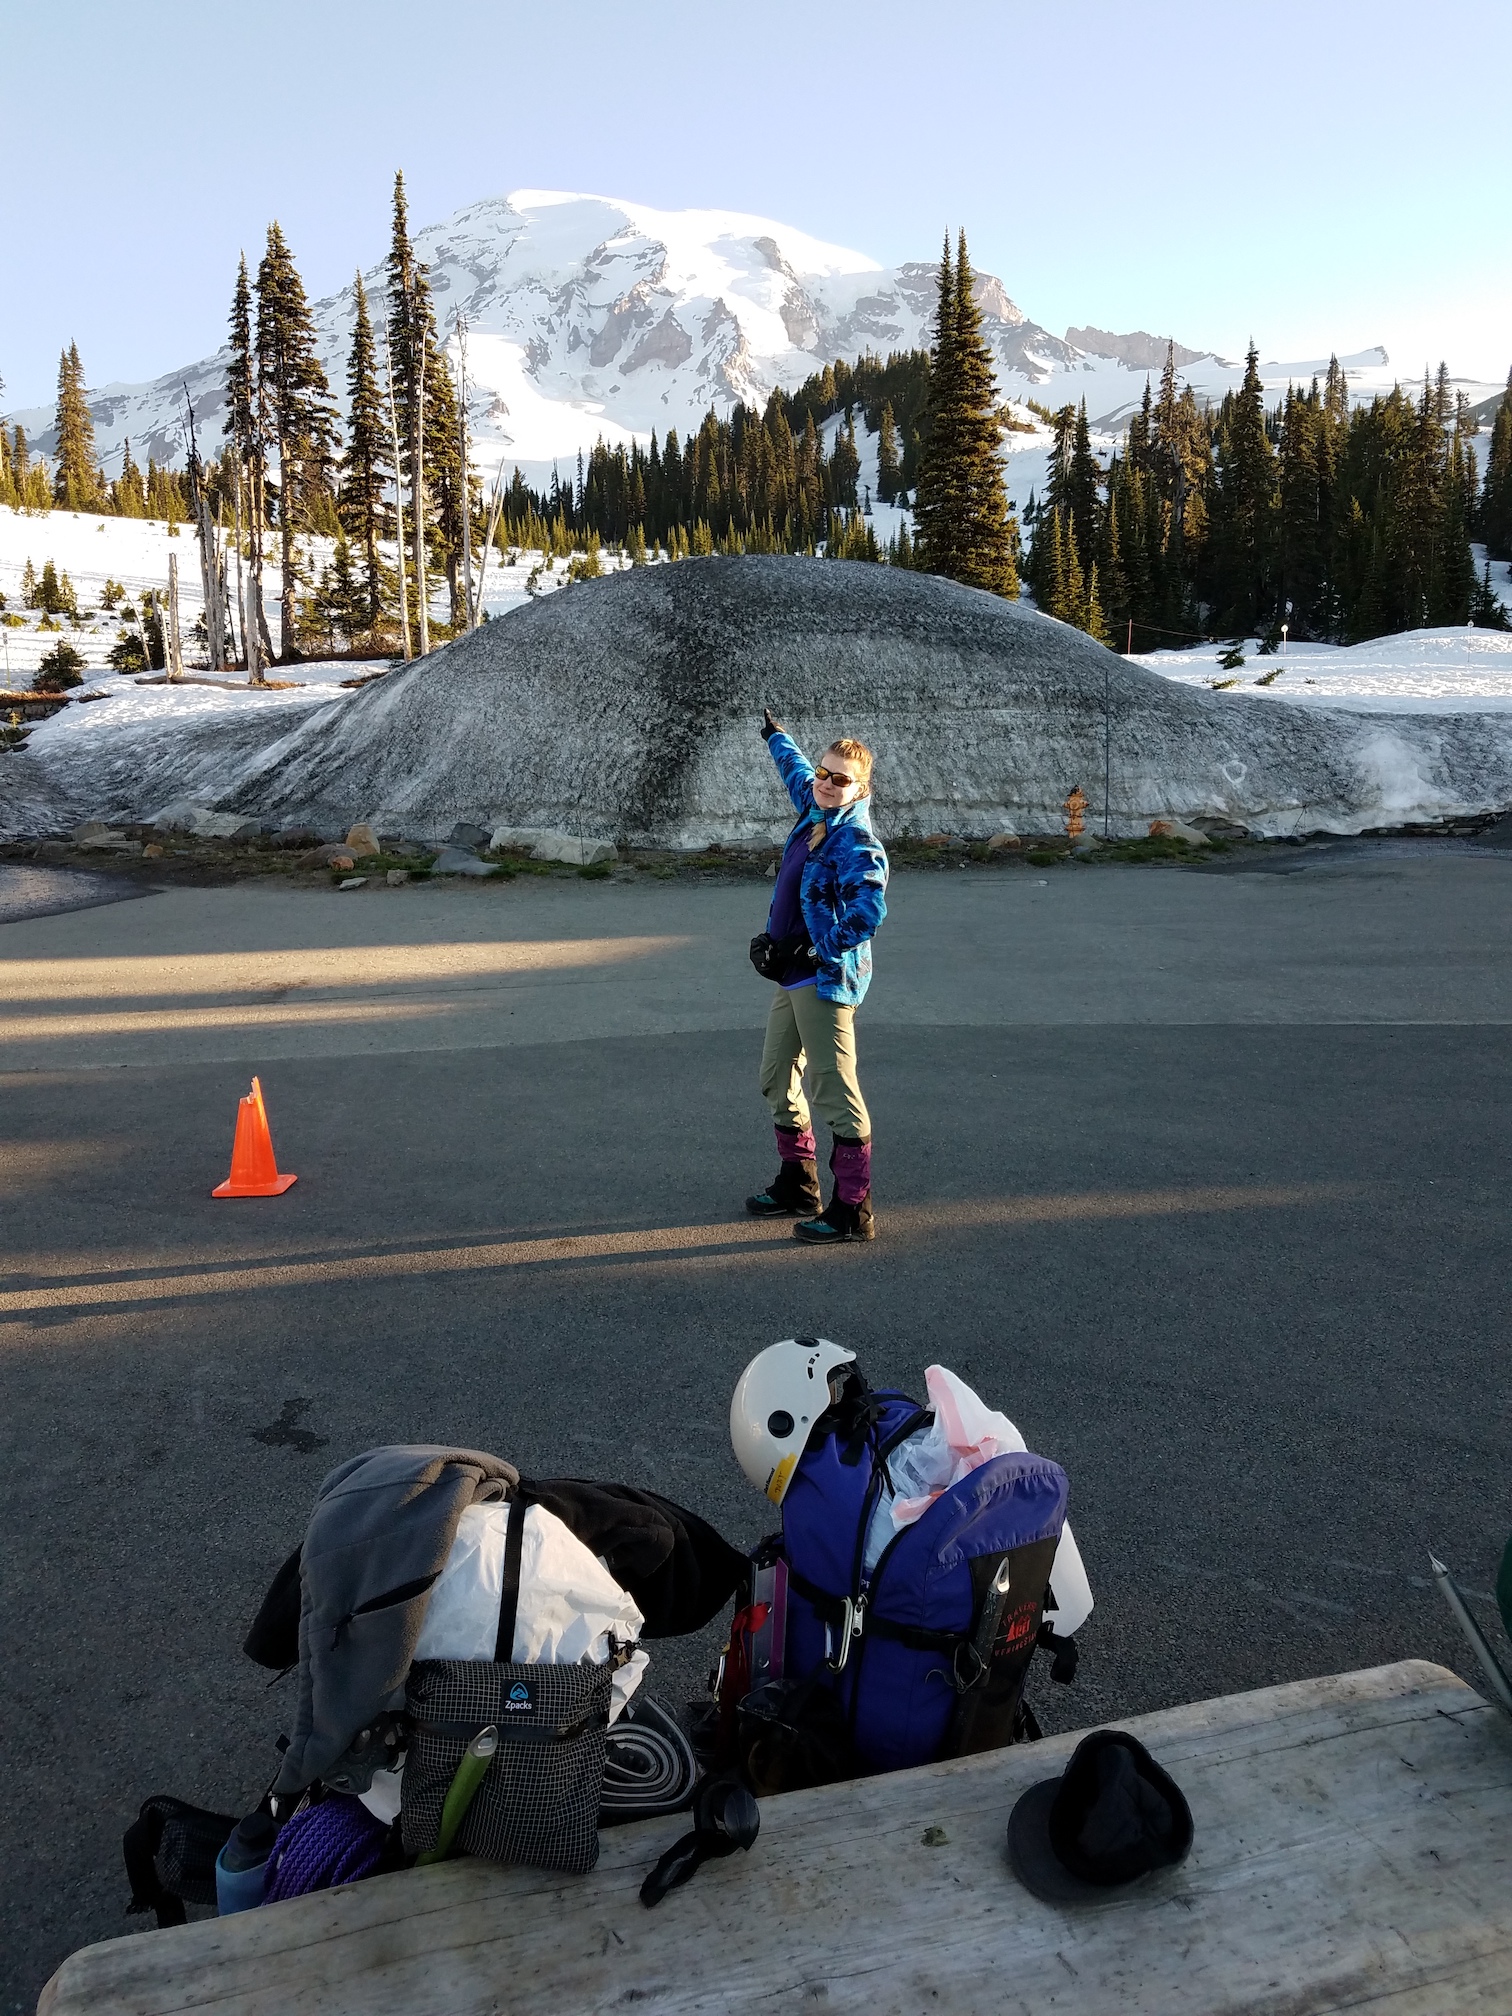
At 4 AM, we packed up our tent and drove back to Paradise. Once there, we finished packing our backpacks and waited for Vicki to arrive, who was on time. At 6:30, we started hiking up towards Camp Muir, just as planned.
Jenny says “we go there” on Saturday morning.
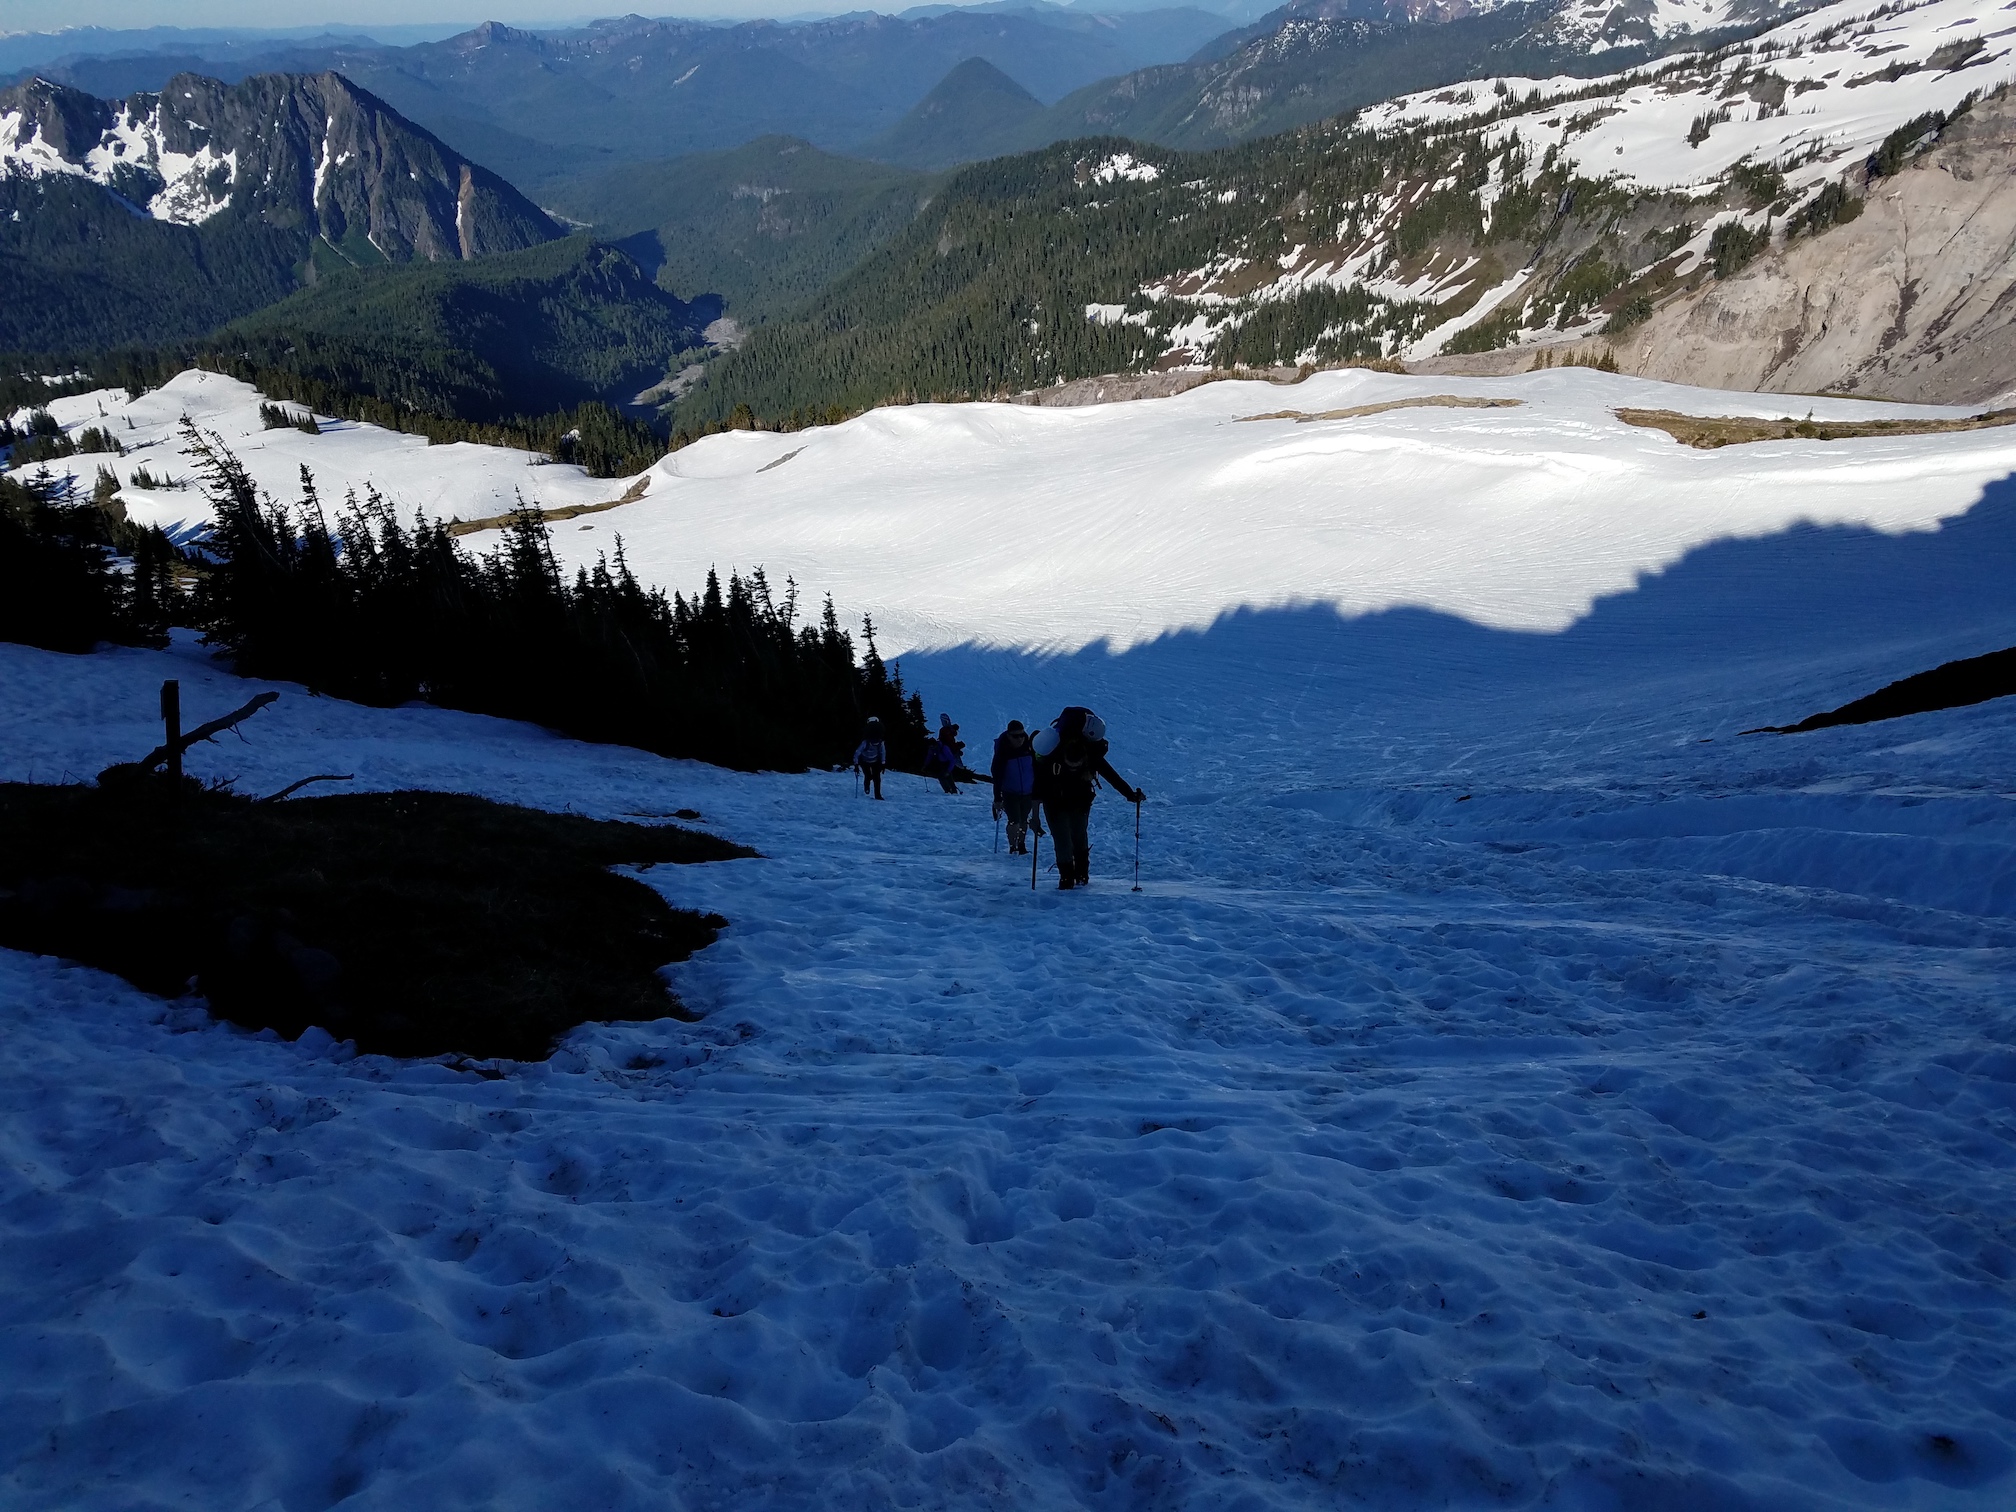
There was snow all the way down to Paradise, and the summer route with the switchbacks past Panorama Point had not been cleared yet, which meant we had to ascend the steep slope just below the toilet at Panorama Point (which actually exists; I had never seen it before, since I had always taken the High Skyline trail). That was the only steep part, though. After that, we were on the long but relatively gentle Muir snowfield. It took us about 6 hours to get to Camp Muir. At around 11, we heard from our three skier companions who were going to make up the second rope team.
Jenny and Vicki on the hike up, still close to Paradise.
Jenny, Vicki, and some other folks heading up the steep slope to Panorama Point.
Jenny and Vicki near Pebble Creek, the beginning of the Muir Snowfield.
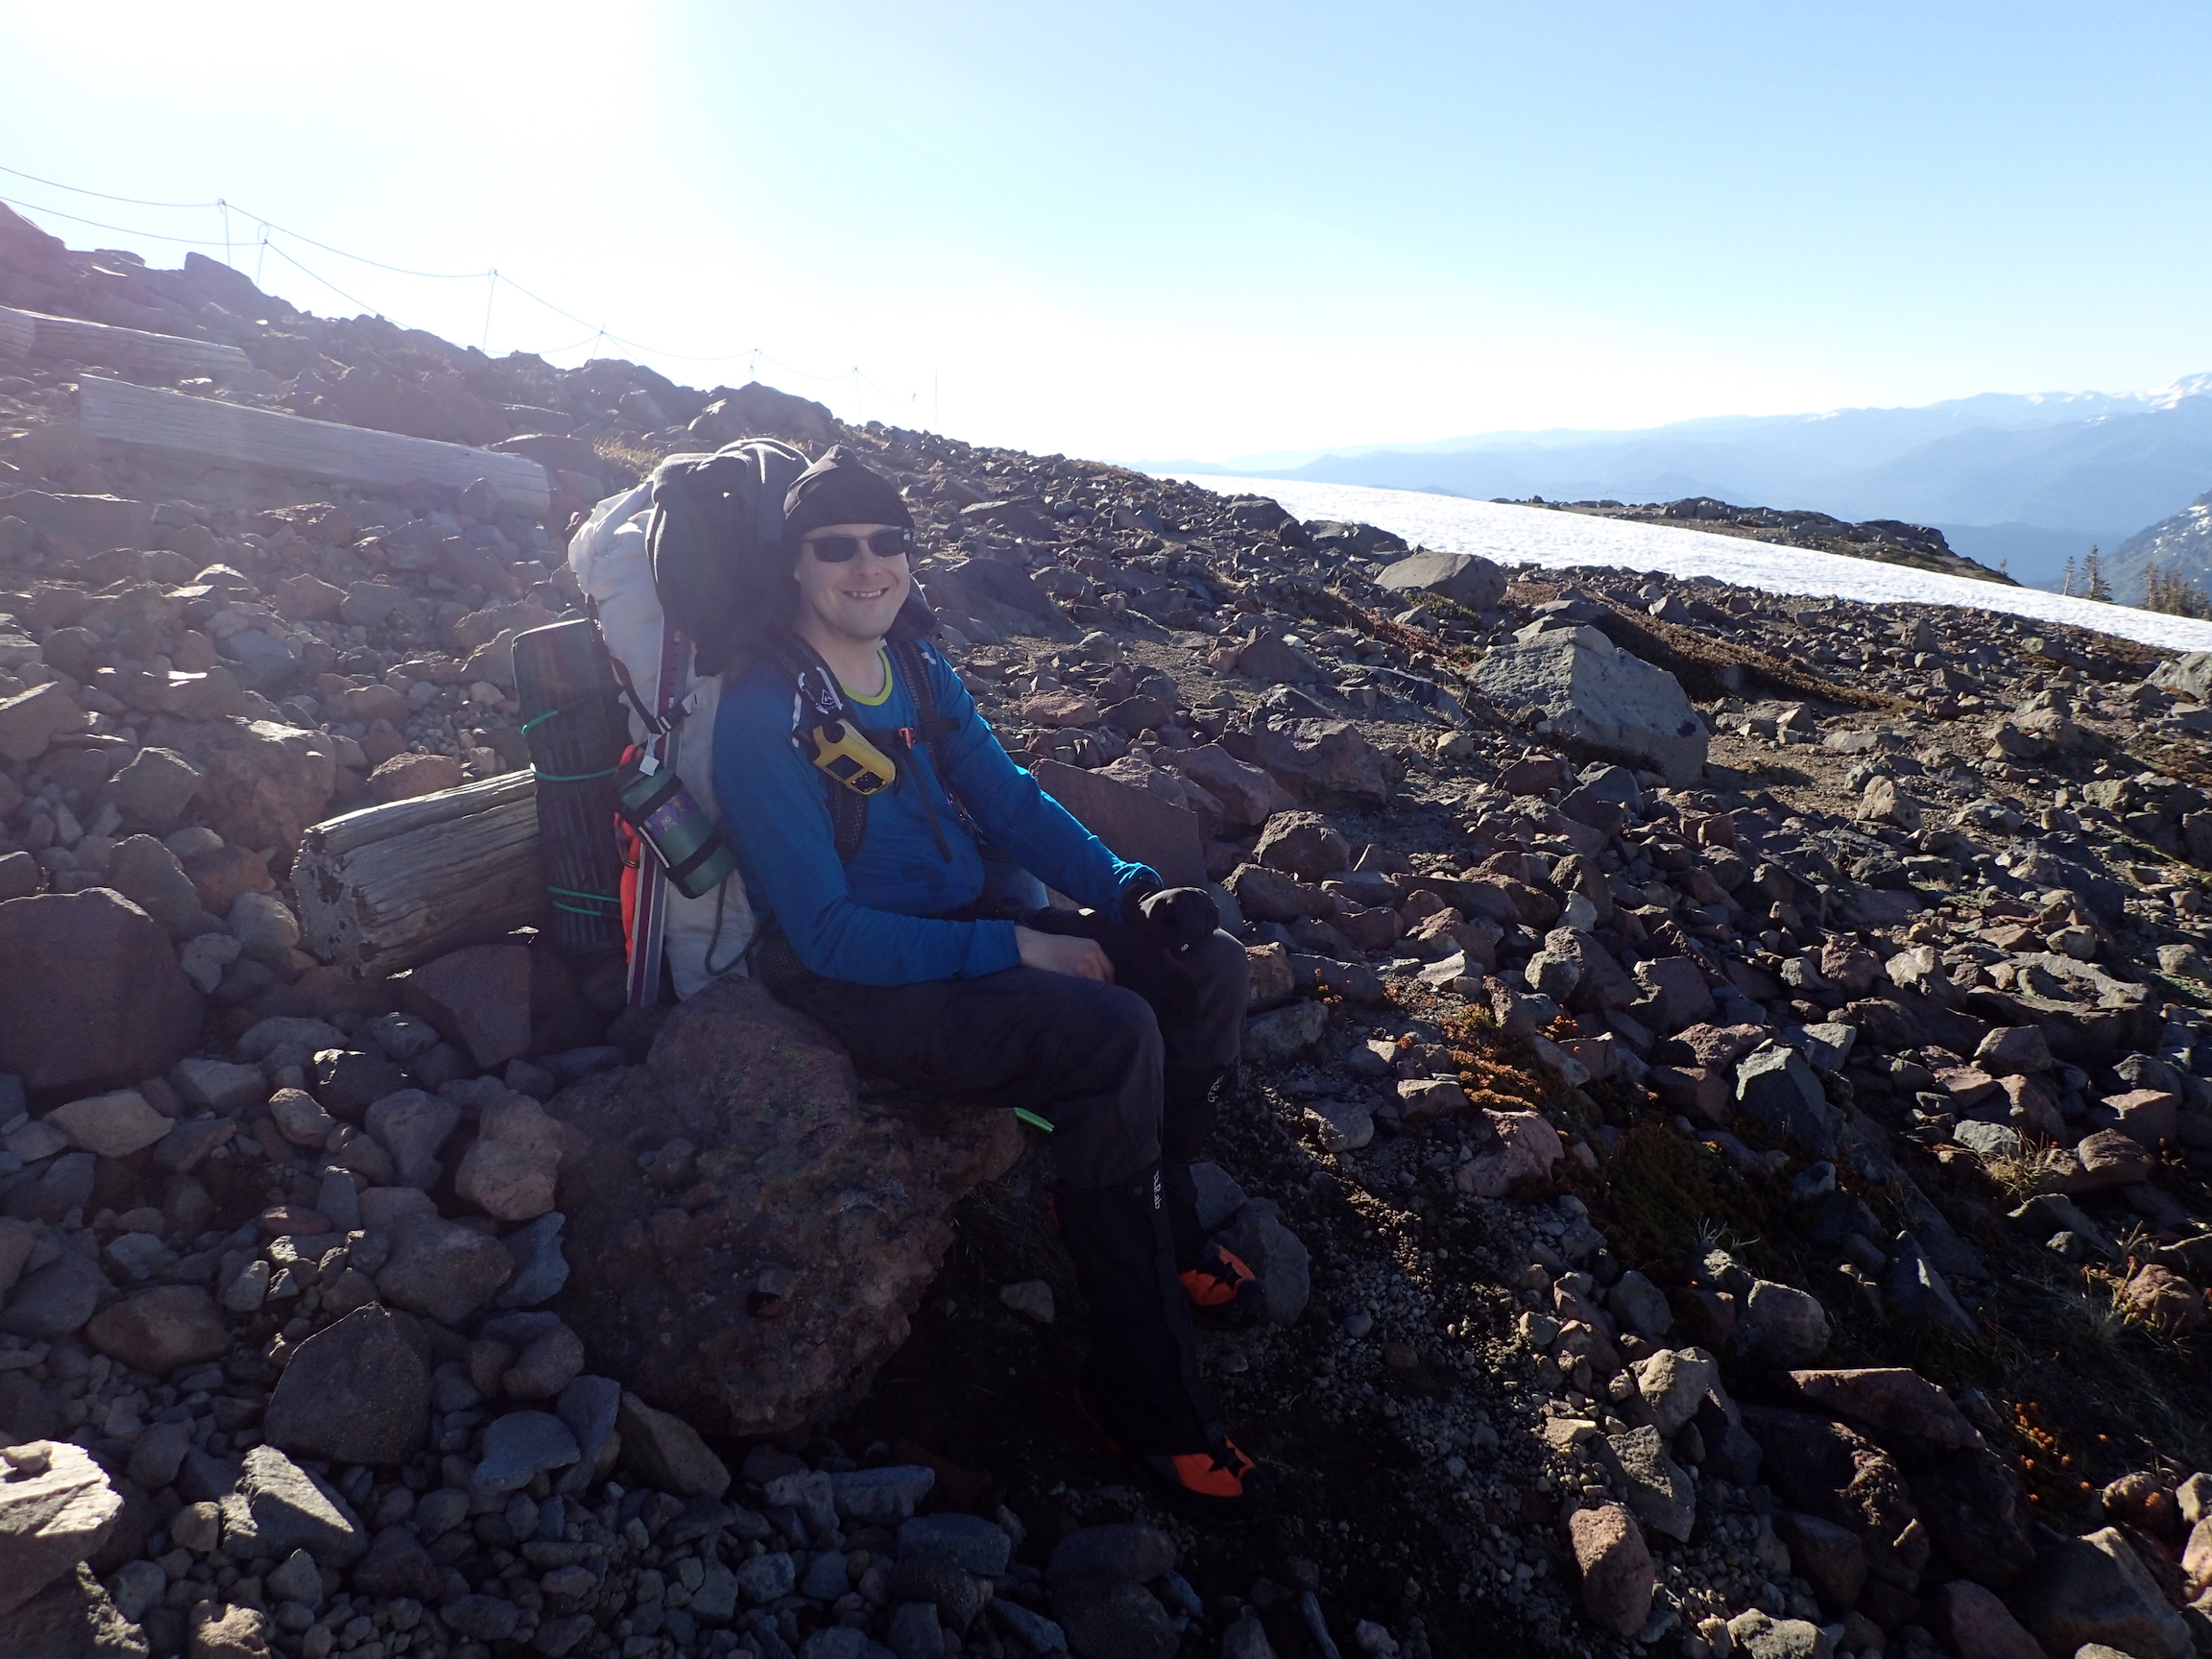
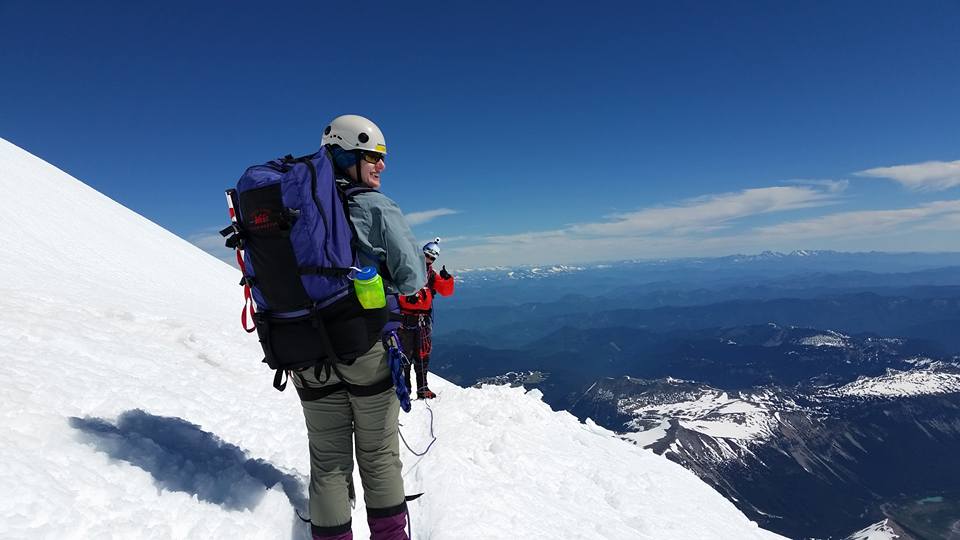
Heading to basecamp, with a heavy backpack (picture by Jenny).
At Camp Muir, we set up our tents and were pretty out of breath, due to the thin air. Vicki hadn’t slept much the night before, and took a nap in her tent under the beating sun. Jenny and I spent about 3 hours melting snow for water, producing about 2 gallons. We also received about another gallon in donations from climbers who were departing Camp Muir. In the middle of this task, we also ate some chicken with rice and teriyaki chicken freeze-dried meals. Then we went to sleep. Or tried to. It was hot and loud. Our earplugs were very useful.
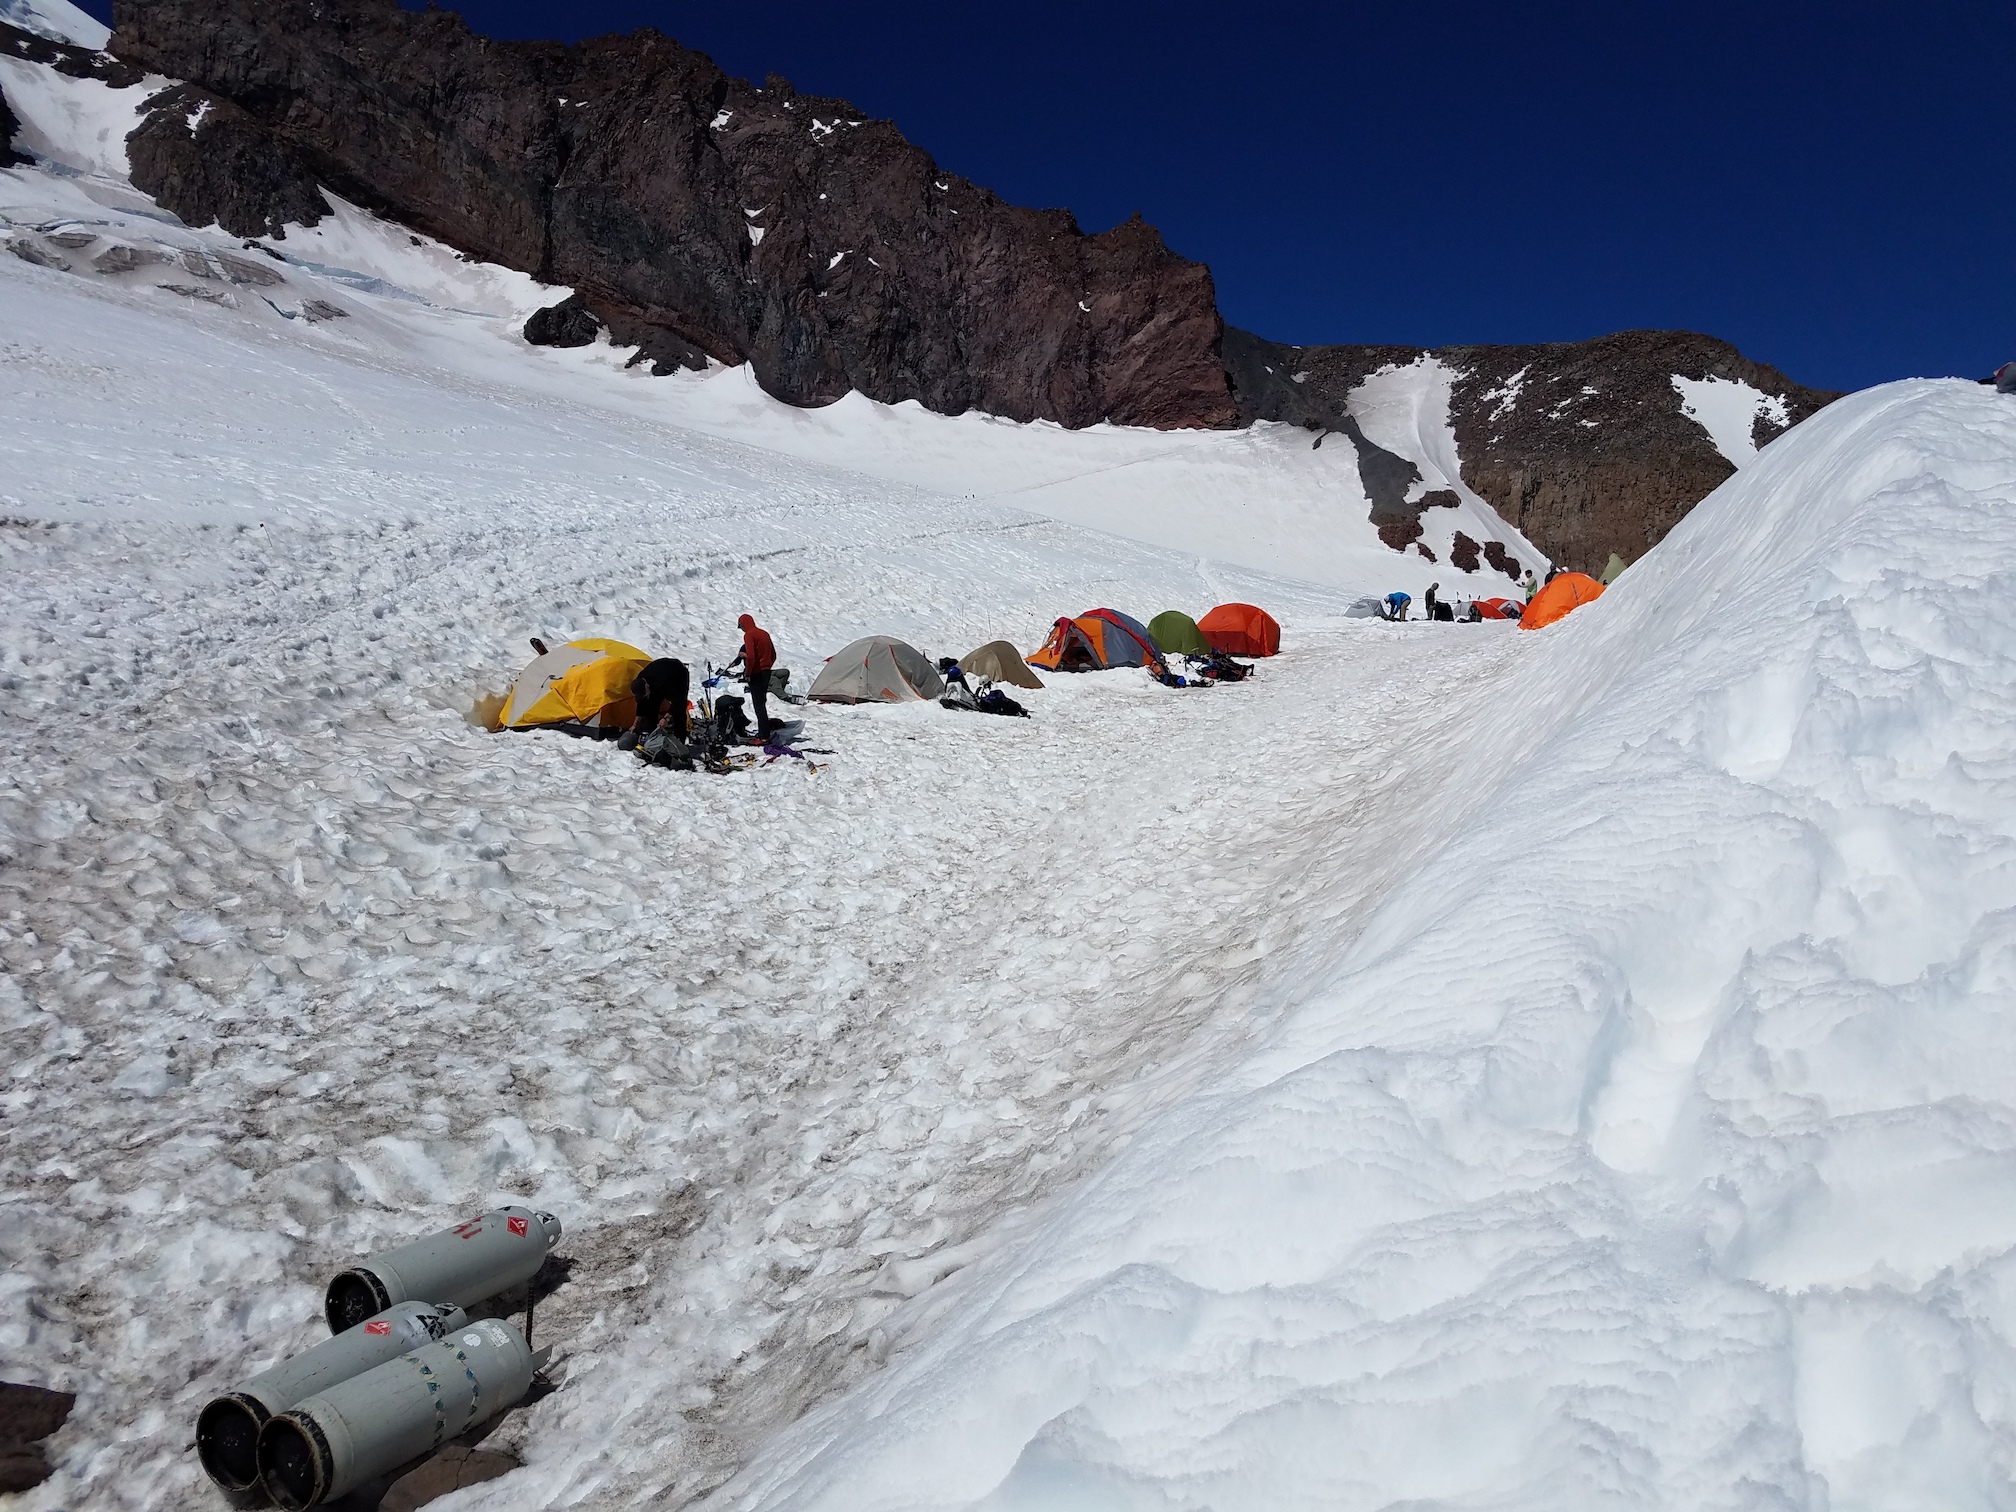
Line of tents at Camp Muir. Ours are the second and third from the left.
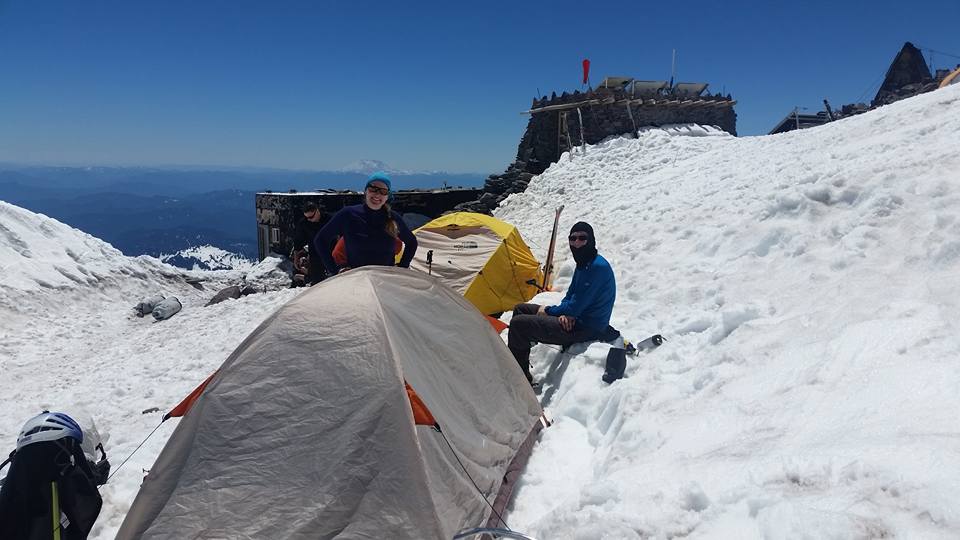
Taking a breather, after having set up our tent (picture by Jenny).
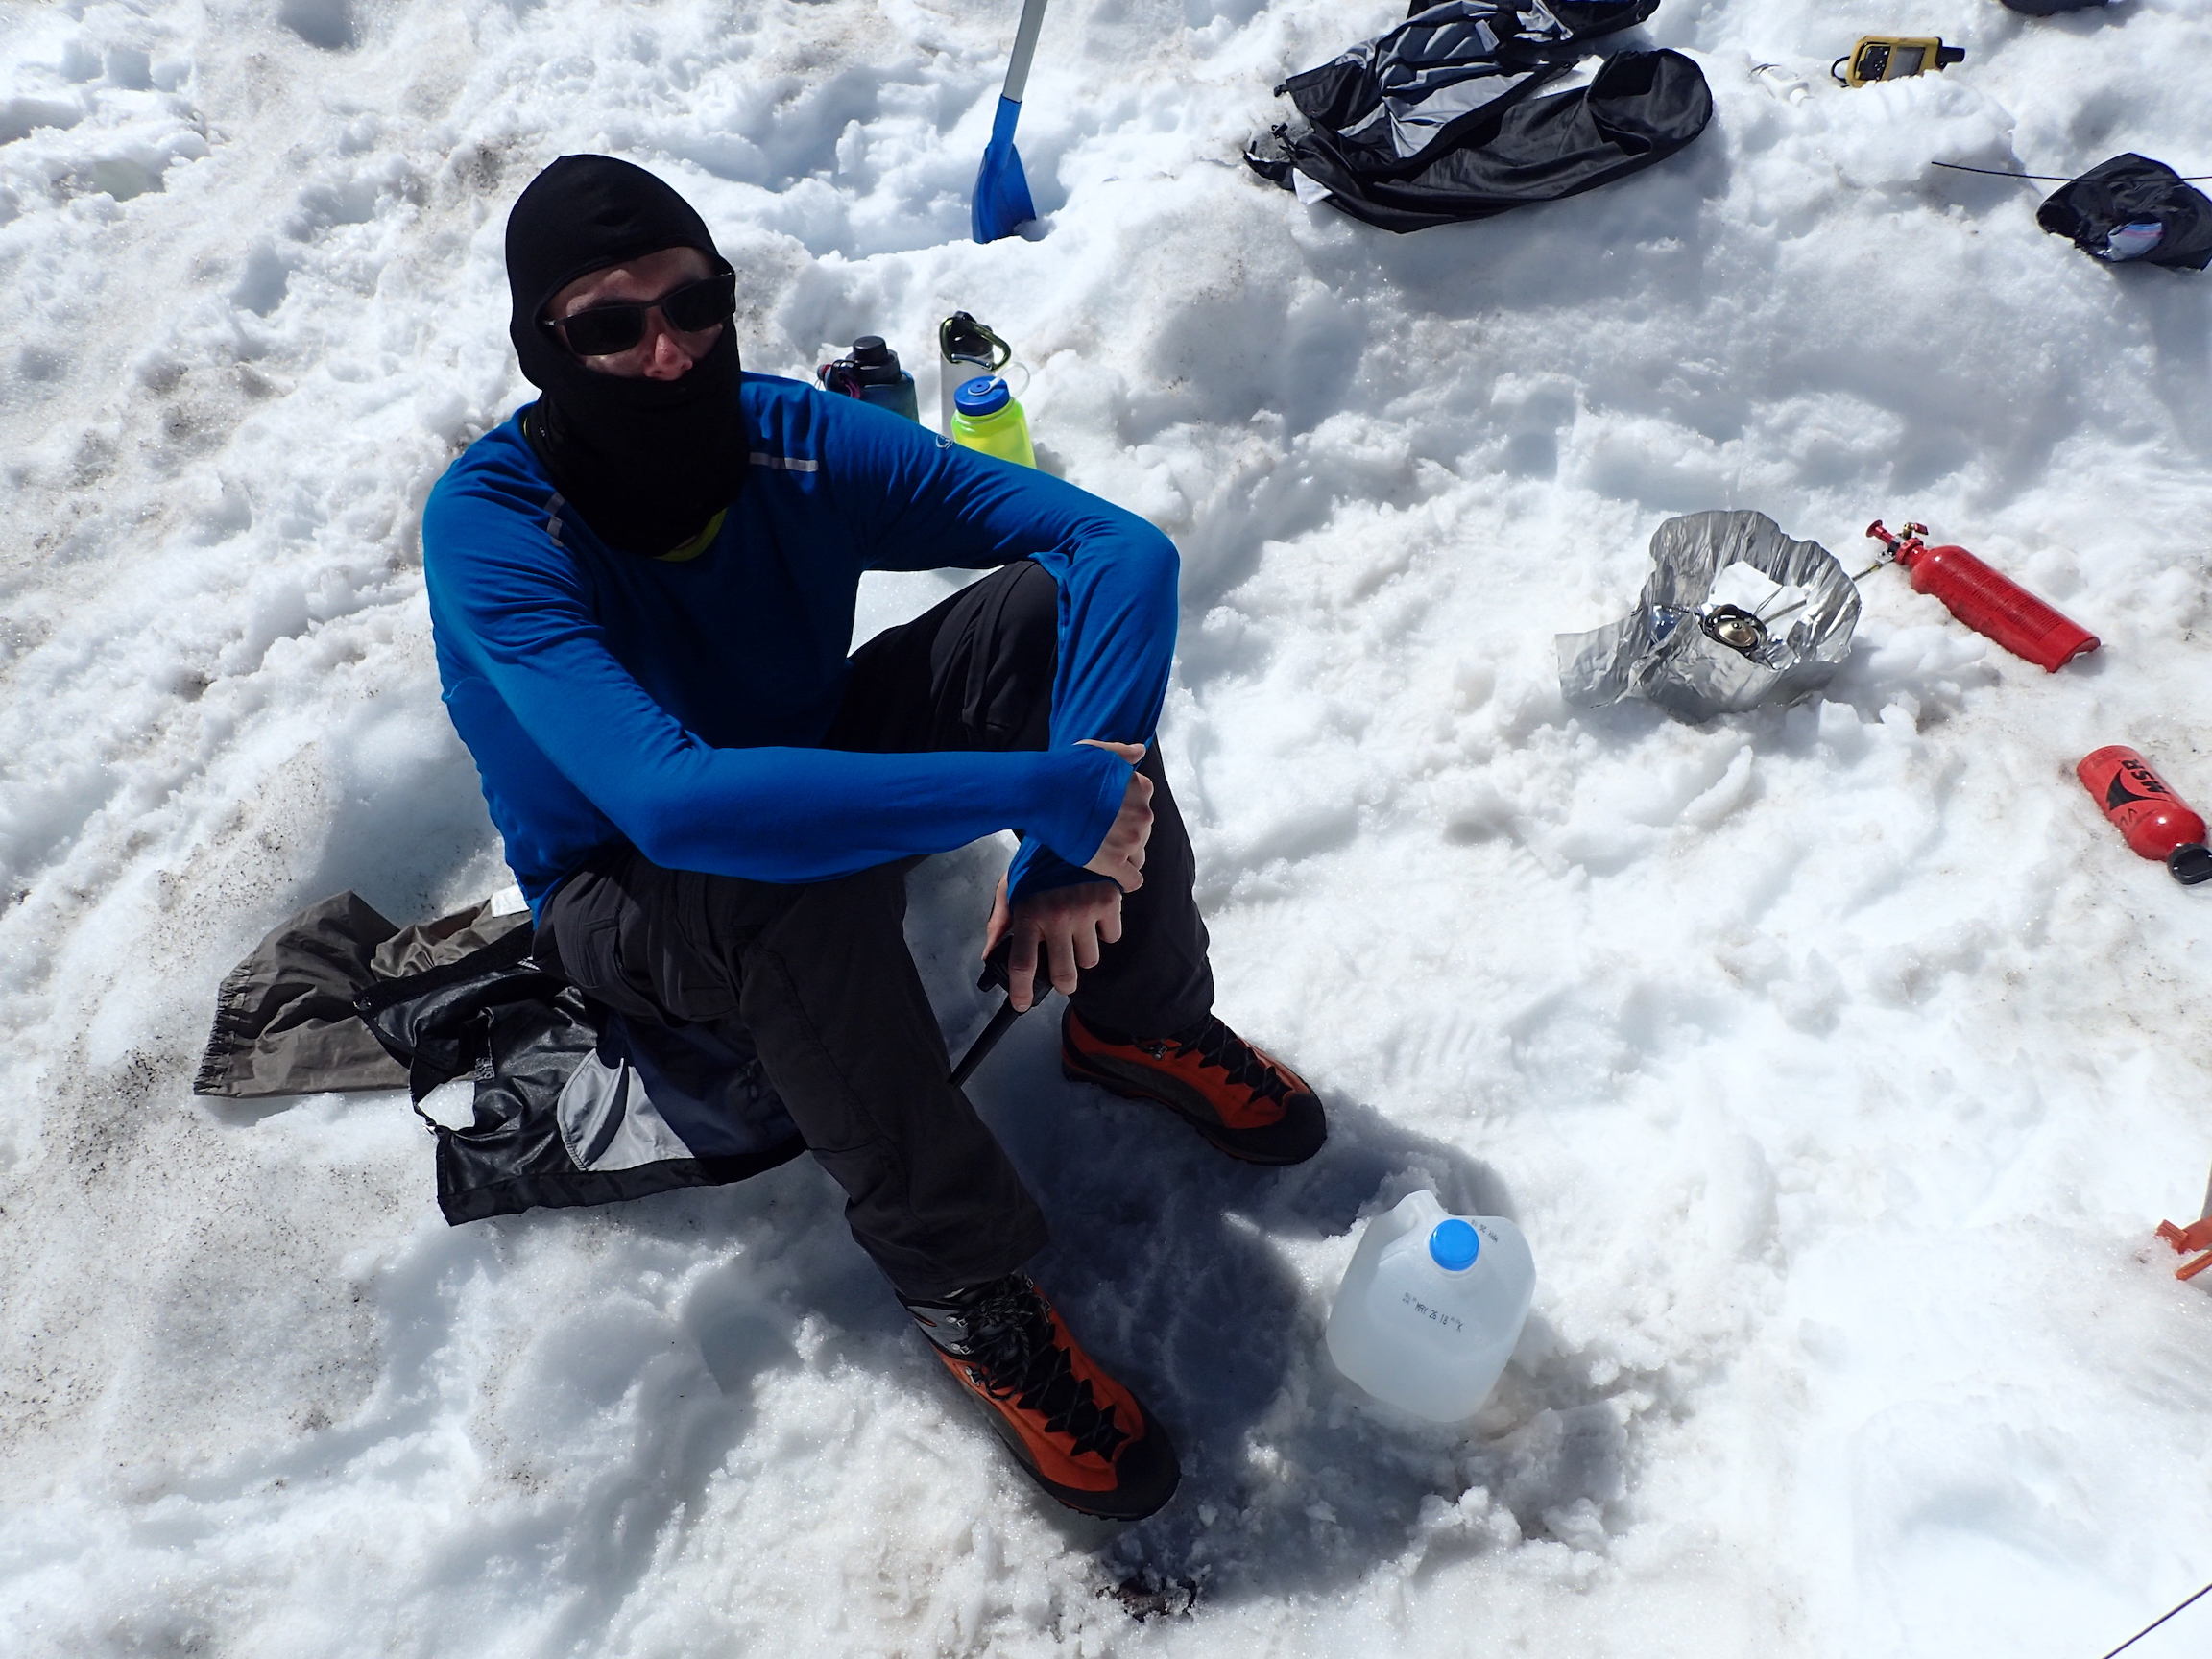
At Camp Muir, melting snow (picture by Vicki).
We hadn’t heard from the skiers, and we were getting worried that something had happened and that they had turned around, but there wasn’t really anything we could do. Either they’d show up or not. Around 4:30 PM, I believe, I managed to call them on the two-way radio, and around 5 PM, perhaps, they were at our camp and setting up their tents. They weren’t too happy with our plan to get up at 11 PM and start hiking at midnight, so we agreed on an alpine start half an hour later.
Jenny and I got up at 11 PM nonetheless and got our rope and gear ready. I put an alpine butterfly into the middle of my 40-meter rope, two alpine butterflies about 6 or 7 meters to the side from there, and then coiled up the rest of the rope, to be carried by the climbers at both ends. Fortunately, the glacier rope is really light. Vicki, Jenny and I were ready to go at half past midnight, as agreed, but the other team took until a little after 1 AM.
Jenny putting on her gaiters and crampons just before midnight.
Ready to go at half past midnight!
We followed a chain of headlamps in the distance over the Cowlitz Glacier towards the Cathedral Gap, crossed over onto the Ingraham Glacier, and headed up towards the Ingraham Flats. It was dark, our path only lit by our headlamps, and while we were pretty sure there were no crevasses on the boot path, I still swept my gaze left and right while I was in the lead.
Around 11,300 feet, the path turned to the north and towards the Disappointment Cleaver. Some hand lines were attached, but we didn’t really need them. Ahead of us, there was a 3-person rope team that had used the entire length of a 30-meter rope, with 13 meters or so between climbers. They were relatively slow, and occasionally dislodged little rocks.
About half-way up the cleaver, they sat down to adjust their rope spacing. With their headlamps shining straight into my eyes, I had trouble finding the route for a second, and when we spotted it, we realized I had ascended too far. We swapped leads, since Vicki was right around the correct spots, and she lead most of the way to the summit.
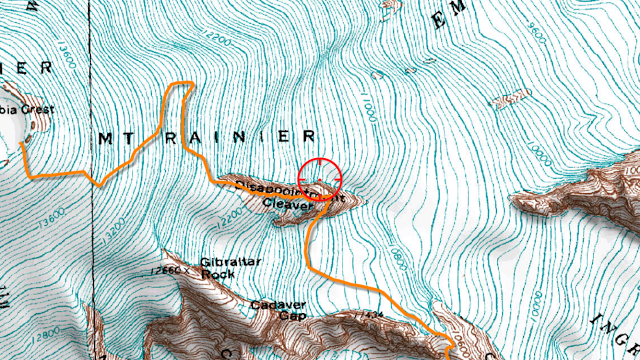
Approximate route, from http://mountrainierclimbing.blogspot.com/2017/06/disappointment-cleaver-6252017.html
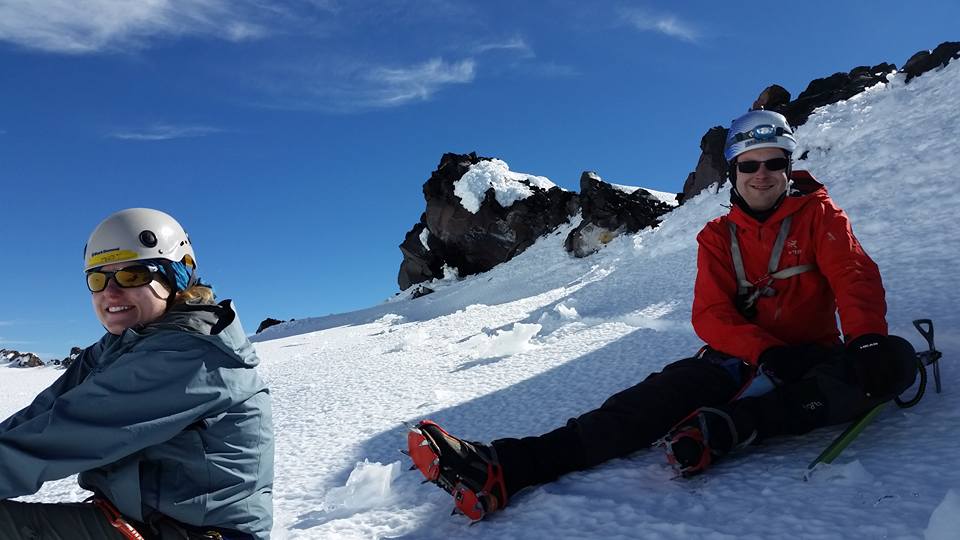
On top of the Disappointment Cleaver, our second rope team told us that, unfortunately, one of the climbers had altitude sickness. We polled every single person if it was okay for Vicki, Jenny and me to continue. I felt a bit bad, but the Disappointment Cleaver route had been pretty simple up to that point, and there were plenty of other climbers around who could help. On the Emmons route, we all would have had to descend, to make sure the second rope team doesn’t get in trouble on the way down (and to make sure we don’t get in trouble by ourselves on the way up).
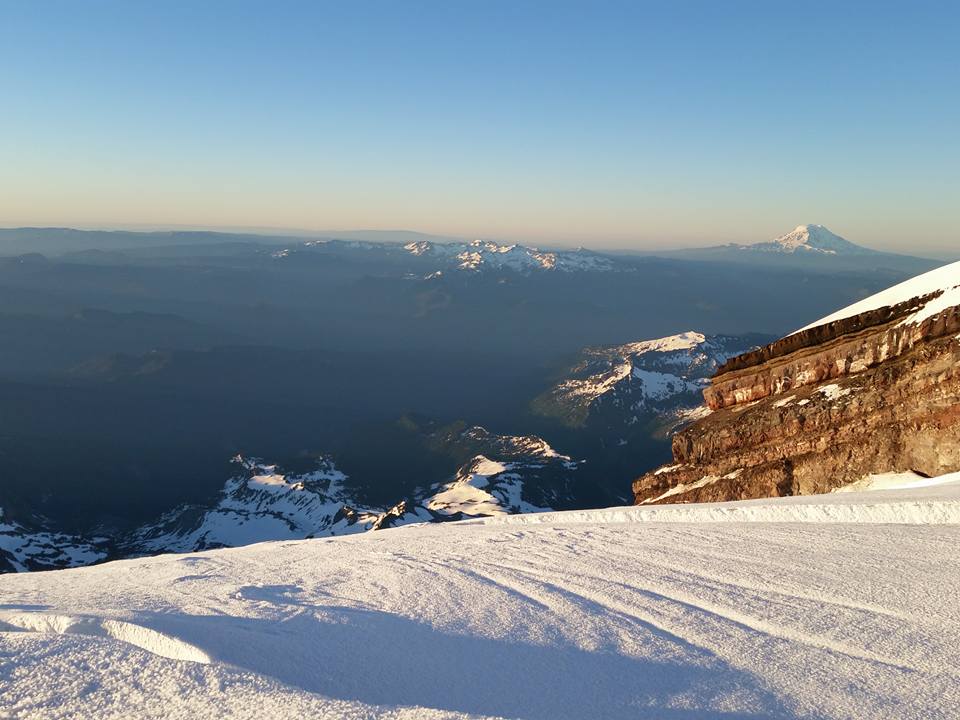
Mount Adams from above the Disappointment Cleaver (picture by Phil).
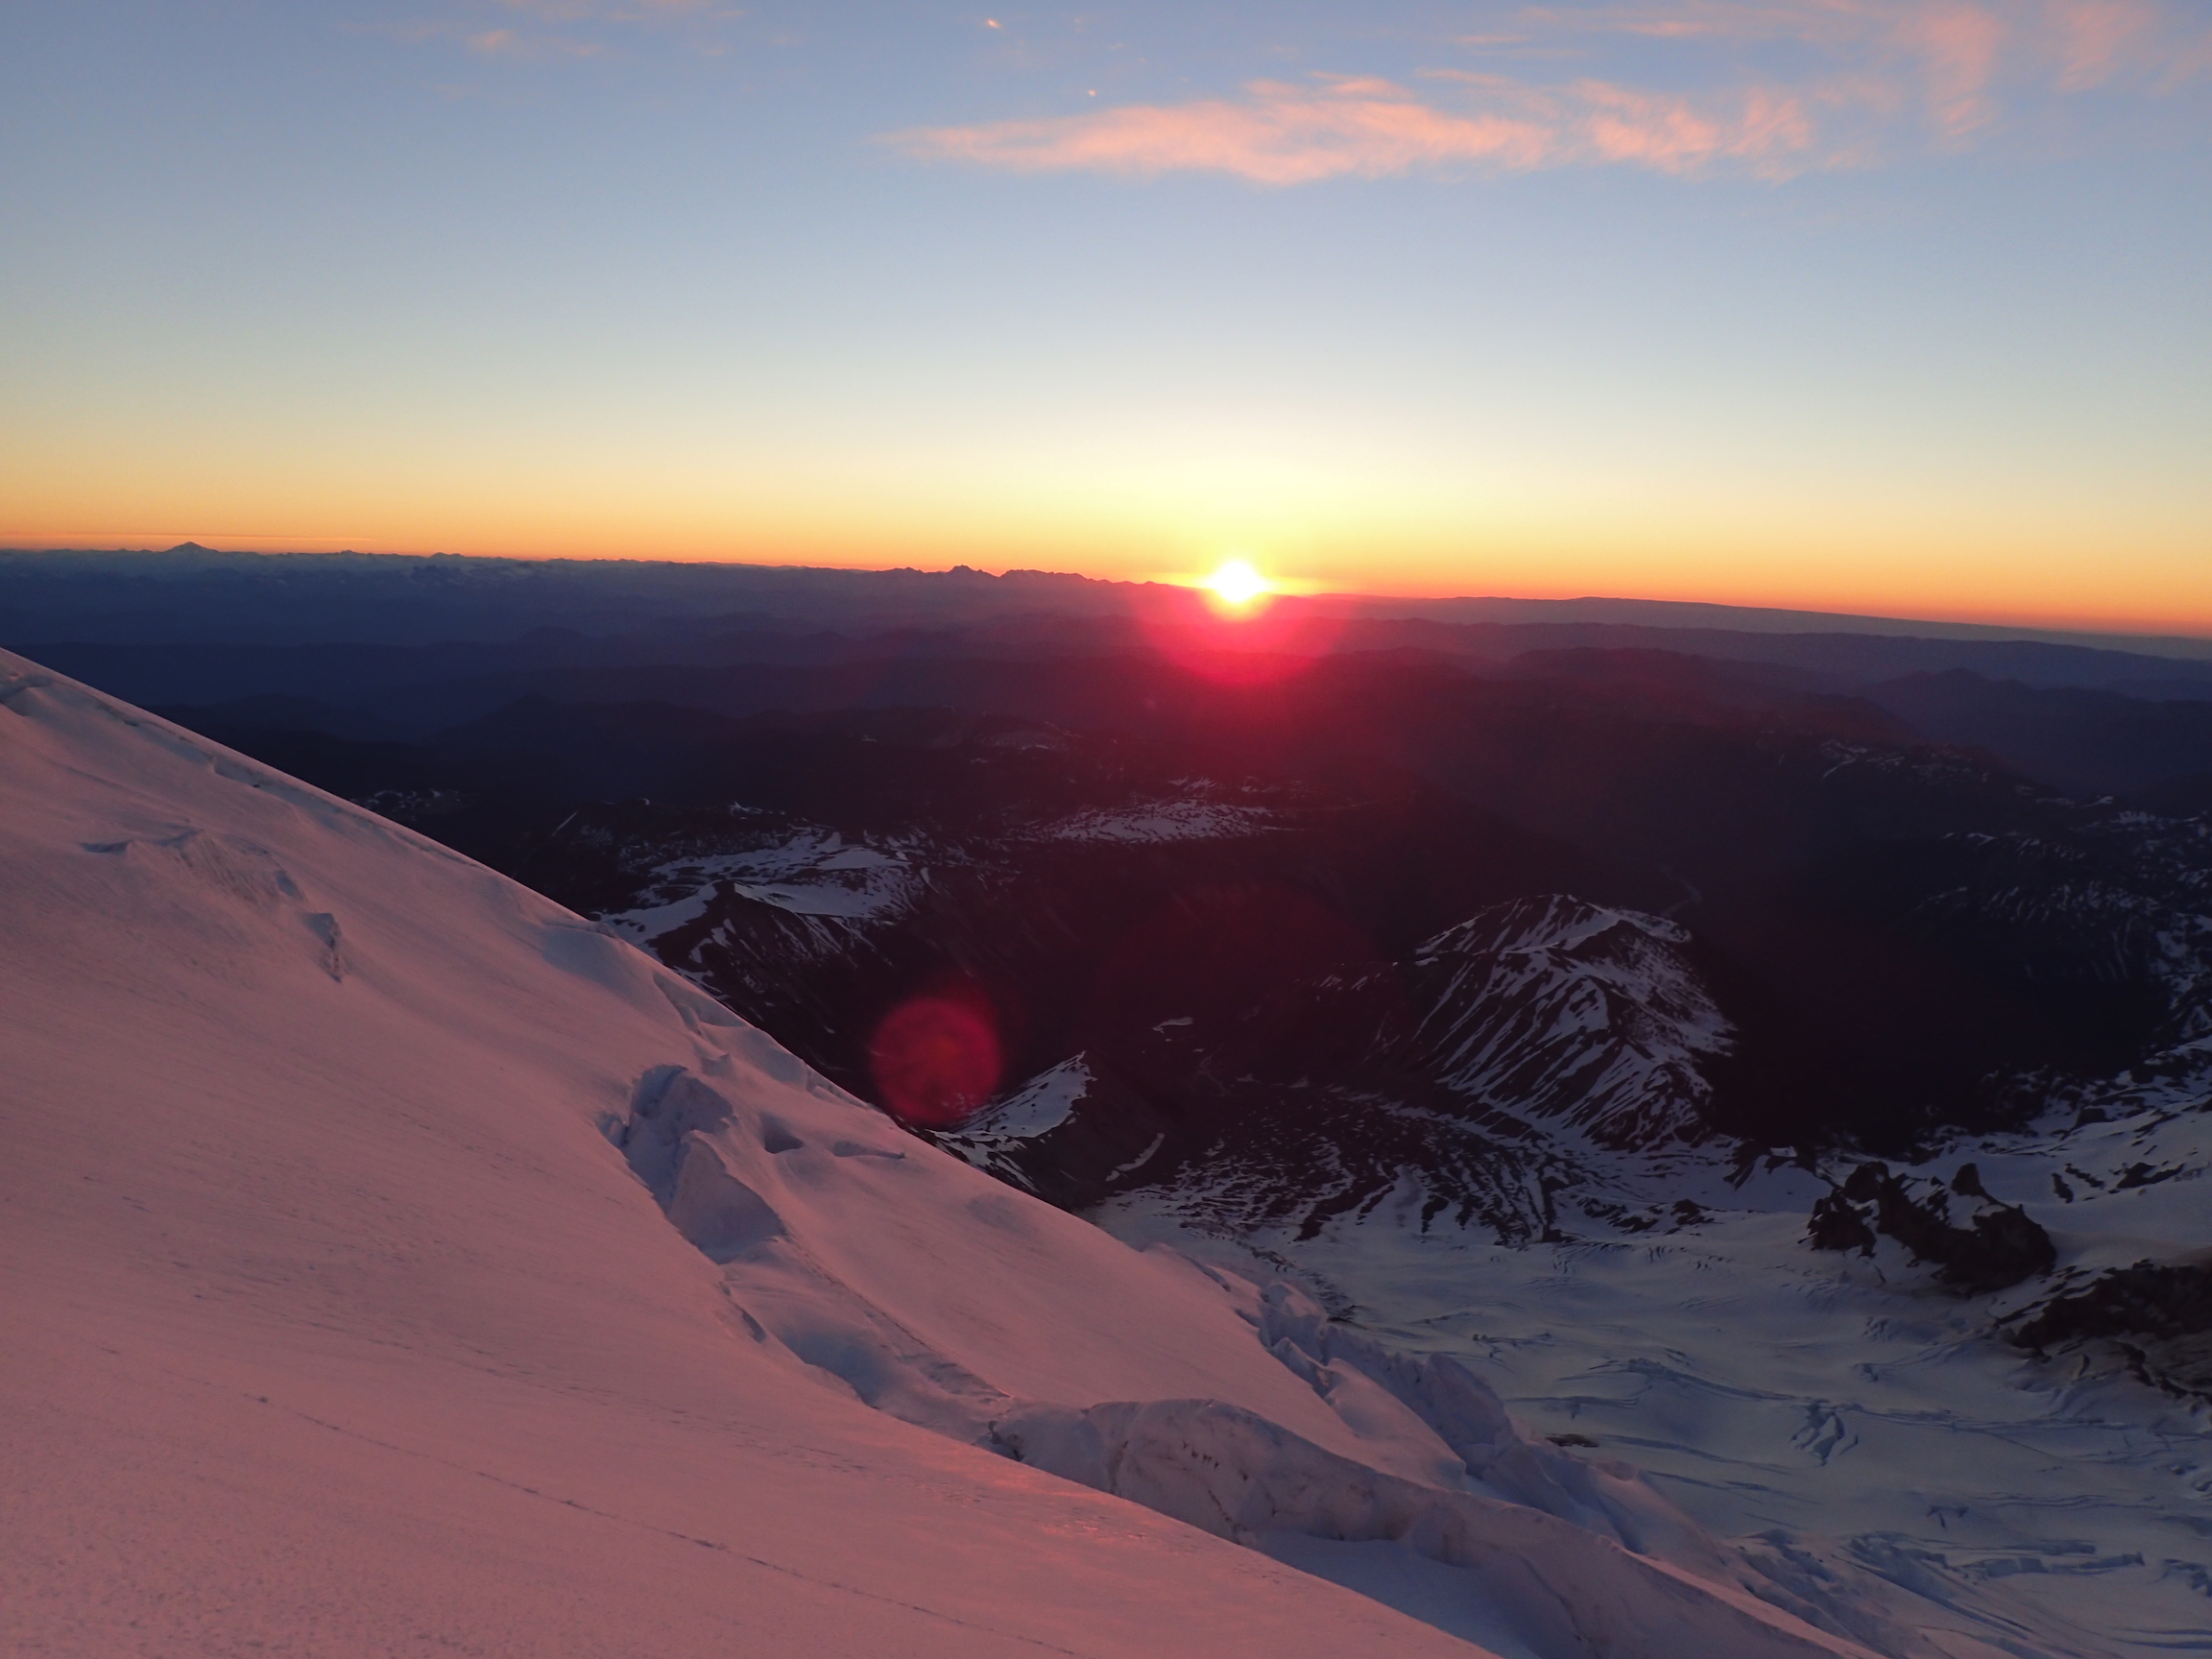
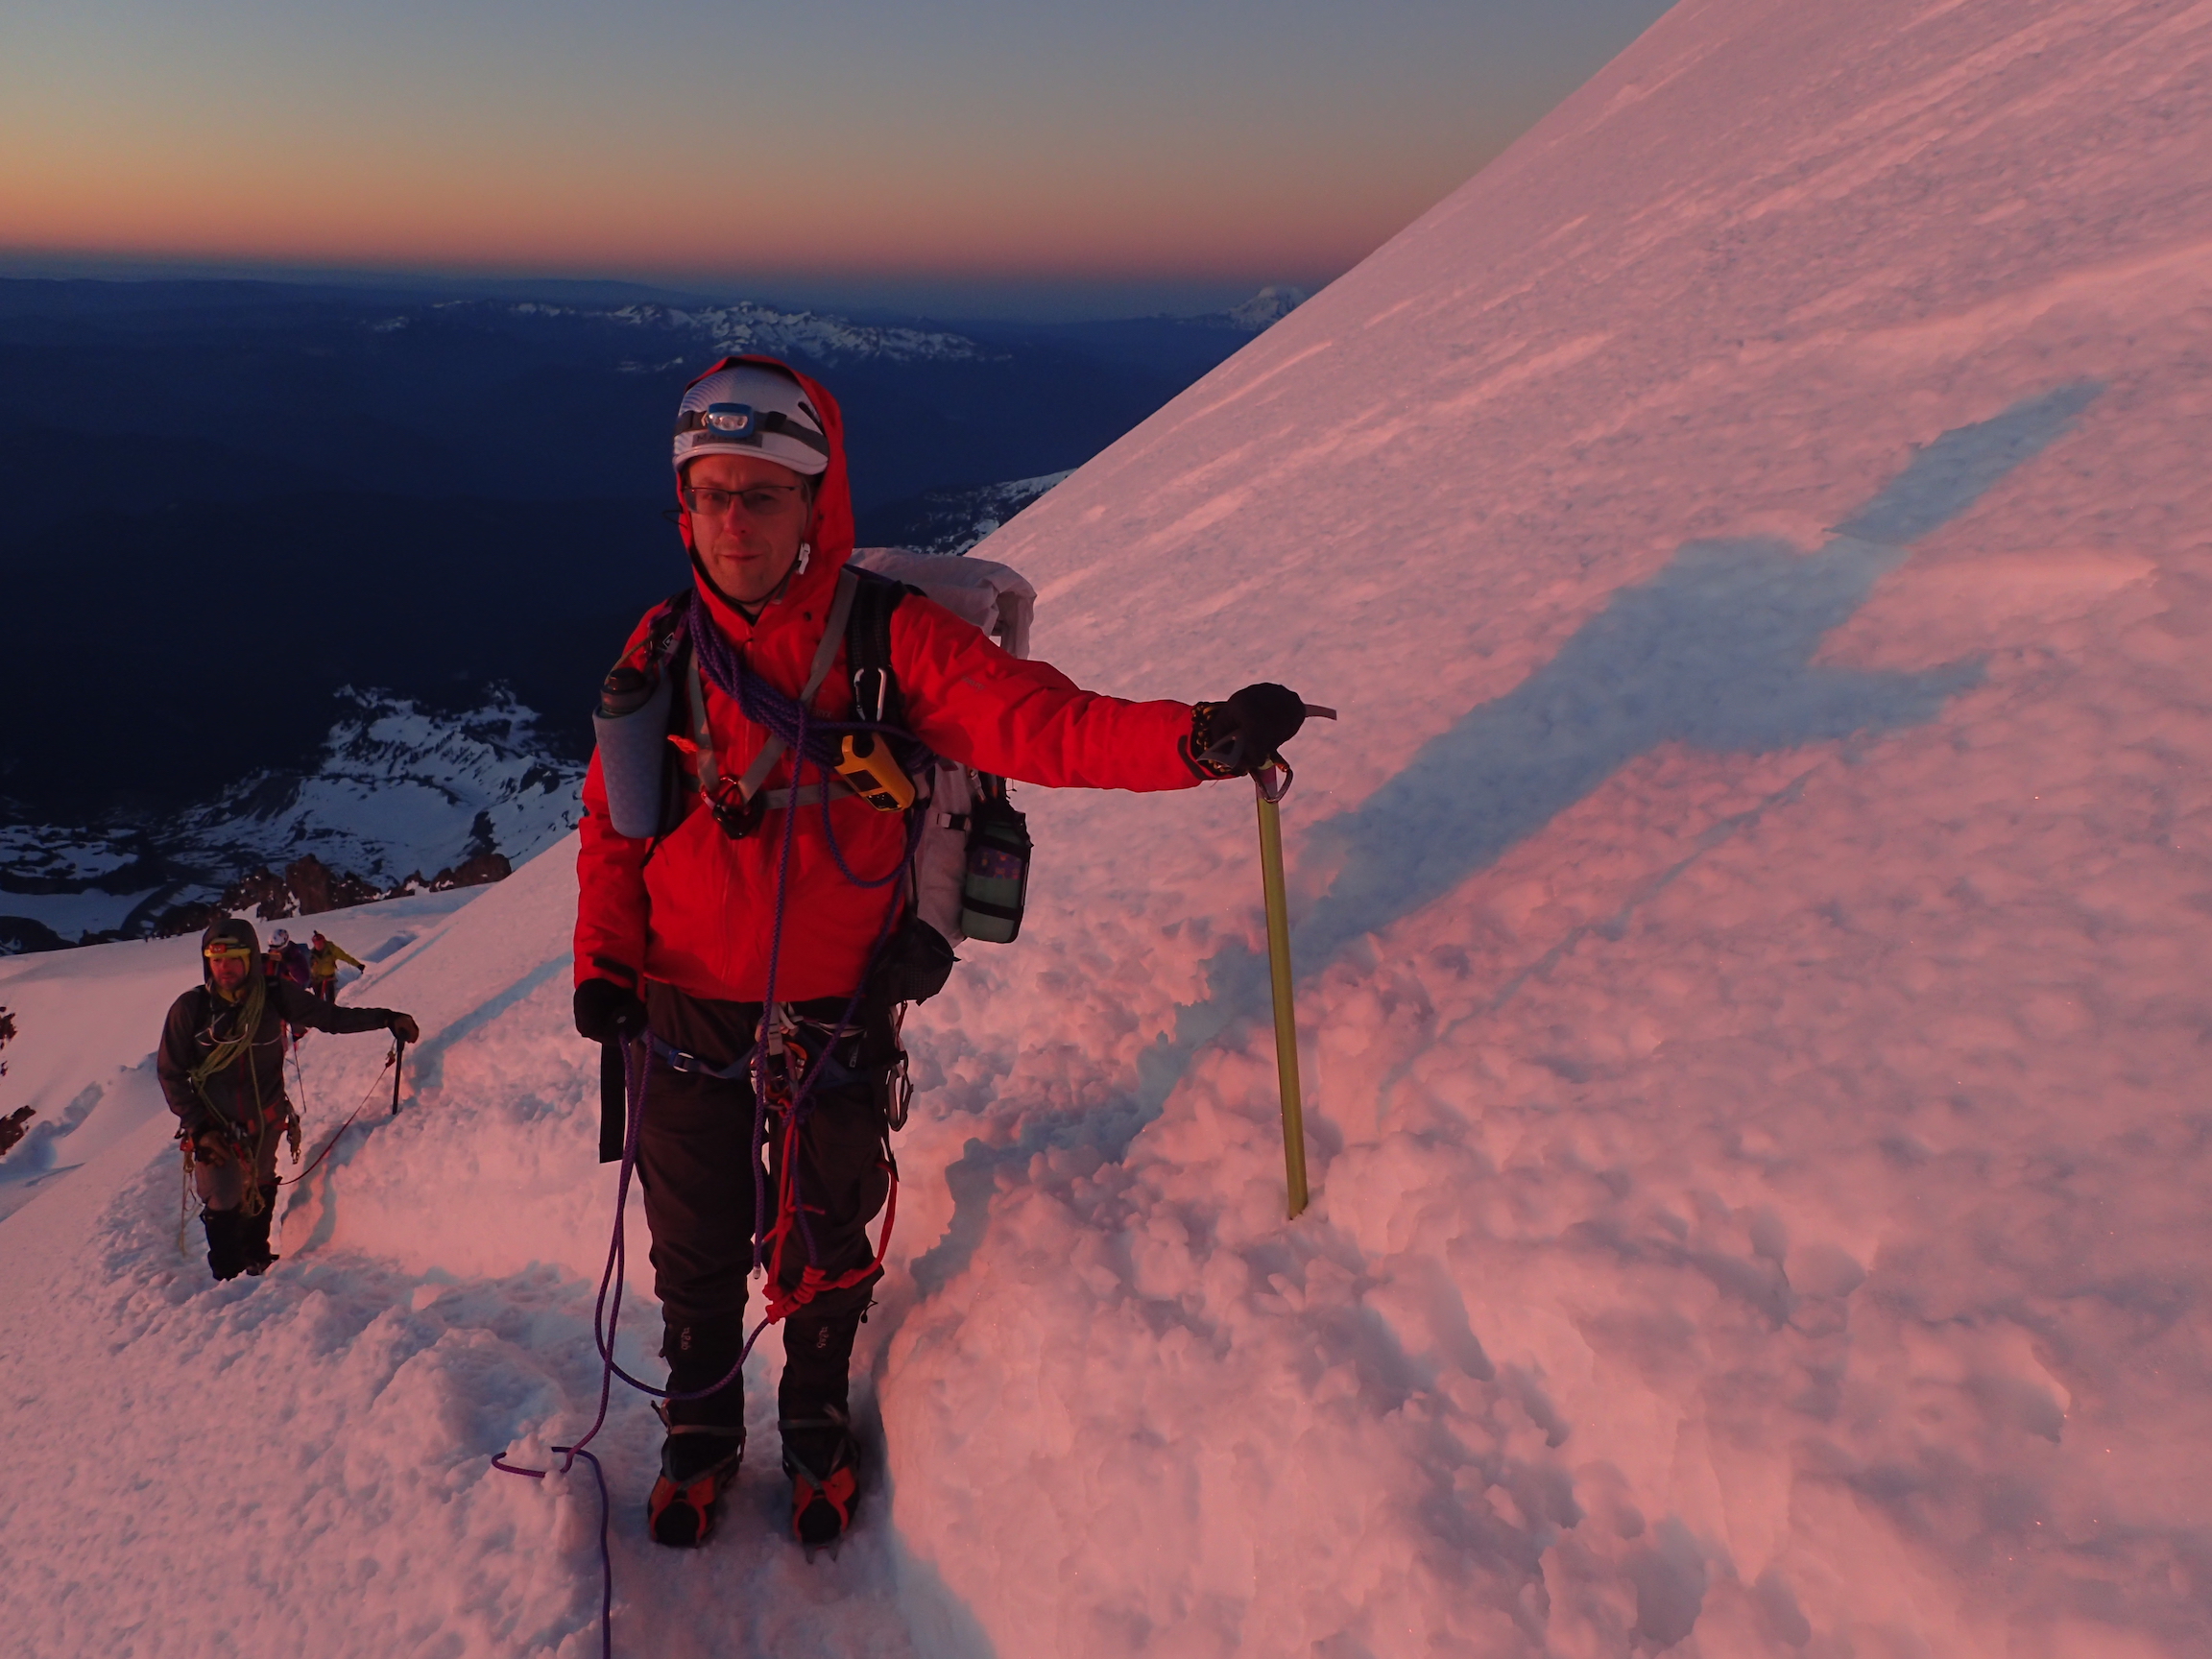
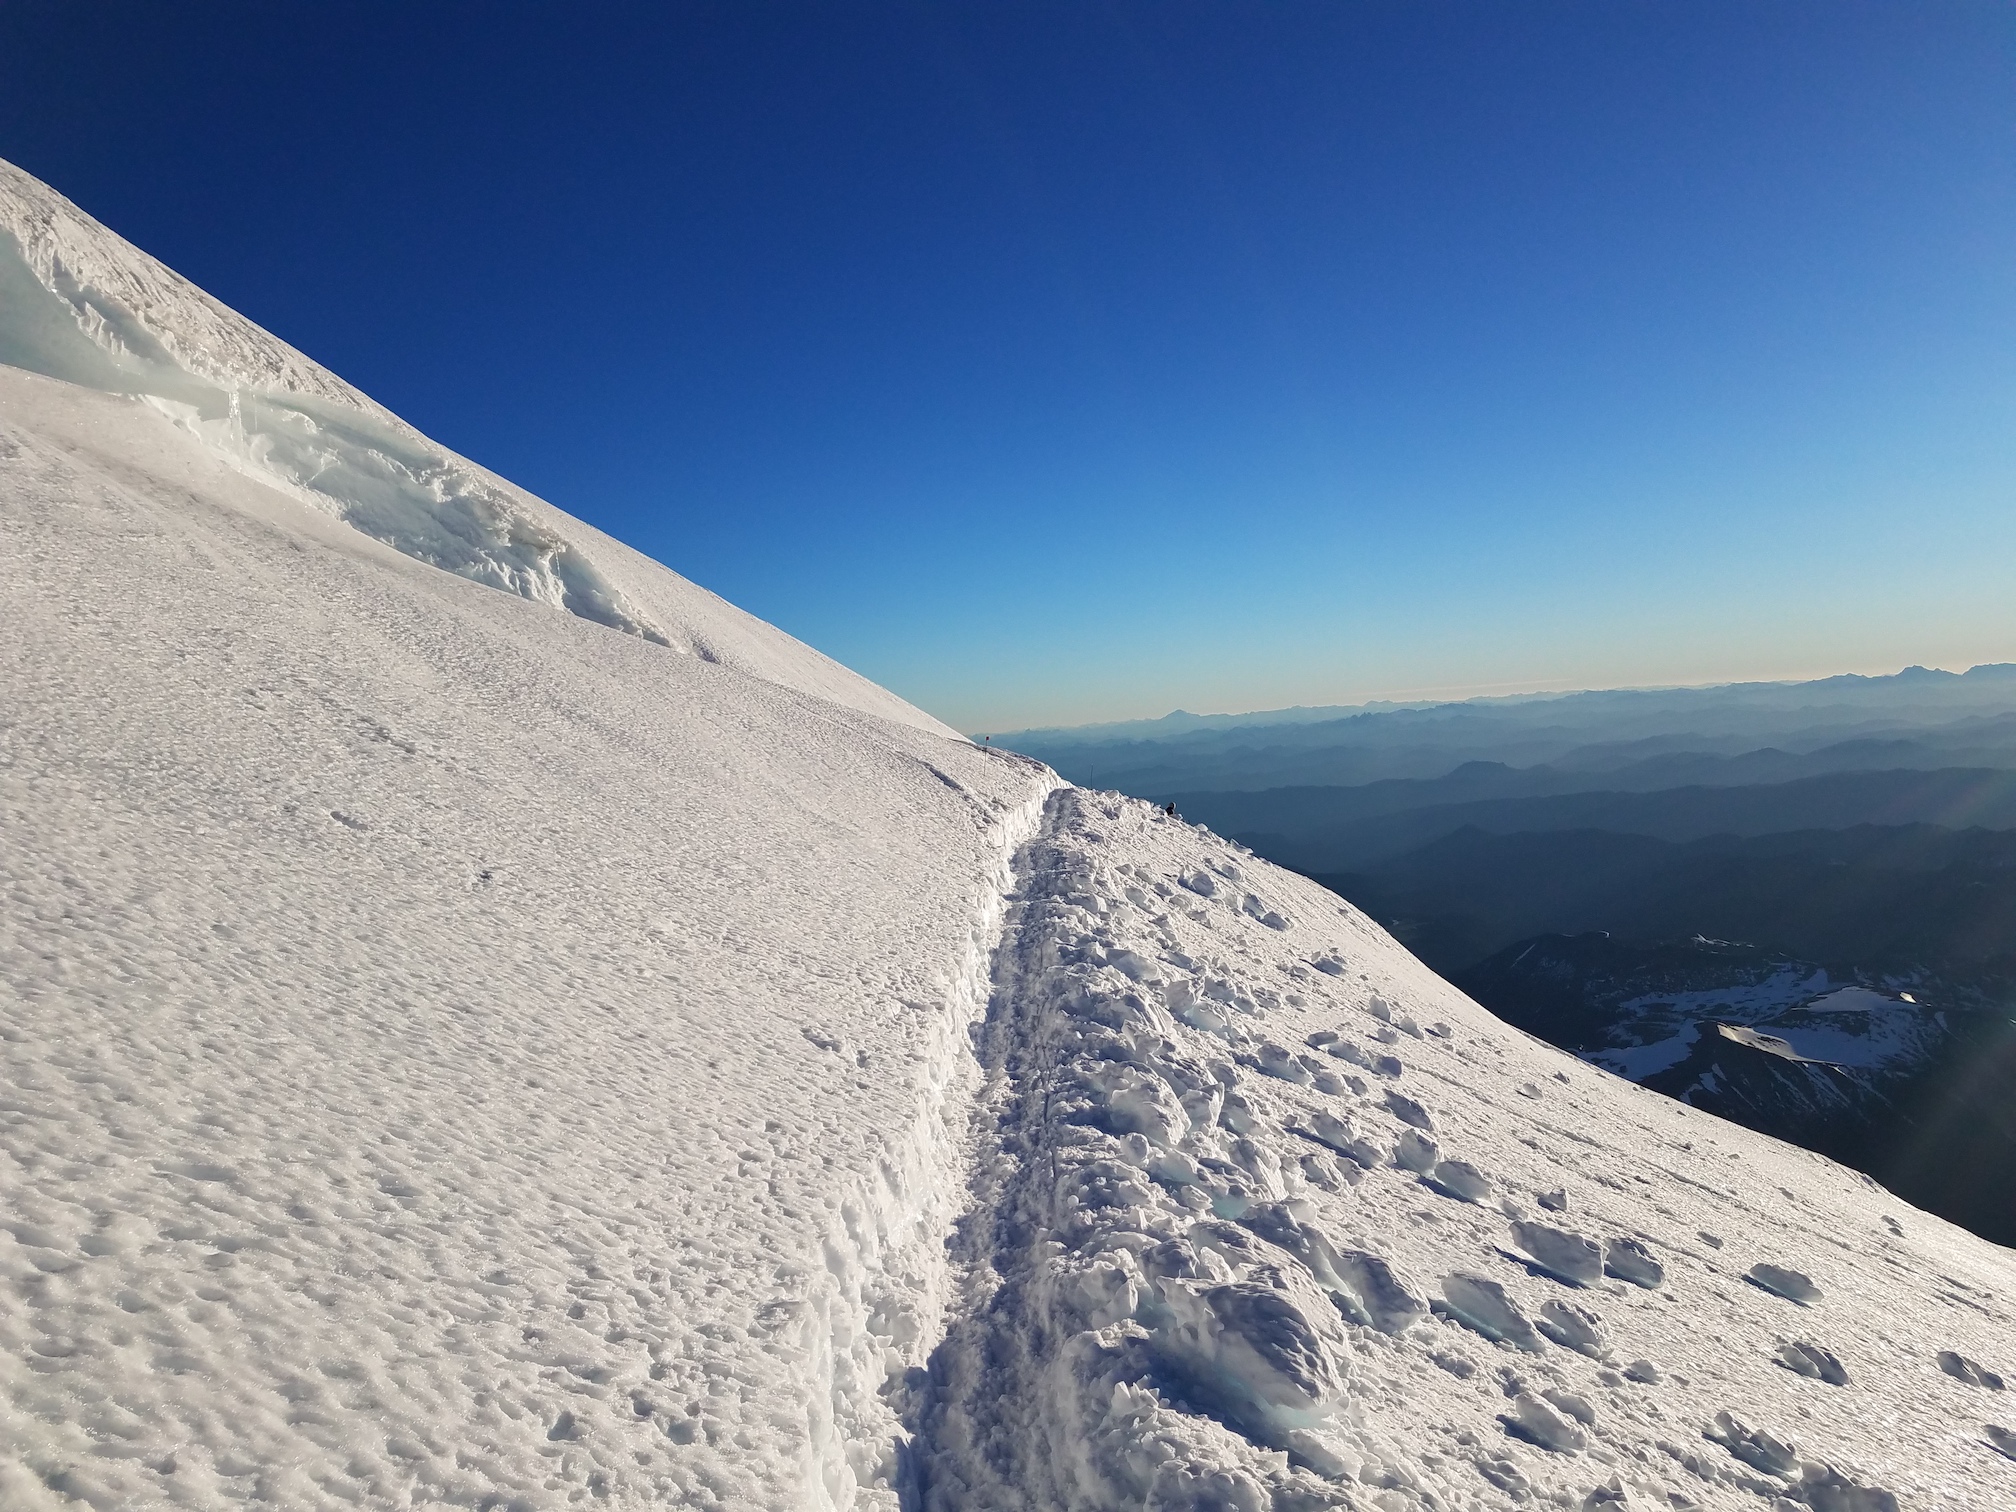
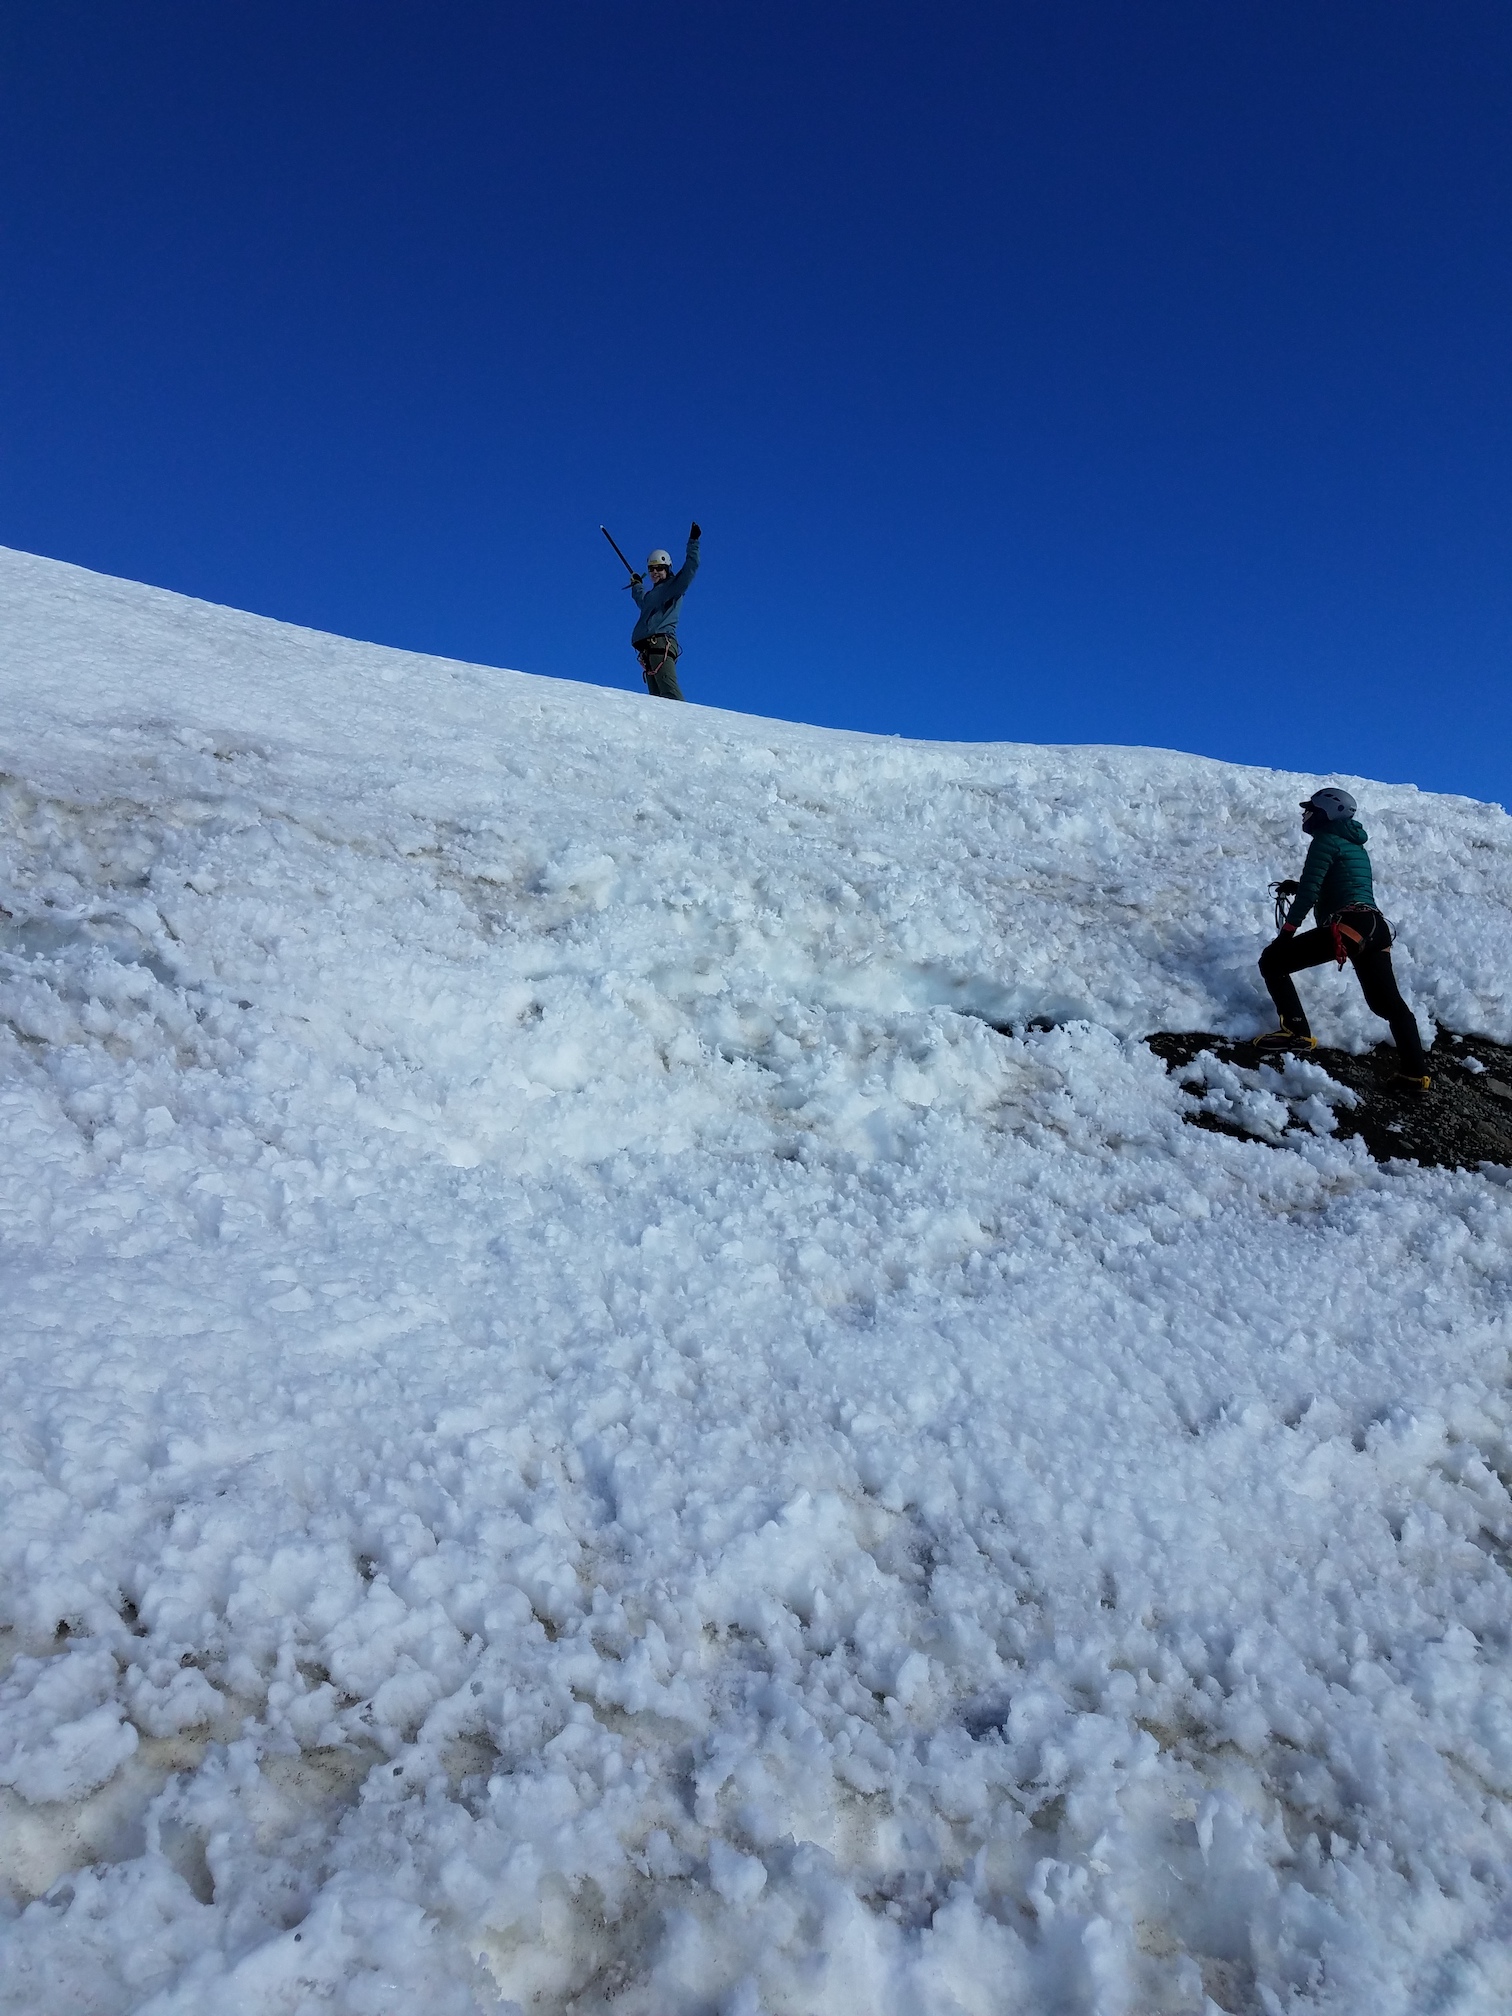
The three of us continued by ourselves, and at around 12,800 feet arrived at what was arguably the most interesting feature of the route. First, we observed the sunrise, painting the mountain in a warm, orange glow. Then we followed a long detour towards the north to avoid a serac, to a point where we could actually see Mount Ruth, and almost see Camp Schurman. On our left, there was the steep serac; on our right, there were crevasses. We carefully but quickly made our way through this fascinating area (not many pictures of this, but here’s a video of our descent through the same stretch).
Sunrise at 12,800 feet (picture by Jenny).
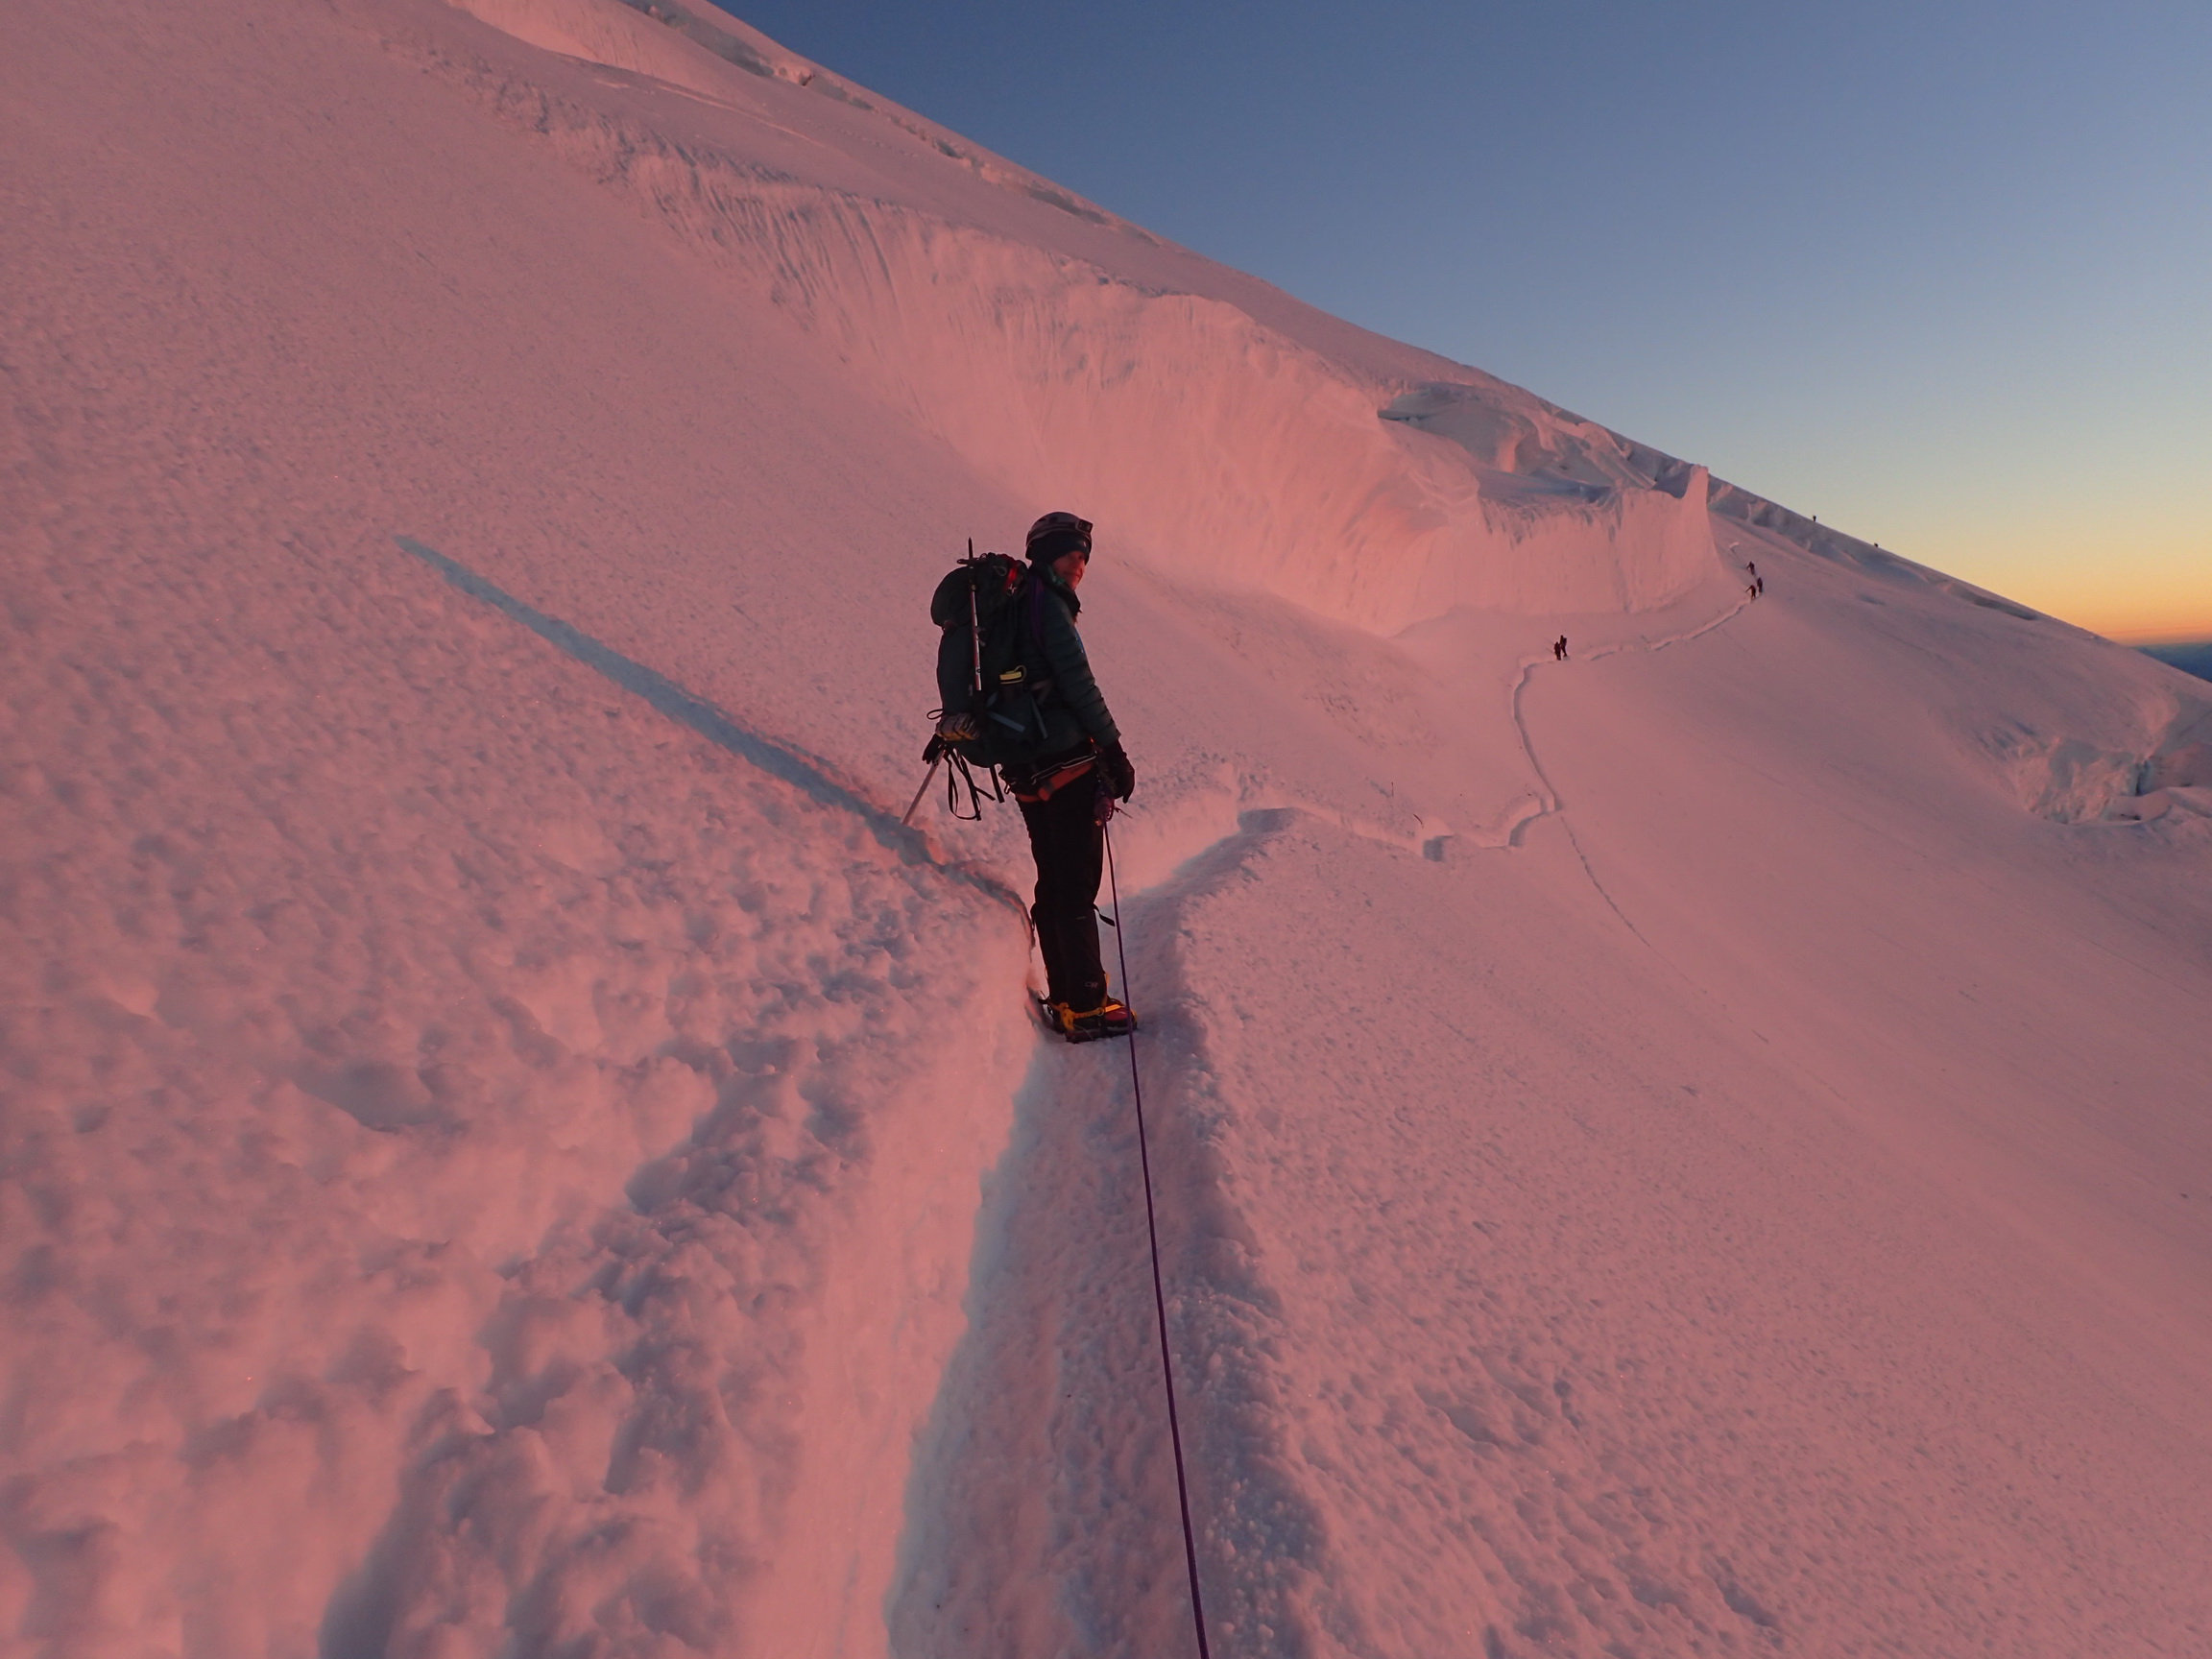
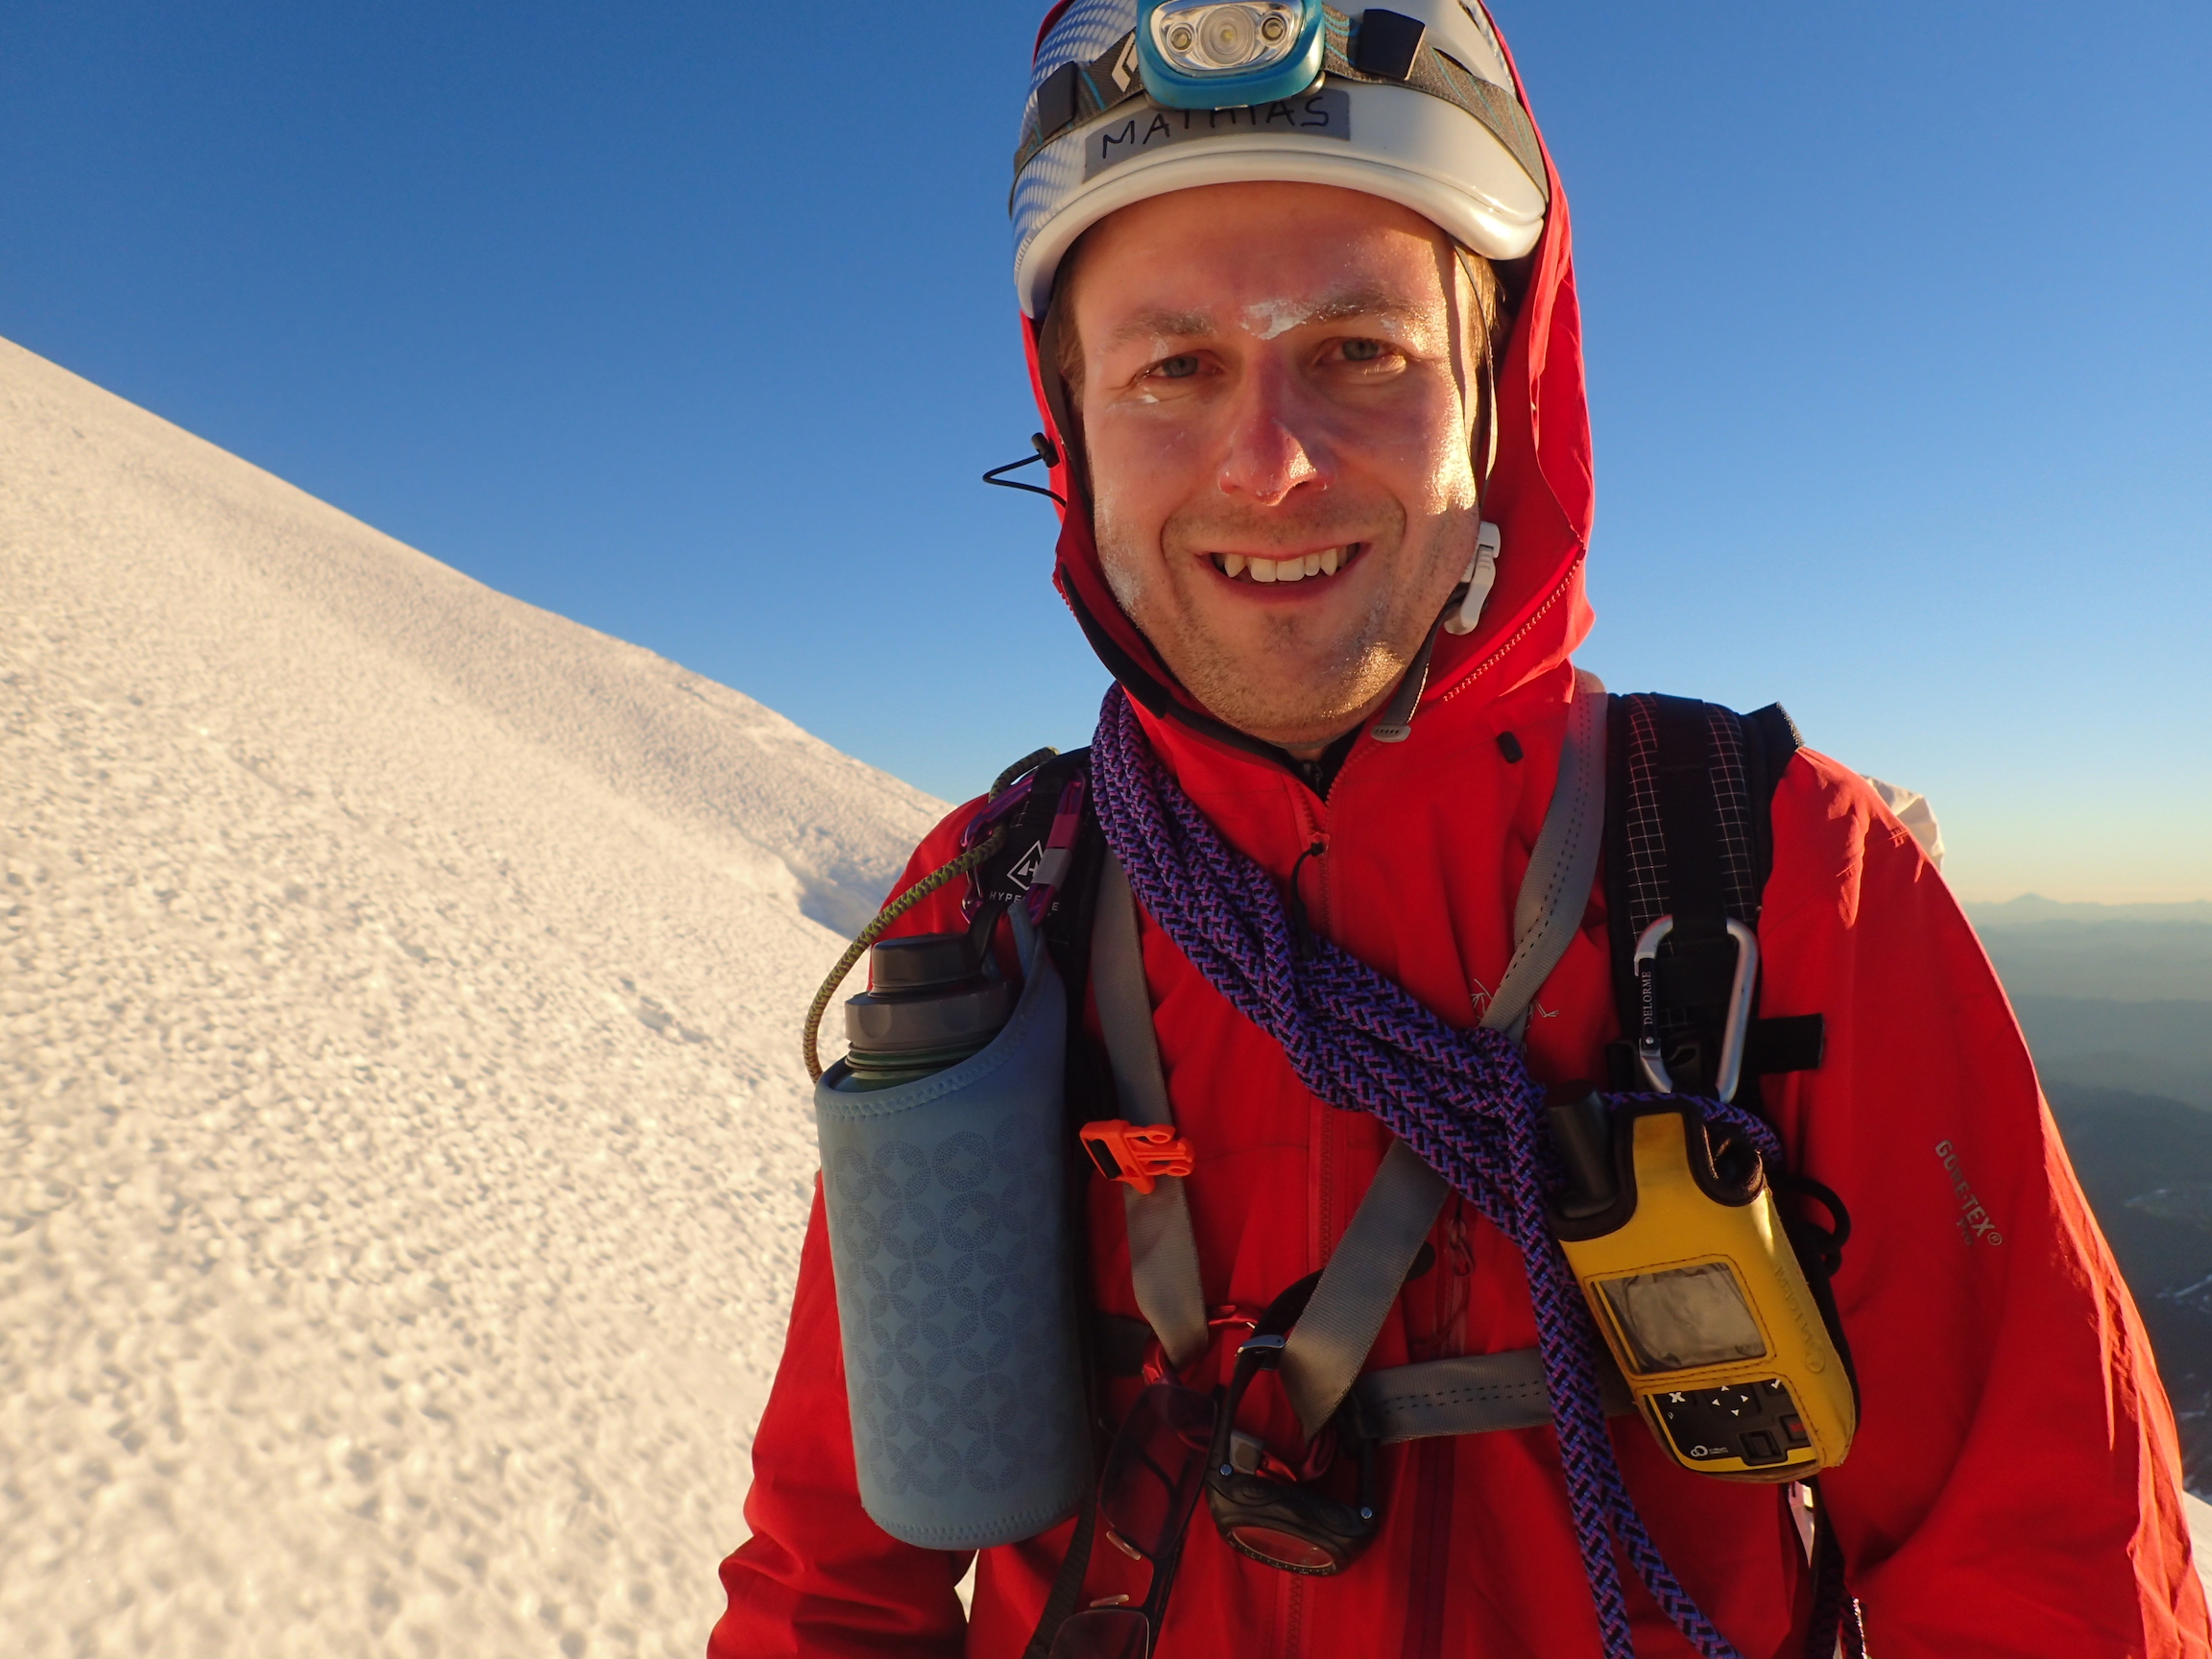
Vicki, leading our rope team at sunrise (picture by Jenny).
I was bringing up the rear at this time. Behind me is another team (picture by Jenny).
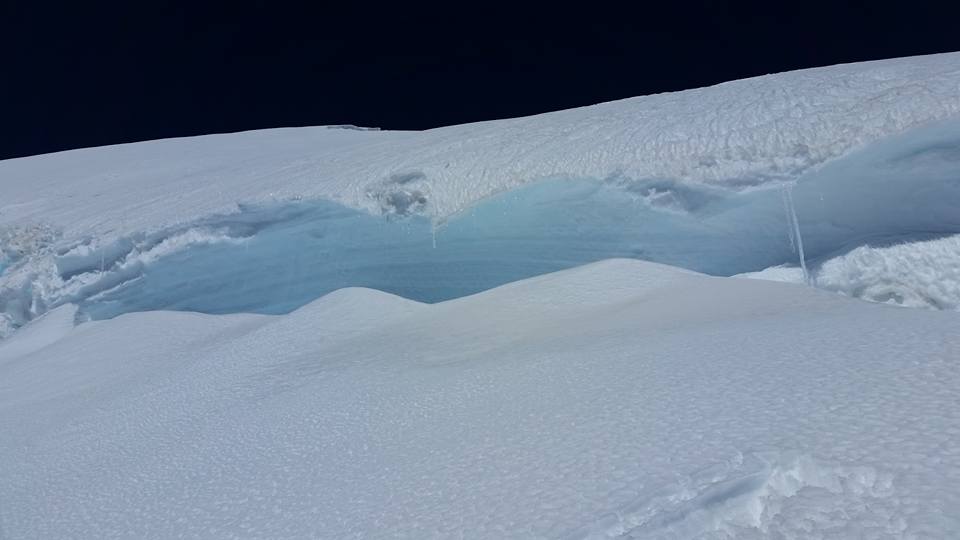
Icefall above us at about 12,800 feet (picture by Vicki).
There were pickets and carabiners, but we decided to not use them, since it would slow us down. This was probably a mistake. We either should have clipped into the fixed protection, or we should have unroped. Oh well… we didn’t fall.
After the detour, we steadily headed up on the mountain to about 13,000 feet, at which point the switchbacks became steeper. A bit higher still, maybe at 13,500 feet, we switched leads again, and I lead our team to the crater rim at 14,000 feet.
Jenny and Vicki on a switchback near 13,000 feet.
Re-applying sunscreen. Still got a bit burned (picture by Jenny).
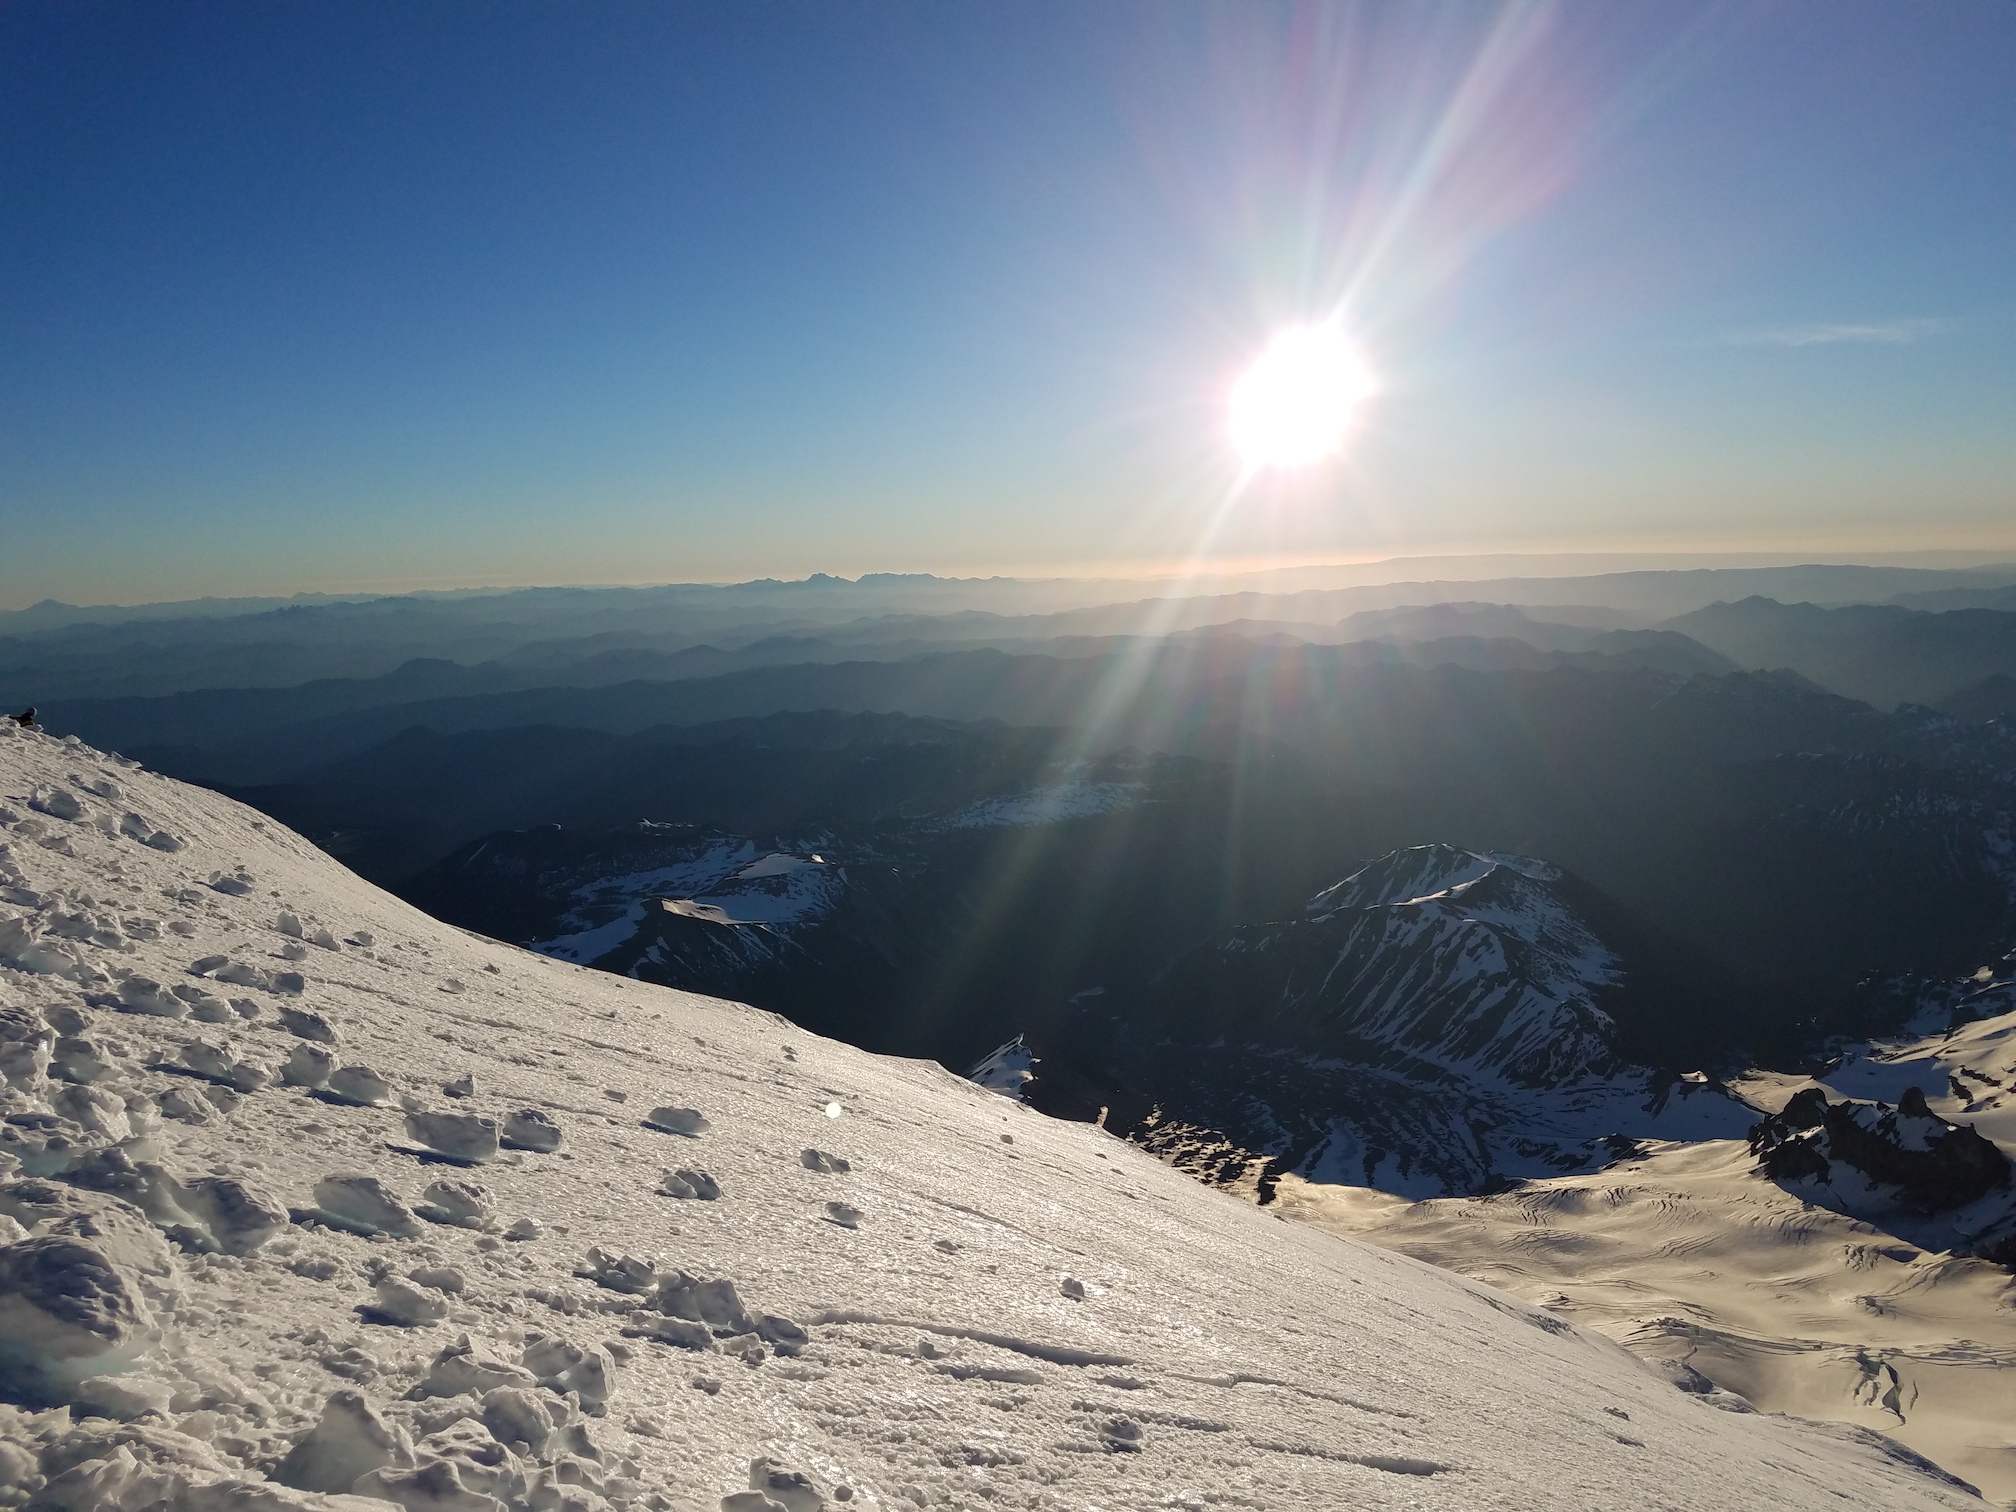
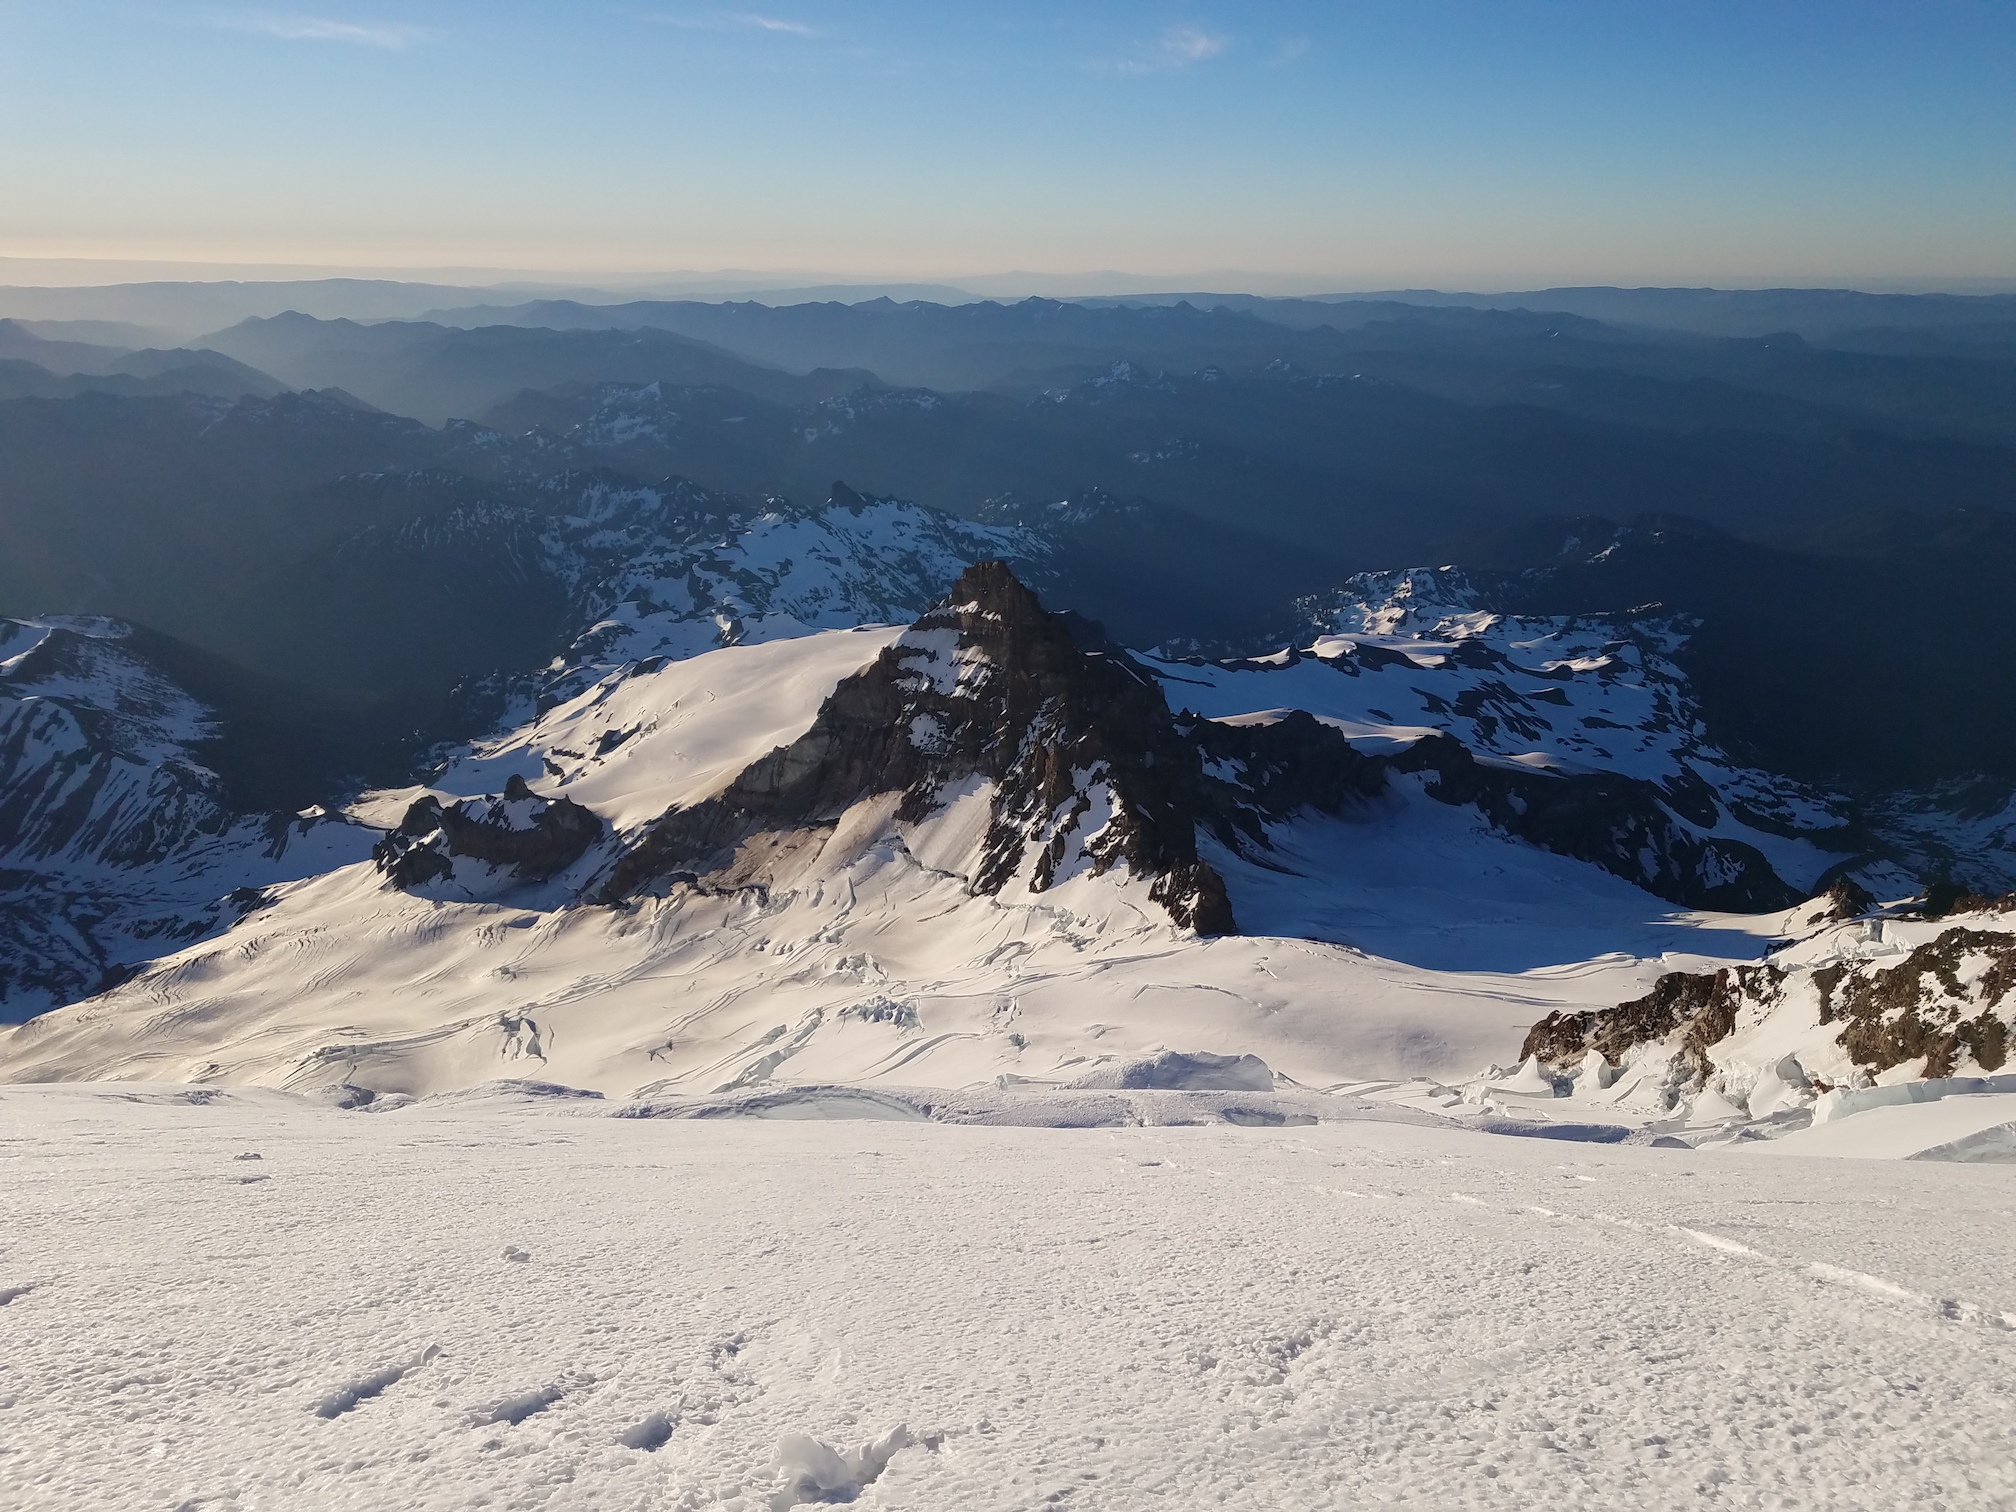
It was getting pretty hot. I’m pretty sure the dark peak in the foreground on the left is Mount Ruth.
The trail behind us above 13,000 feet.
Little Tahoma appearing very little from the upper mountain.
Little Tahoma from the upper mountain (picture by Vicky).
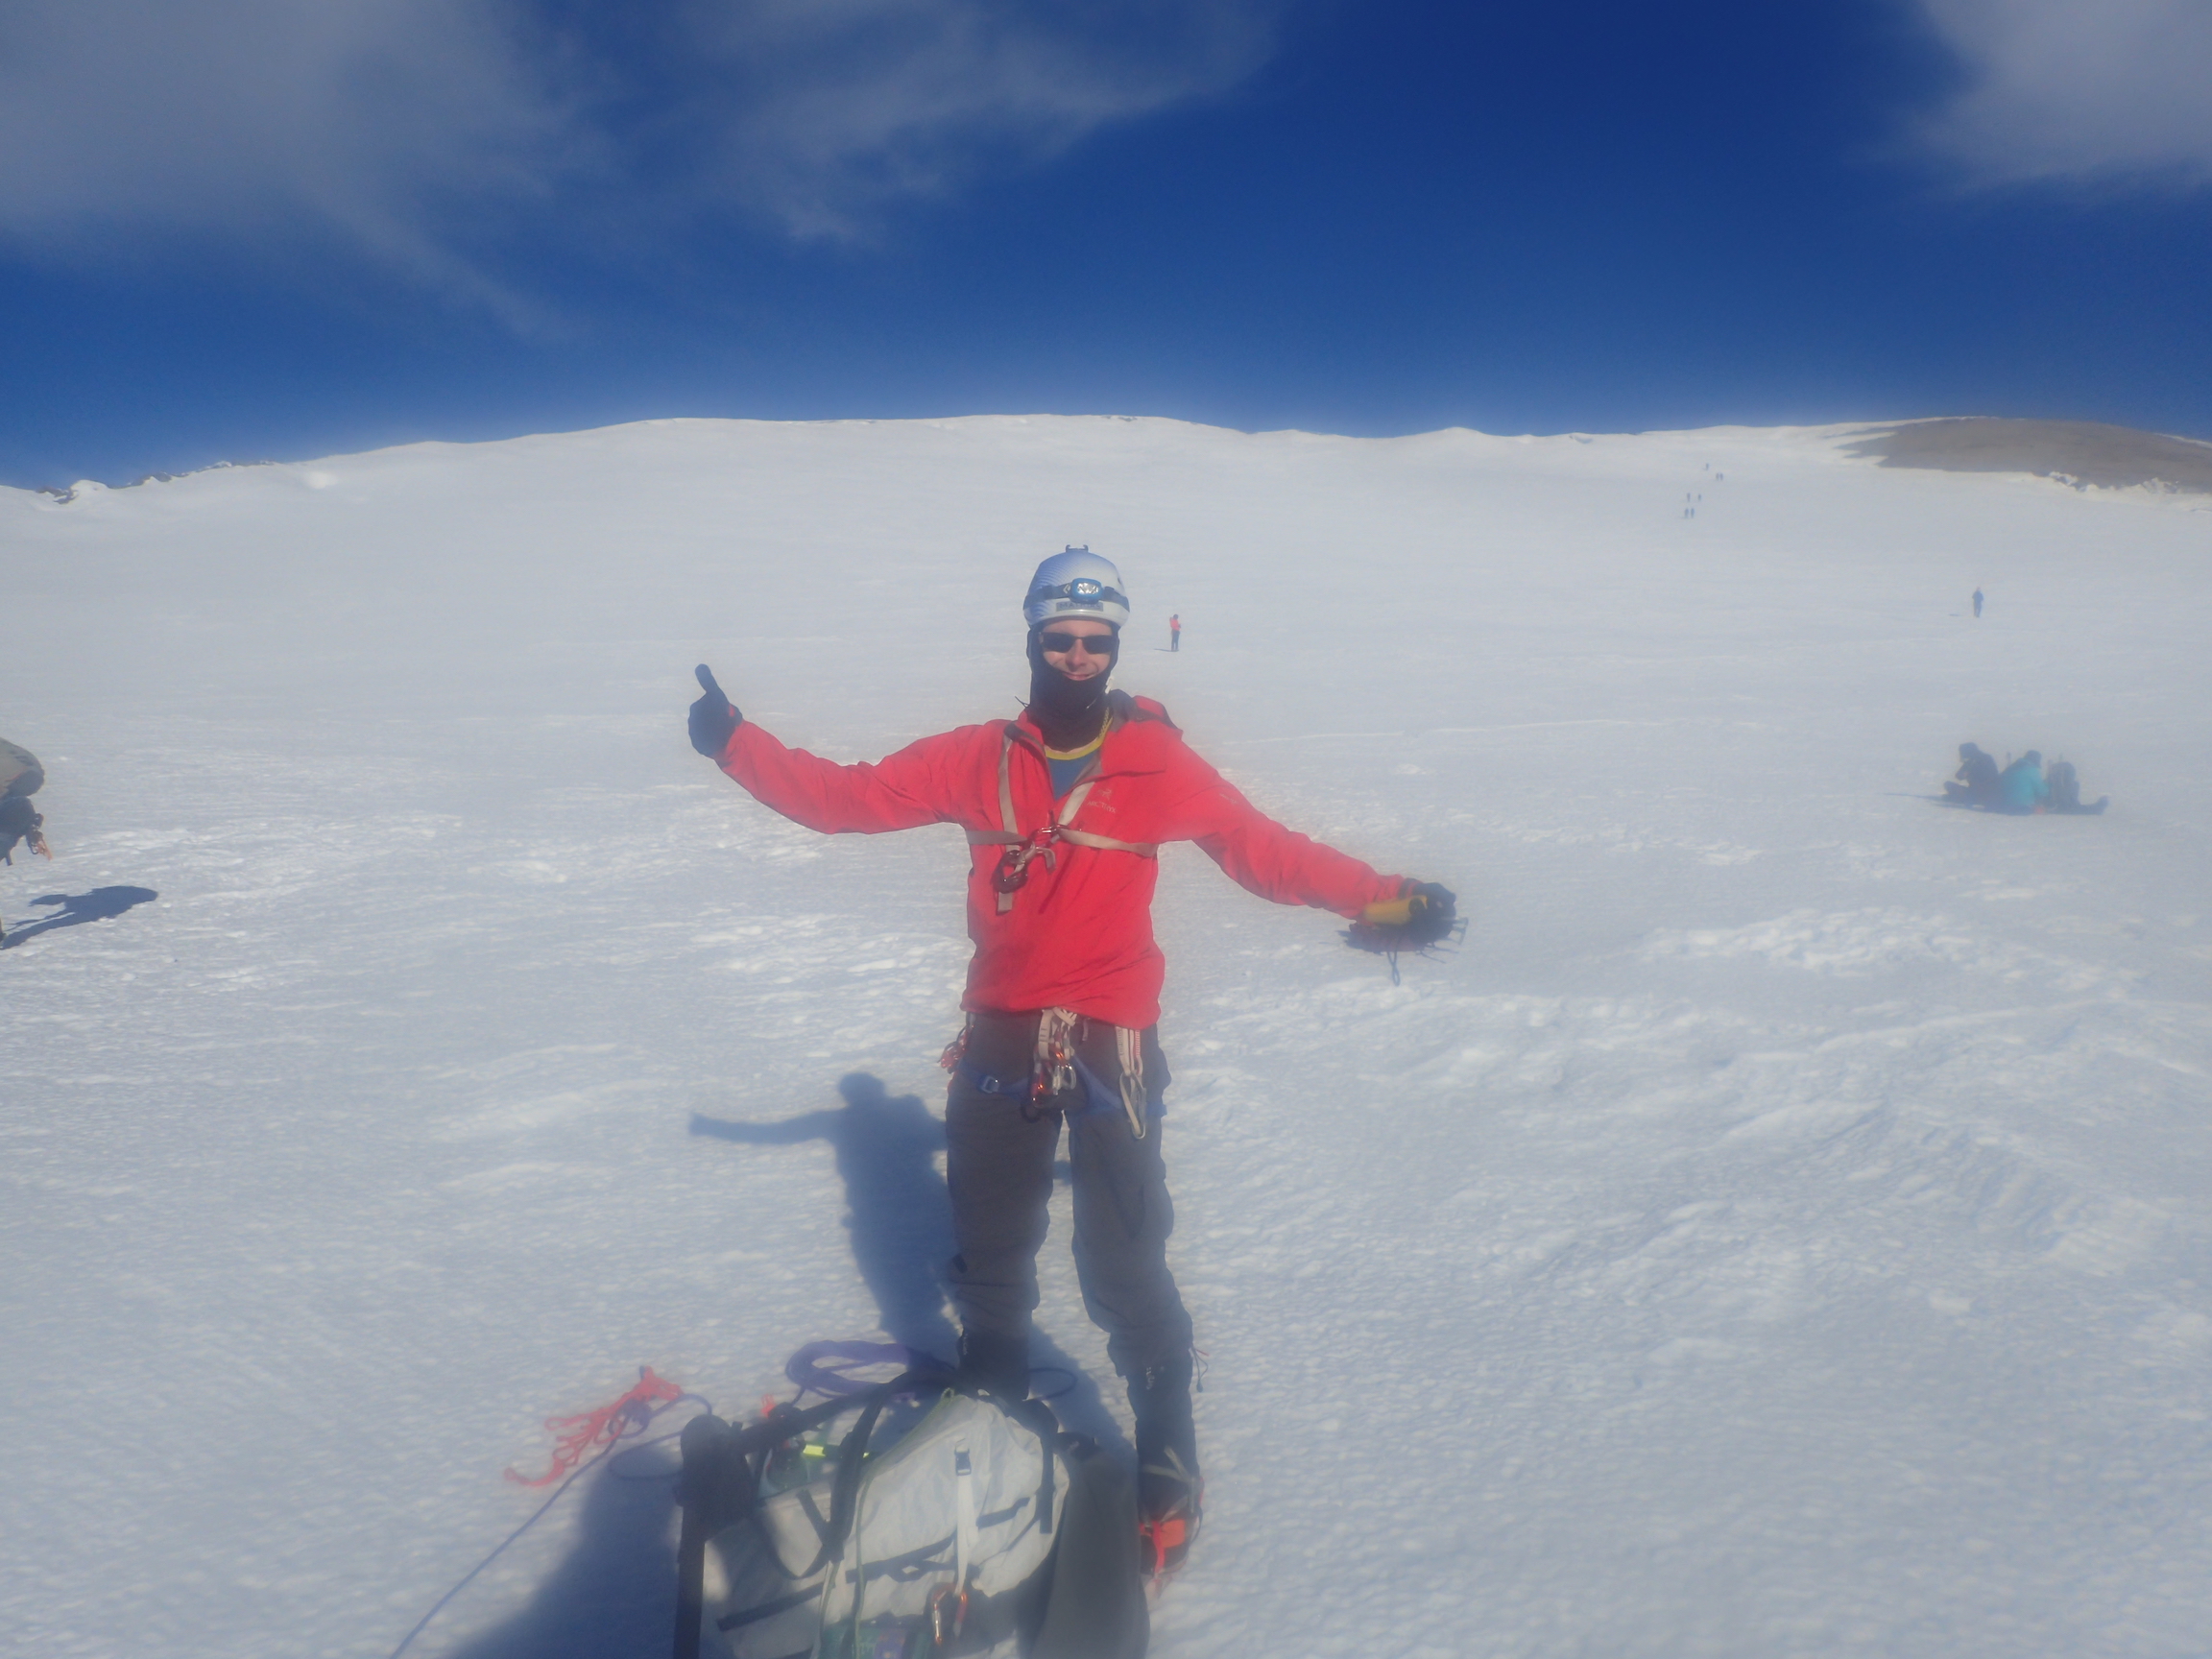
It was a remarkable sight. The crater was much larger than I had thought, the size of several football fields. There was no wind. It was absolutely tranquil. We dropped our packs and unroped, ate and drank a bit, and then headed across the crater to the Columbia Crest, Mount Rainier’s true summit. We reached it at 8:29 AM, after a bit under seven and a half hours of hiking. 9 AM would have been our turn-around time.
“I made it!” (Picture by Jenny)
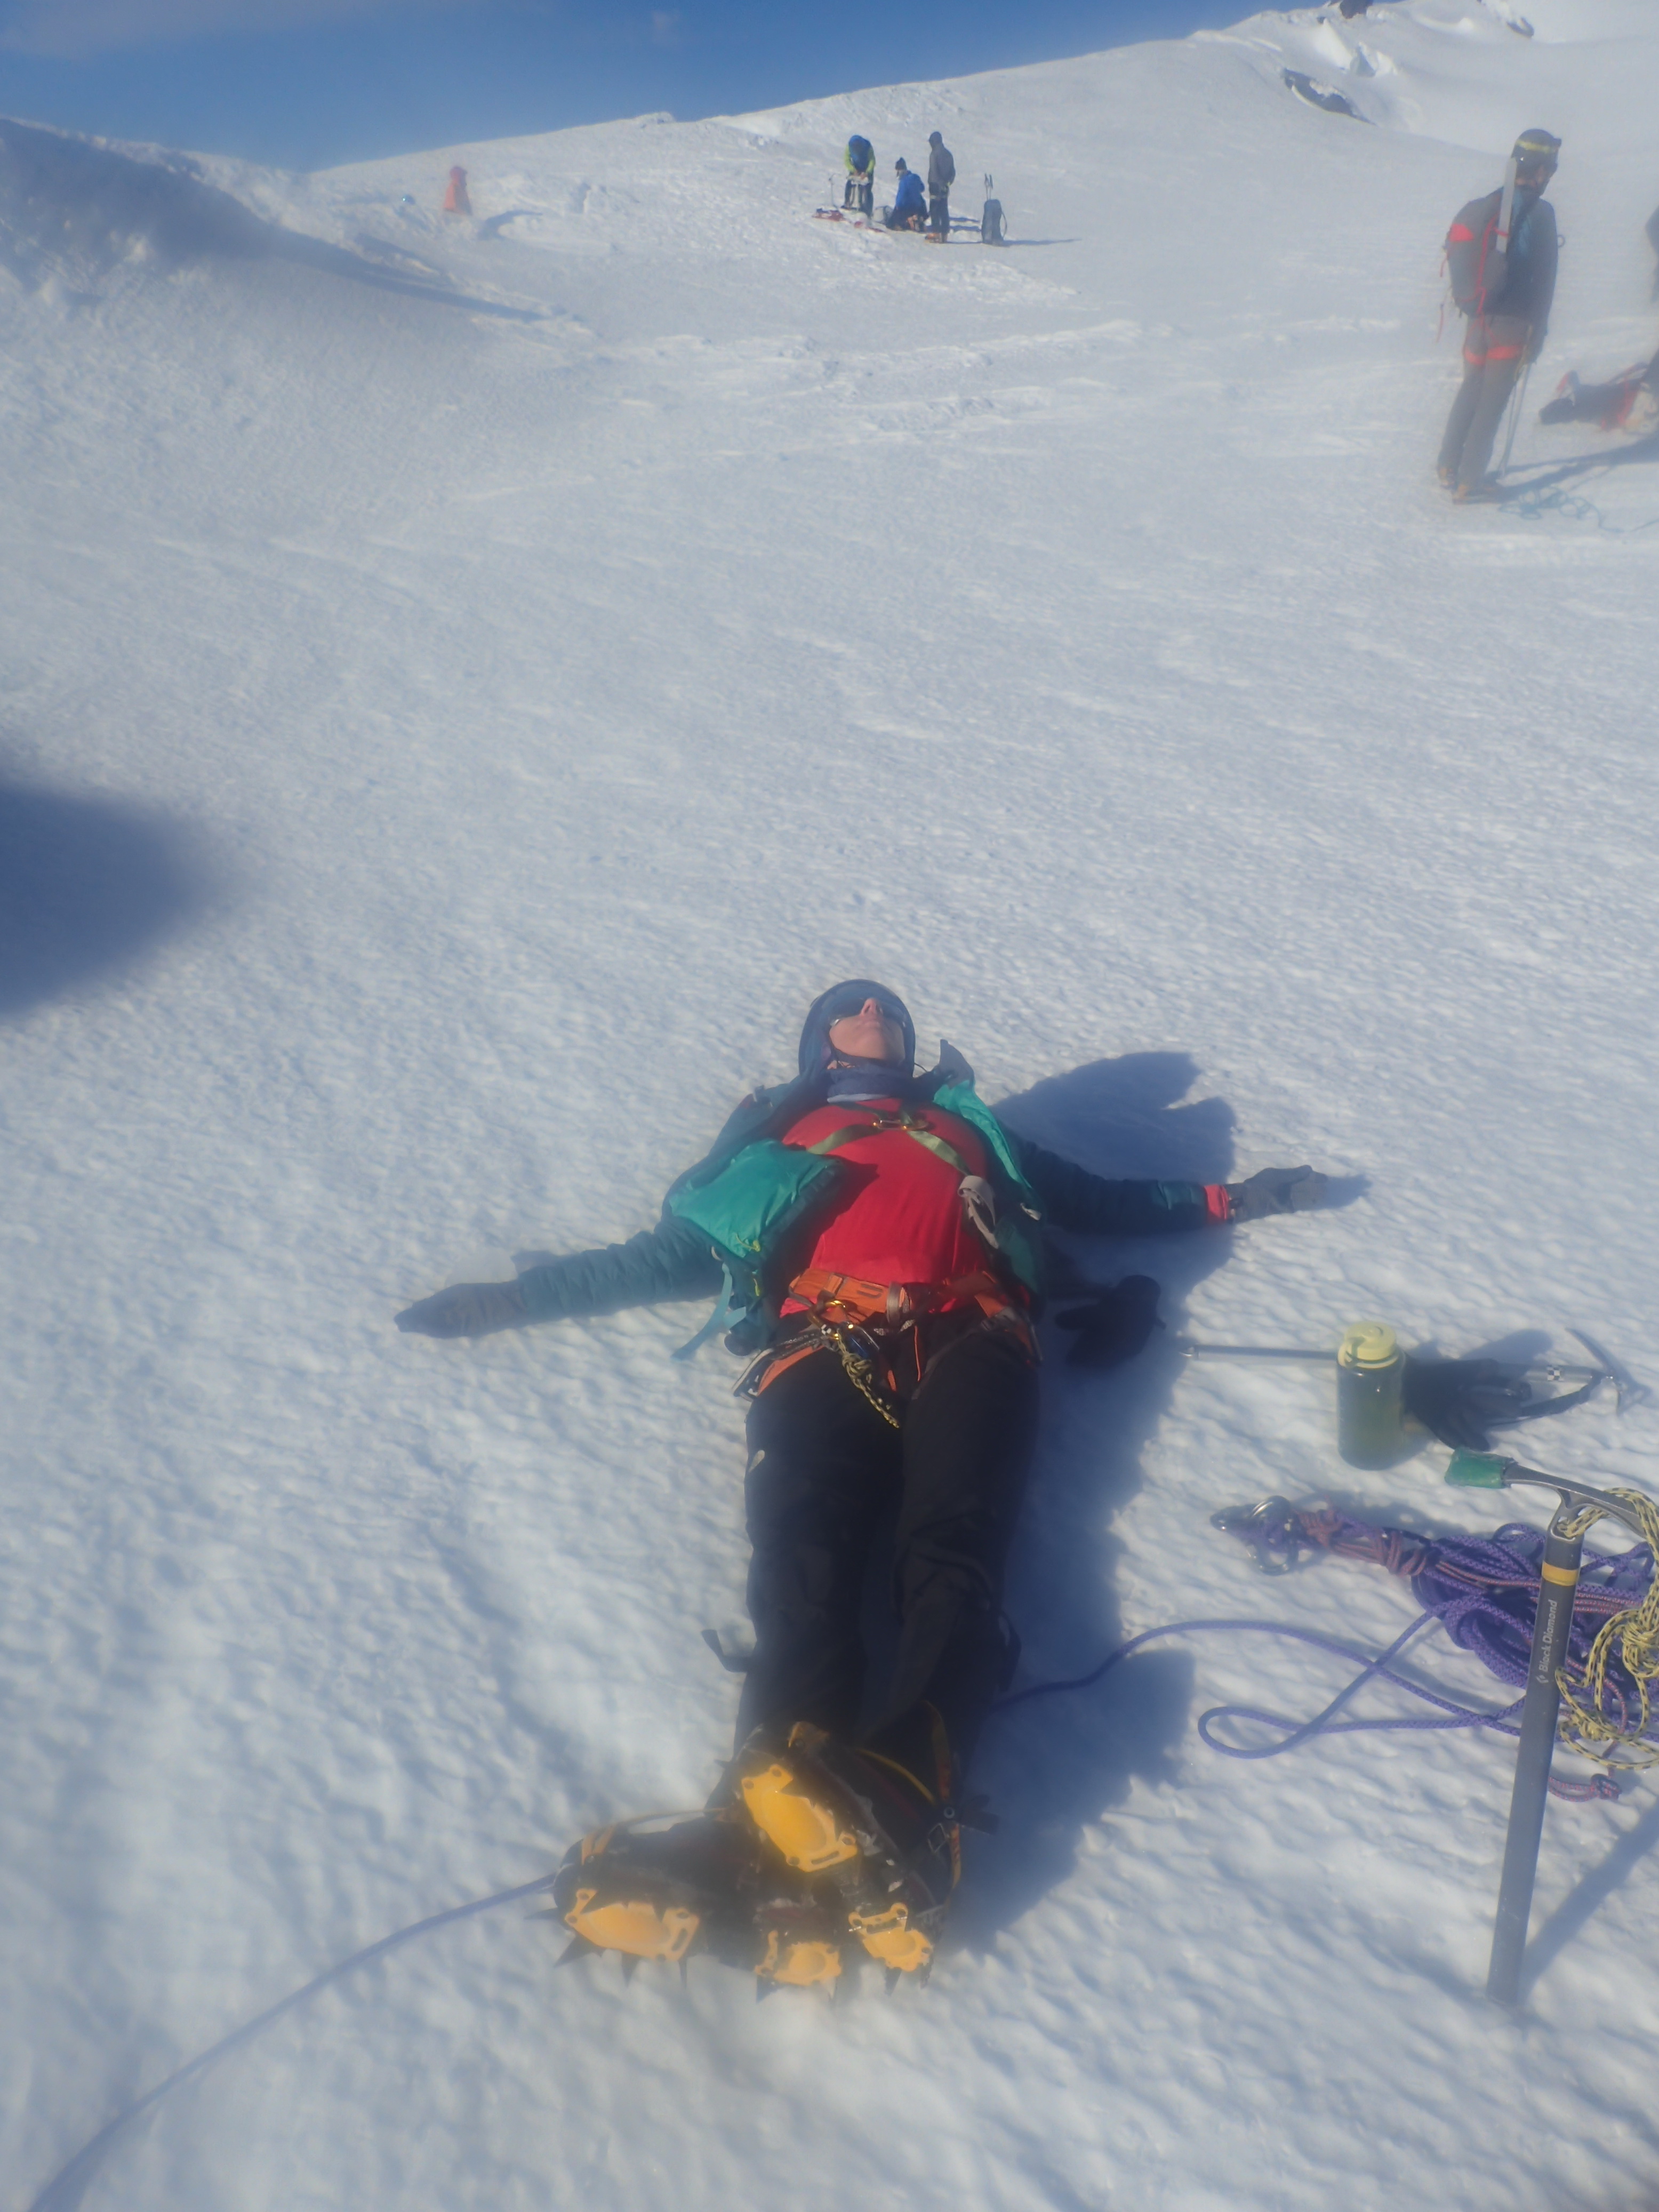
Vicki, relieved at the crater (picture by Jenny).
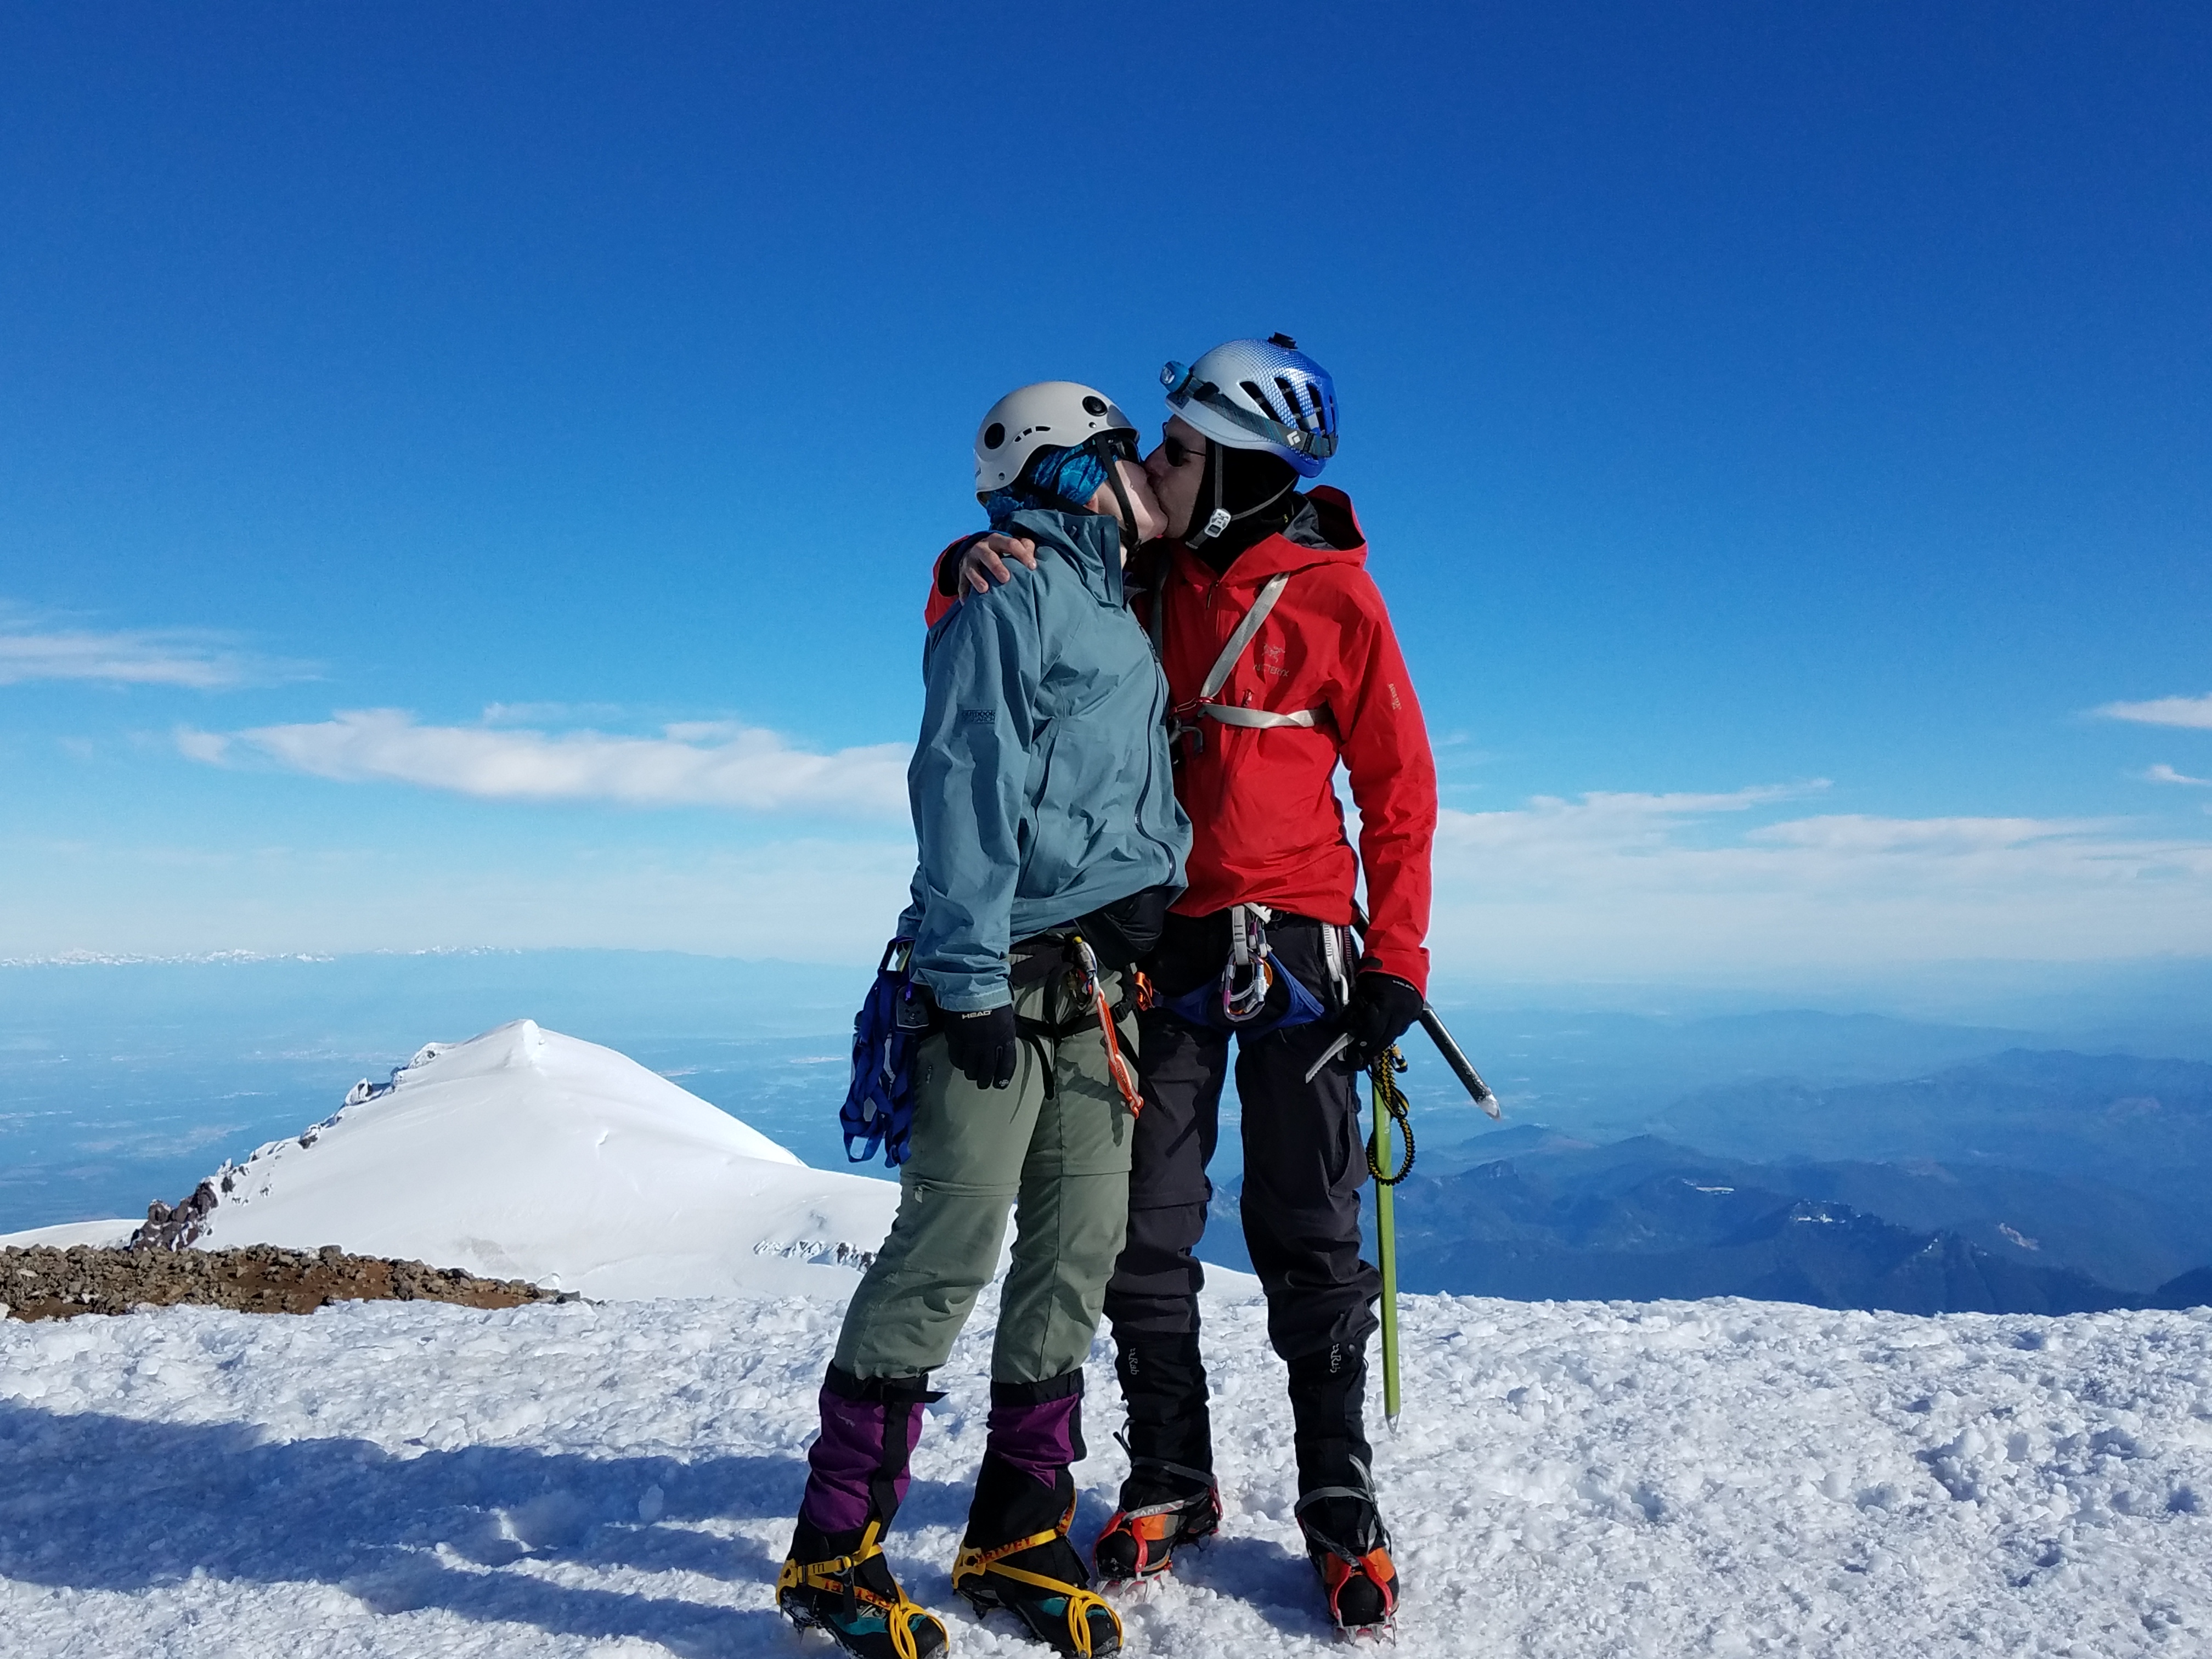
Jenny and I shortly after having reached the crater at 14,000 feet (picture by Vicki).
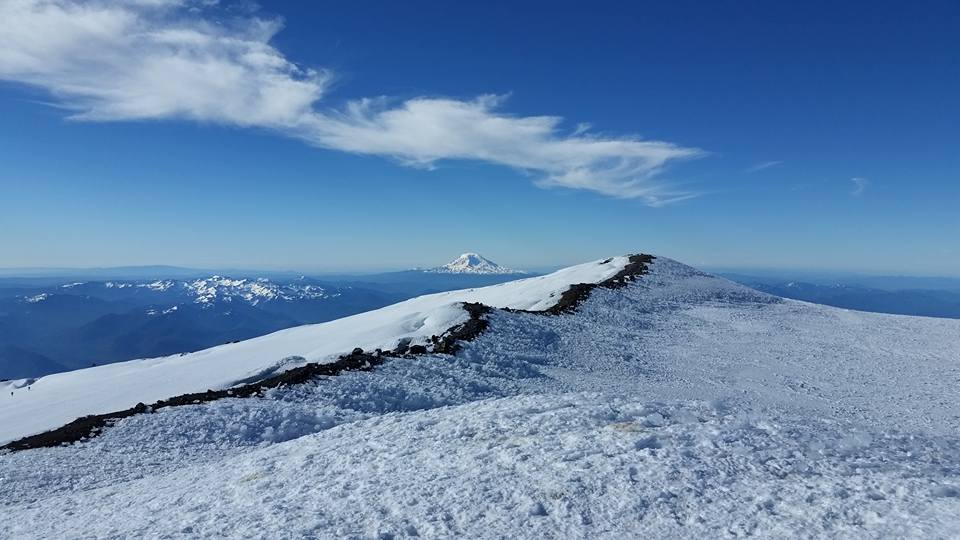
The views were incredible. We could see the Olympics and Mount Olympus clearly. Baker and Shuksan were there. Glacier Peak. The Stuart range. Mount Adams. Mount Hood and Mount Jefferson. And Mount St. Helens. Absolutely beautiful.
Jenny has reached the Columbia Crest!
Mount Adams, as seen from Columbia Crest (picture by Vicki).
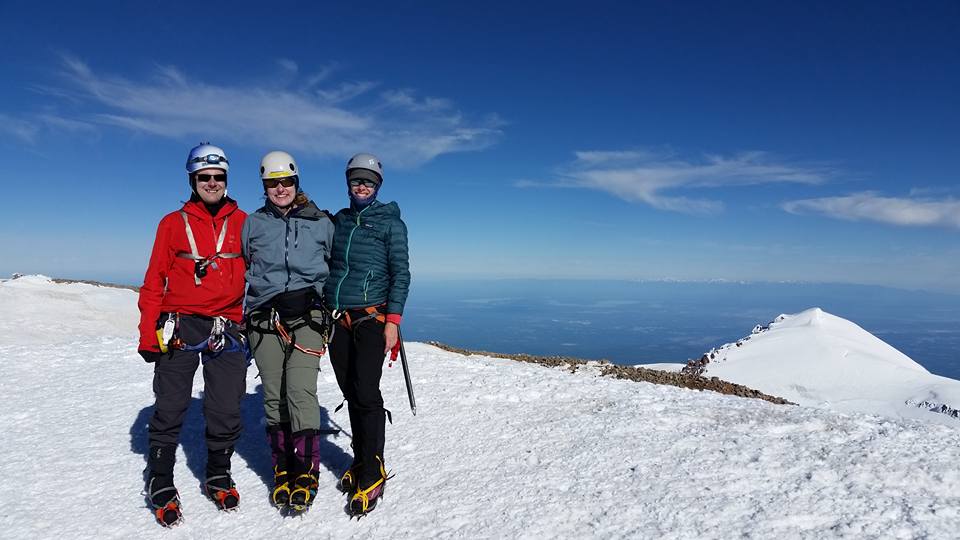
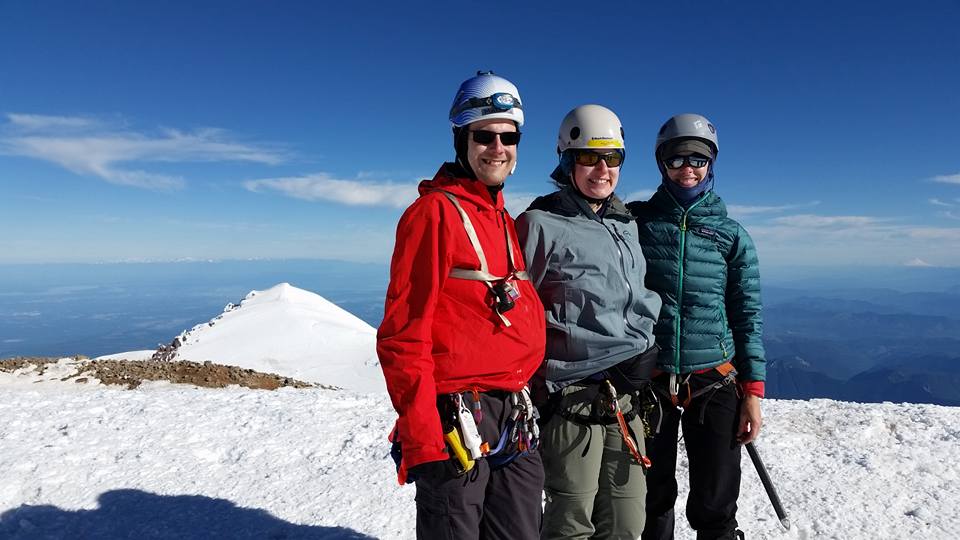
Jenny, Vicki and I on the summit, with Liberty Cap in the background.
Vicki, Jenny and I on the Columbia Crest, Mount Rainier’s summit.
We took some pictures and looked for the summit register, but couldn’t find it. We didn’t care too much. We returned to our packs via the south rim and good views of Mount Adams, ate a bit more, and then roped up for our descent.
Jenny and I on the descent, high up on the mountain (picture by Vicki).
I lead the first half down, right to the top of the Disappointment Cleaver. The snow had got quite soft by now, and our going was slow. Before the cleaver, we switched up our positions, and had Jenny lead, with Vicki in the middle, and myself taking up the rear. The cleaver was a bit tricky, but I must have bad memory, because it was much shorter than I had expected. Good! We cleared the cleaver and the icefall called Icebox quickly and headed back towards Ingraham Flats.
While on the cleaver, our second rope team tried to radio us from camp, but we couldn’t respond, the situation was just too difficult to stop and radio. Once we were back on the Ingraham Glacier, we tried to call back, but they must have already descended towards Paradise.
We hopped over the Cathedral Gap again and were back on the Cowlitz Glacier. At this point, I must admit, I ran a bit out of energy. When we had stopped to snack, I had always spent some time with group tasks, such as looking at maps or trying to reach our second rope team, and I hadn’t eaten enough. I was dead-tired by the time we reached Camp Muir again. It had taken us about four hours to get back to camp.
We ate — the best Snickers bar of my life! — and took a brief nap, then packed up our tents. At 3 PM, we started the hike back down. Unfortunately, glissading didn’t quite work on the upper Muir Snowfield, but we hit a few decent glissades farther down. Just a few minutes after 7 PM, we were back at our cars.
The hike out, with all our gear in our packs again, was long, but we made it.
Jenny and I ate at the Basecamp Bar and Grill, and reached our home in Seattle at 11 PM. We had been up for 24 hours. 24 amazing hours.
Now, almost three days later, I still haven’t come down the mountain. I’m still high.
Jenny and I will most likely try to go up again later this year, on the Emmons route, if possible. And we’ve already signed up for a three-day climb this next weekend, to Dome Peak, Washington’s 21st highest mountain (according to the Bulger list).
On Sunday, June 25, 2017, our friend Vicki, Jenny, and I summited Mount Rainier, the tallest mountain in Washington state. Mount Rainier is the most prominent mountain in the contiguous US (only Denali in Alaska and Mauna Kea on Hawaii are more prominent), and also the most glaciated mountain in the lower 48.
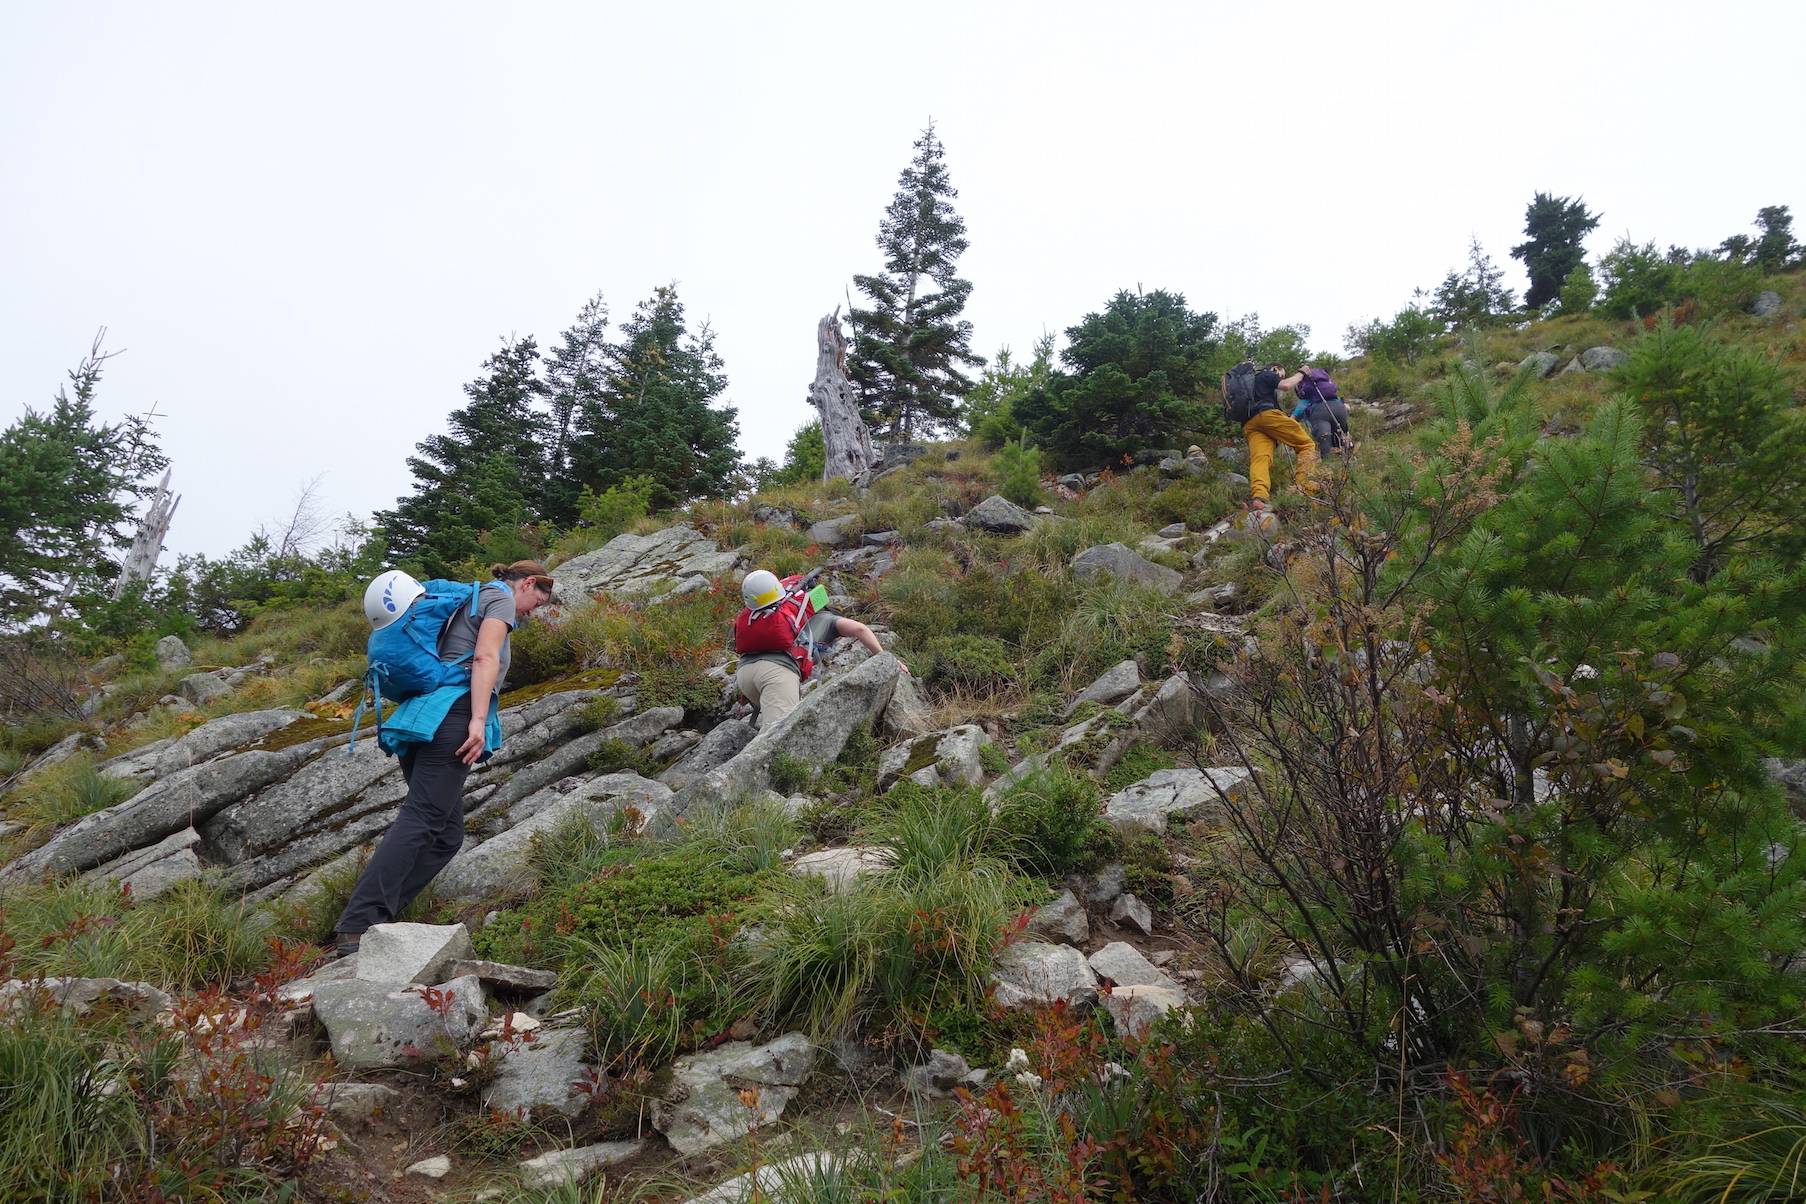
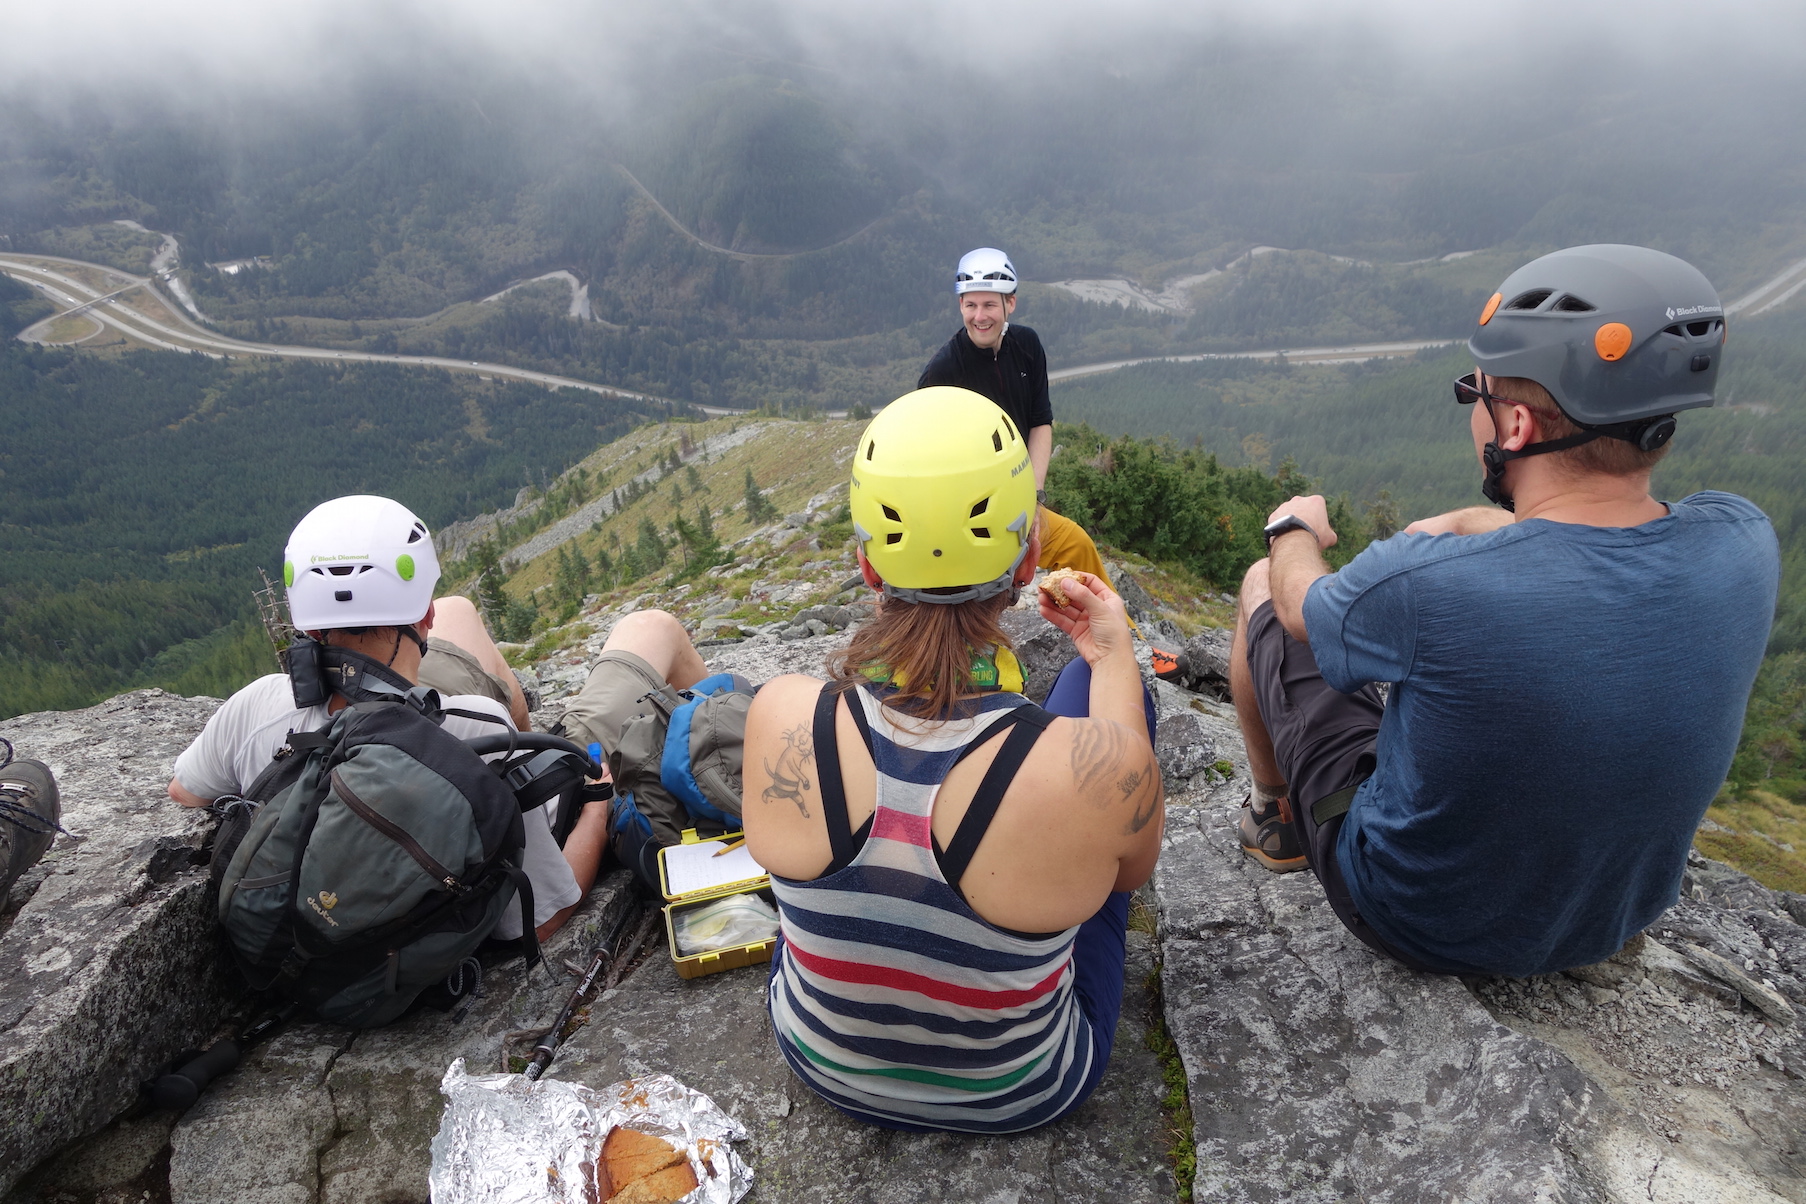
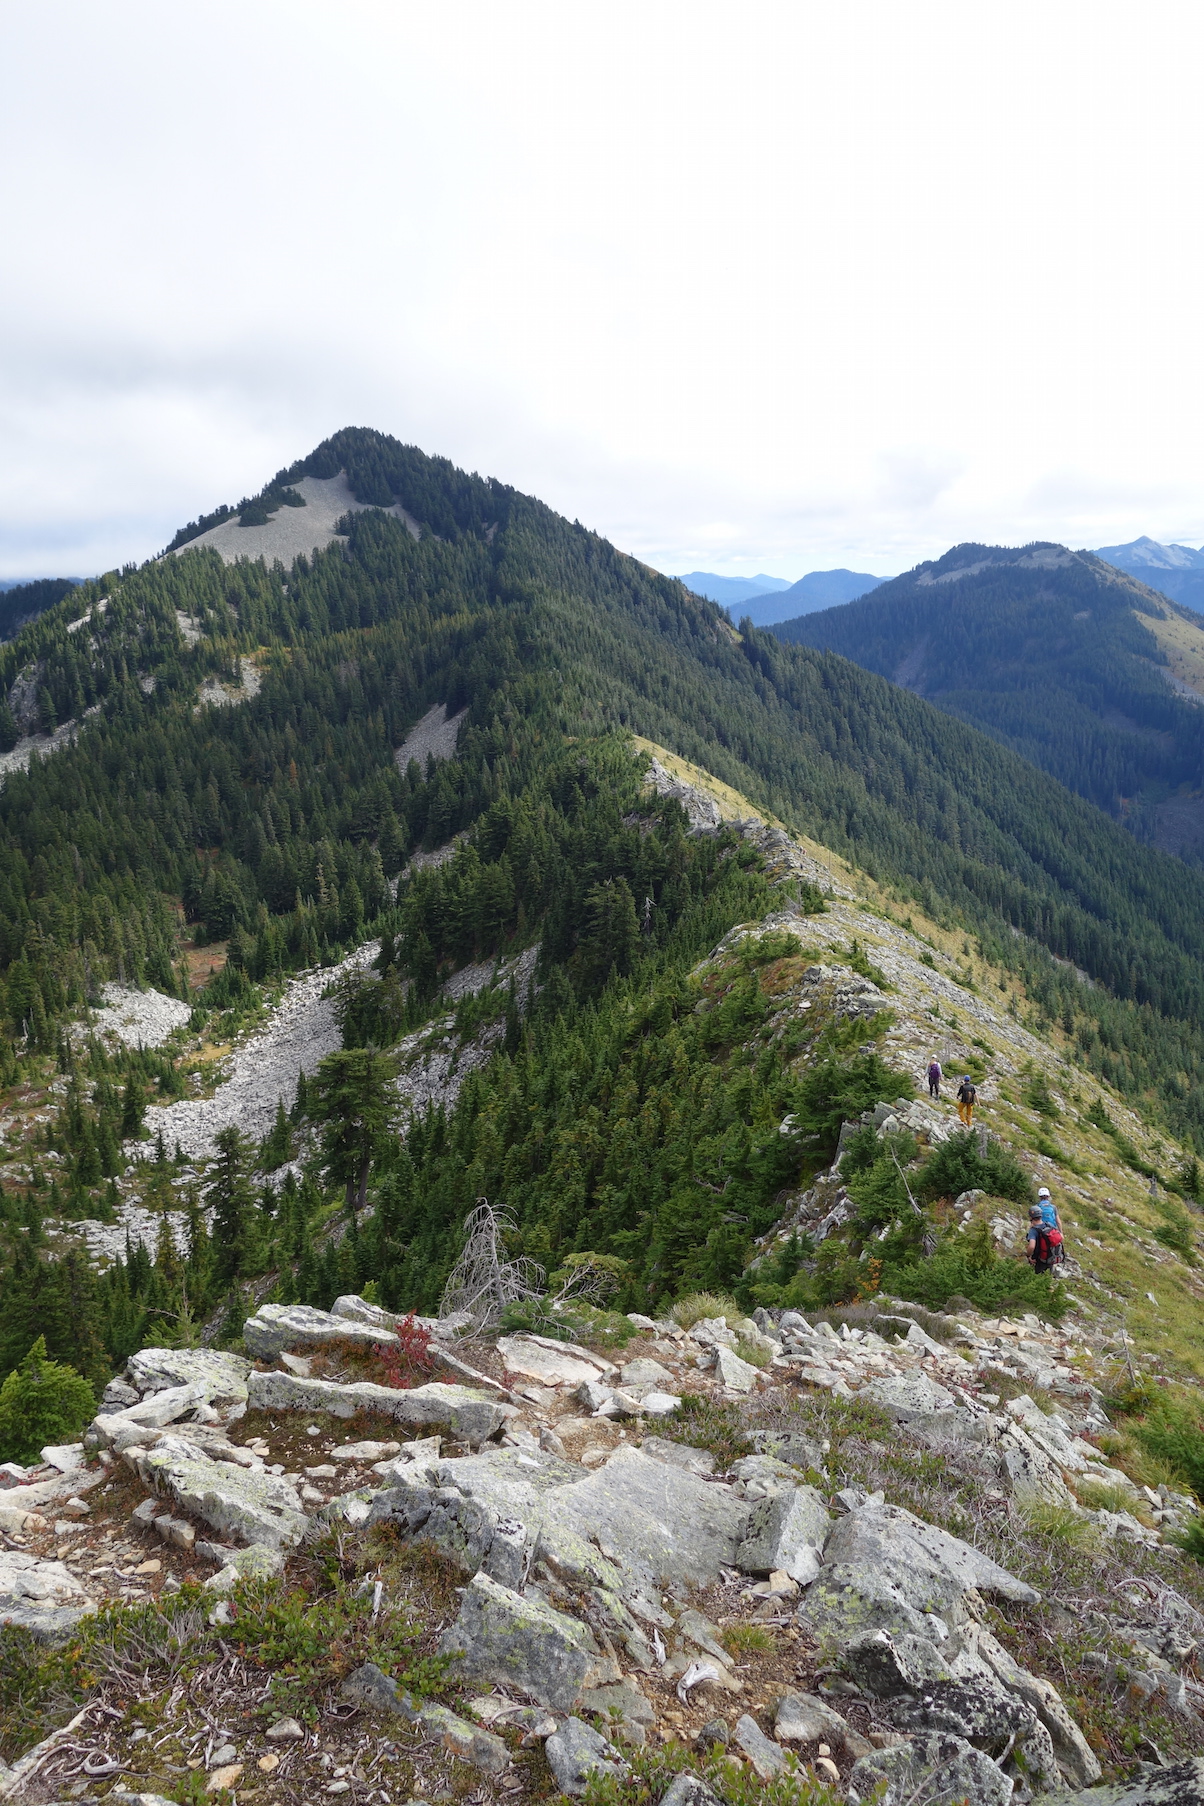
This has been Jenny’s and my main project for the last four months, or so, and took hours, days, and weeks of organizing, conditioning, and planning. We went to Glacier Basin and Camp Schurman in preparation for it, we climbed Silver Star Mountain and The Fin to get used to double-header weekends, and we summited Colchuck Peak to get used to steep glaciers. I hadn’t written about any of this, because I wasn’t sure that we would reach our goal of scaling Mount Rainier.
But now we have reached Mount Rainier’s summit, at 14,411 feet. Now I’ll start to slowly post more reports and pictures about the last few months.
On one of my work projects right now, I’m adding unit tests to a code generator. The easiest way to make sure the generated code works is to run mvn clean install. Of course, I want to do that from within the unit test and fail the test if the Maven run fails.
Fortunately, there’s Maven Invoker. Here’s how to use it:
// this prevents M2_HOME from being added in MavenCommandLineBuilder.setShellEnvironment, which then fails to
// start mvn with “Error: Could not find or load main class org.codehaus.plexus.classworlds.launcher.Launcher”
request.setShellEnvironmentInherited(false);
request.setGoals(Collections.singletonList(“install”));
The interesting bit here is the [cc_java inline=”true”]request.setShellEnvironmentInherited(false);[/cc_java] line. Without it, the [cc_java inline=”true”]MavenCommandLineBuilder.setShellEnvironment[/cc_java] method adds an environment variable M2_HOME to it, which prevents Maven from starting up.
I’m in the process of doing some housekeeping with my domains. In particular, I will drop the domains concutest.org and superscalar.org, among a few other, less frequently used domains.
The story for concutest.org is a little more complex. It is the domain for my research project Concutest, but also had a subdomain mint.concutest.org for the Mint multi-stage Java research project I was a part of. There was also blog.concutest.org, which was a synonym for this blog at www.concurrentaffair.org; community.concutest.org, which was part of a community effort to identify concurrency invariants of the Java API, which I ended some time in 2016; and drjava.concutest.org, which hosted an internal DrJava blog, also taken offline in 2016.
I have create two subdomains for Concutest and Mint:
I recently had to write a query API for items in a service. Each item has a numerical, consecutively increasing integer as identifier. Therefore, it made sense to allow callers to specify a range. It also makes sense to specify the number of results to be returned, since we don’t want the result to get too big. The numeric identifiers actually provide a natural way of pagination.
Specifying a range using startId and endId is simple. So is startId and count. But endId and count is tricky. We can’t just start at endId - count + 1, because some of the items in that range might get filtered out because of other query settings, and then we’d return fewer than count items.
Okay, so we include all items, filter first, and then return the last count items. That works, but that creates an unnecessarily long temporary list, which may cause memory problems.
I solved this by using a NavigableMap, and when endId and count are used together, I process a reverse view of the Map using NavigableMap.descendingMap(). Then I can simply limit the number of items and after filtering reverse the list again.
class Store {

  private final NavigableMap m_cache;
/**
* Get a list of items.
* @param includePredicate predicate that returns true if an item should be included in the list
* @param reverse true to process the items in reverse order
* @param maxCount optional maximum size of the result
* @return list of items
*/
public List getItems(Predicate includePredicate, boolean reverse, Optional maxCount) {
// NOTE: the cache currently holds all items ever created in memory... how could that possibly go wrong?
// if we are using an end value and count, we have to process the list in reverse to make sure we accumulate
// the correct number of jobs
boolean reverse = (count != null) && (end != null);
List items = m_asyncJobStore.getItems(statusPredicate.and(idPredicate),
reverse, Optional.ofNullable(count));
if (reverse) {
items = Lists.reverse(items);
}
ItemsQueryType itemsQuery = new ItemsQueryType();
itemsQuery.setItems(items);
rval.setItemsQuery(itemsQuery);
I’m pretty happy with this solution for returning the right number of items, no matter how the range is specified.
The big problem, however, is that the class already caches everything in memory before I added the query API. Therefore, this query change could be as well-written as possible, and the cache would still blow up the heap at some point.
Unfortunately, many people don’t seem to think at that scale…
Let’s say we have three people: Adam, Bob, and Charlie.
Adam submits a change, which later turns out to be bad.
Bob submits a somewhat unrelated change.
Charlie realizes that Adam’s change is bad and backs it out.
That, however, breaks Bob’s unit tests, because Bob’s mock expectations are based on Adam’s change.
Therefore, Charlie backs out Bob’s change as well.
Who has to re-do the changes and fix things?
Adam definitely needs to fix his shit, right?
But should Bob have to re-do his work? Or should Adam have to fix that as well? Or maybe Charlie, because in backing out Adam’s change, Charlie broke Bob’s tests?
At work, we use JMockit. I’m far more comfortable with Mockito, which made it very easy for me to understand how to capture a Runnable passed in, execute it, and then check that certain calls were made. I have always struggled with doing that with JMockit, but I think I finally figured it out:
public class DemoWithRunnable {

    public interface Dependency {

        int someMethod();

        void otherMethod(int i);

    }
private final Dependency dependency;
private final ExecutorService executor;
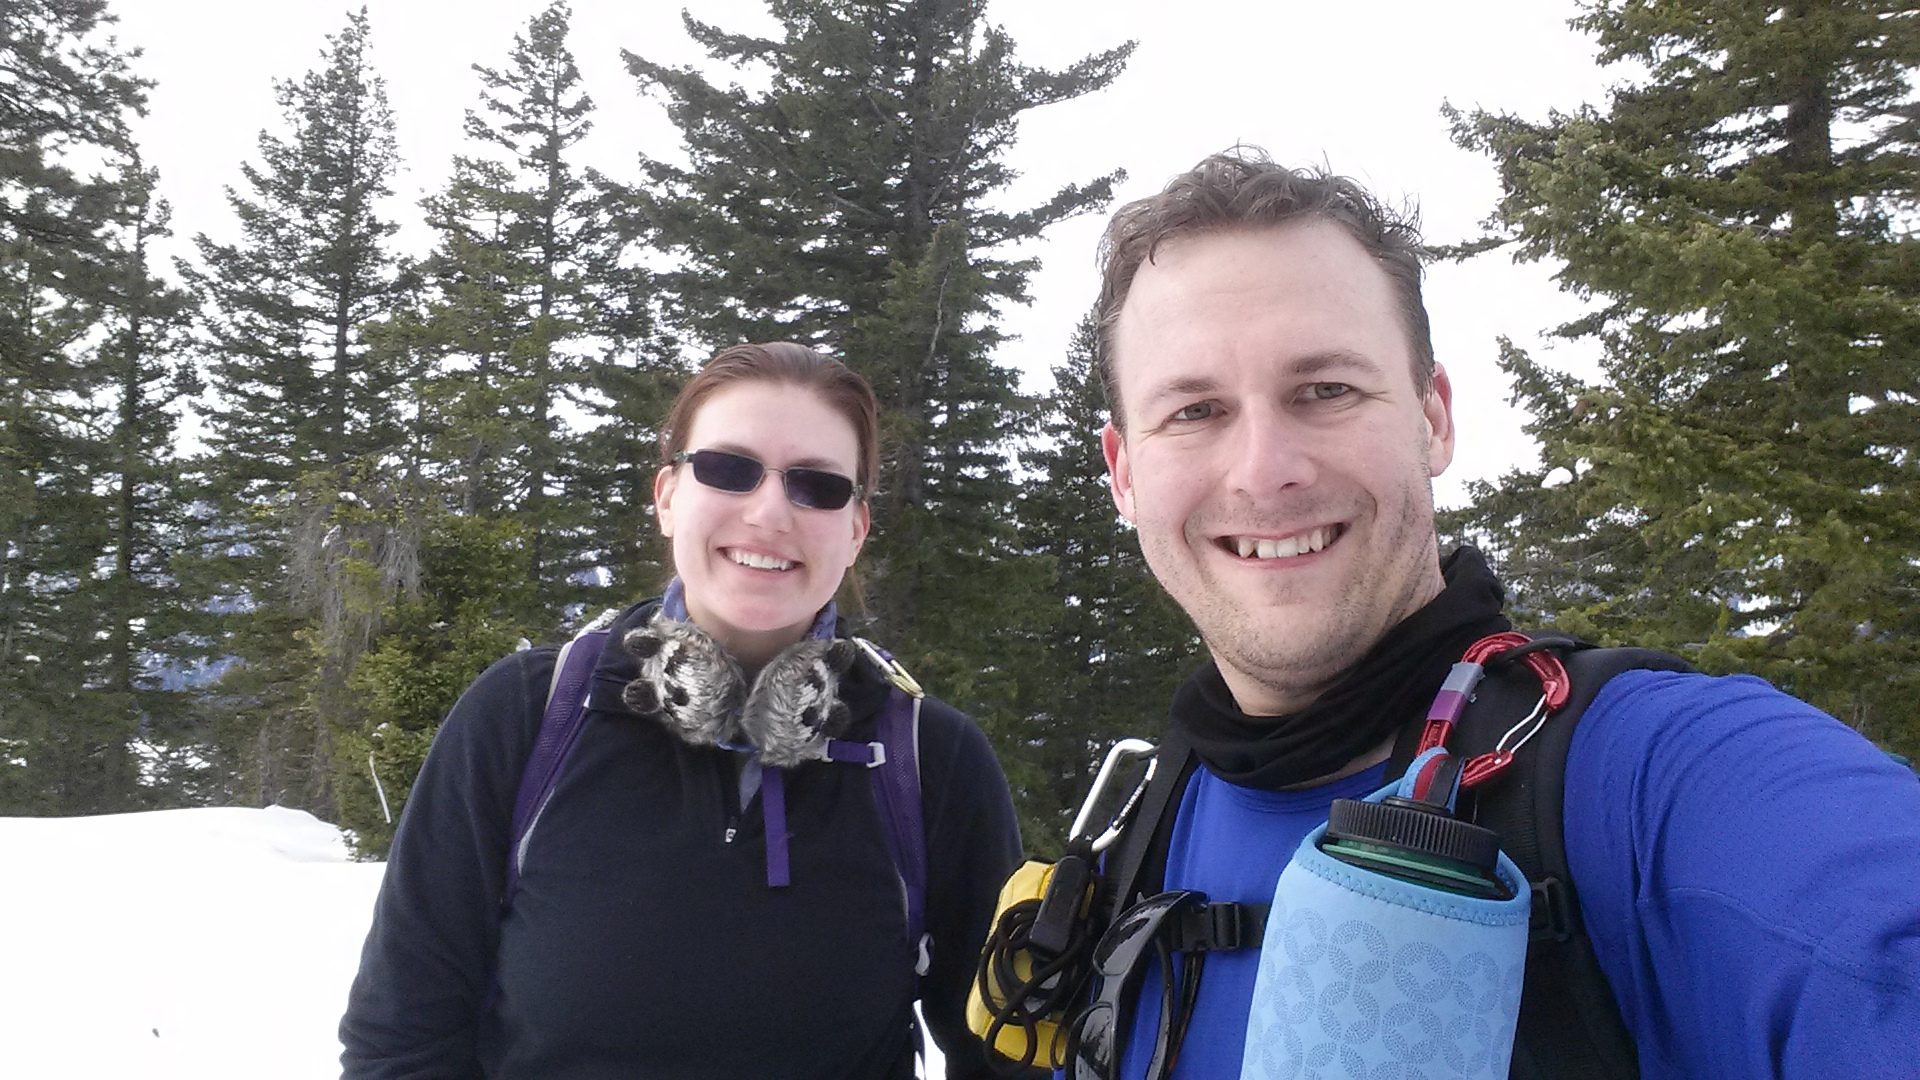
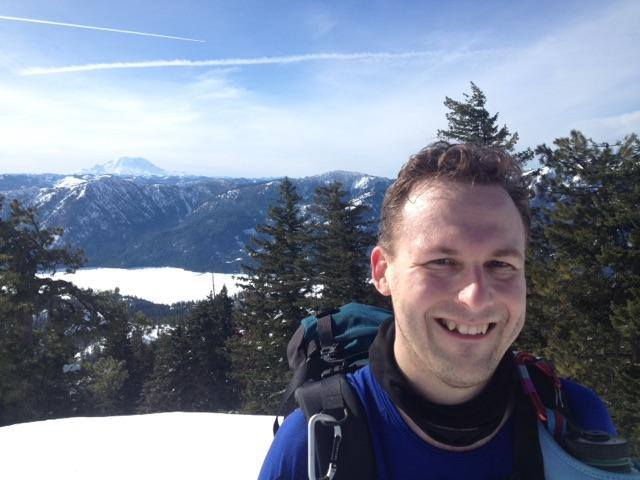
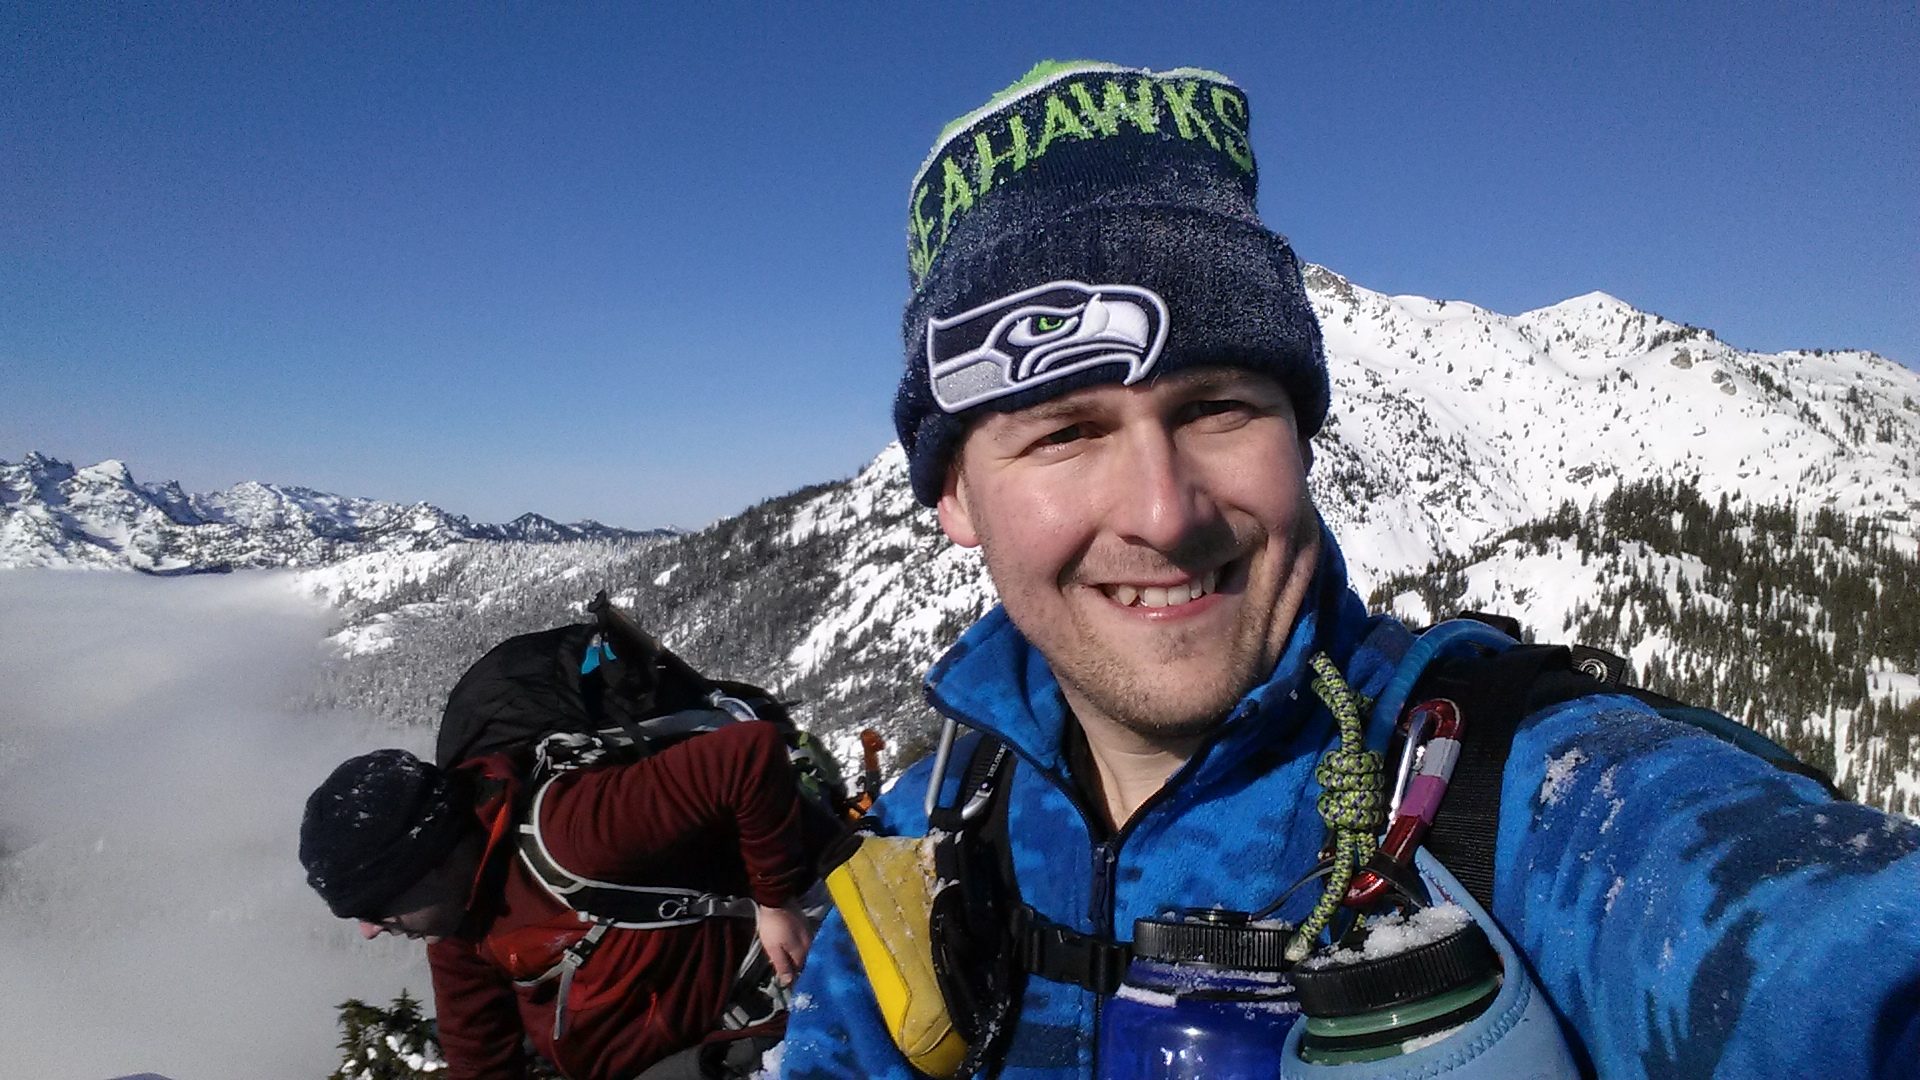
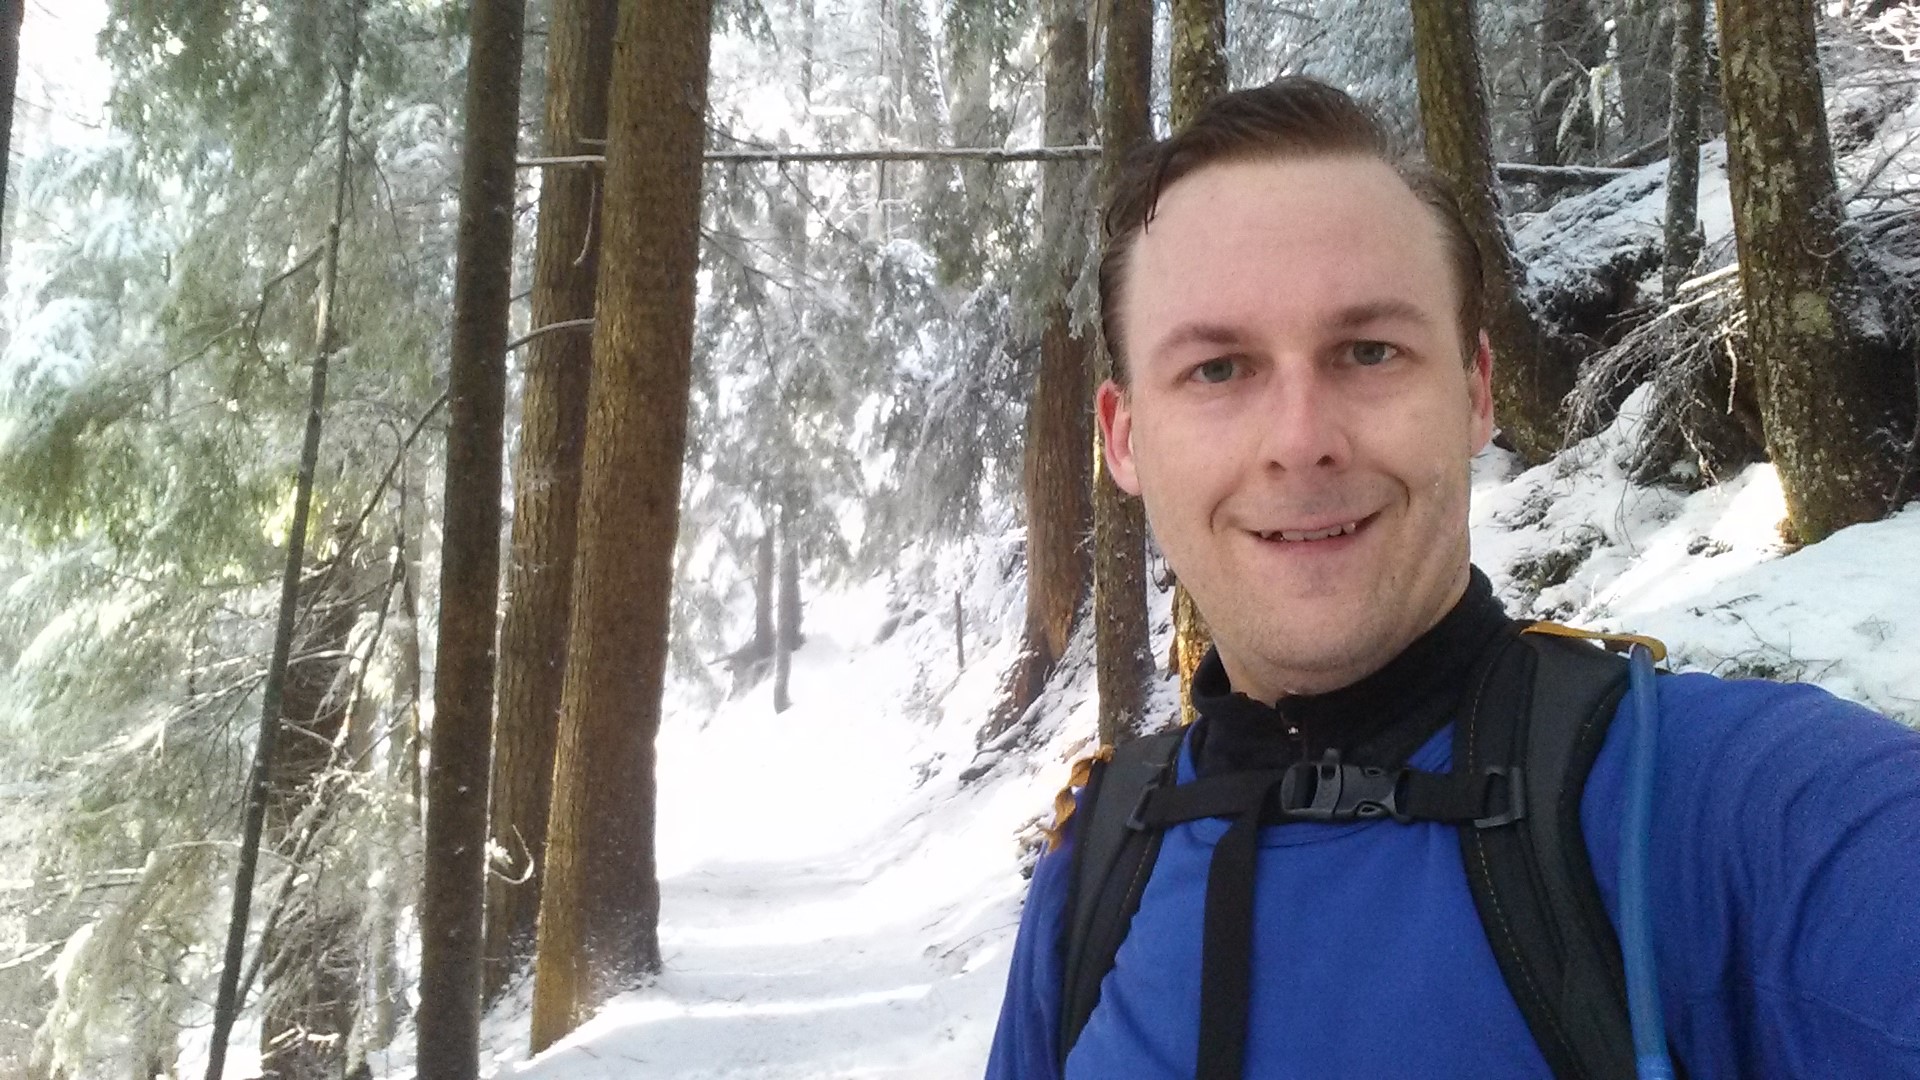
Jenny and I went on a winter scramble up Guye Peak with other Mountaineers on Saturday. It was the first new peak of the year.
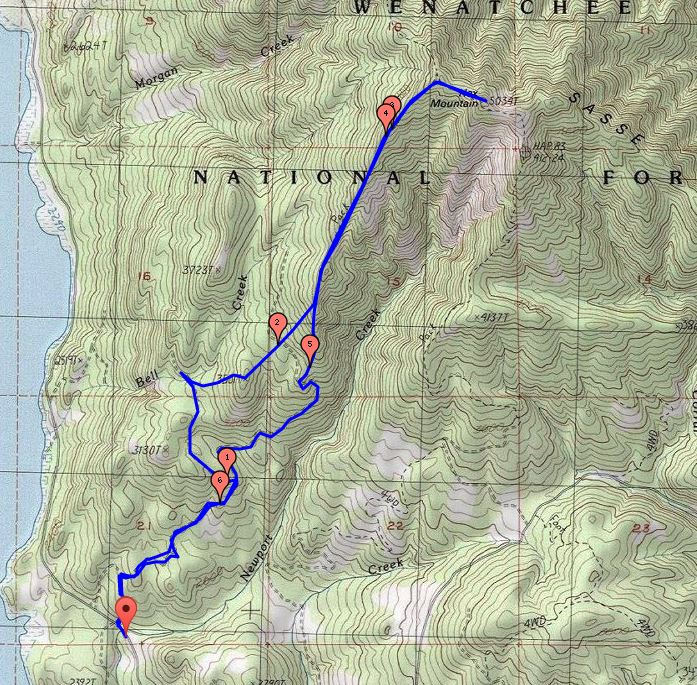
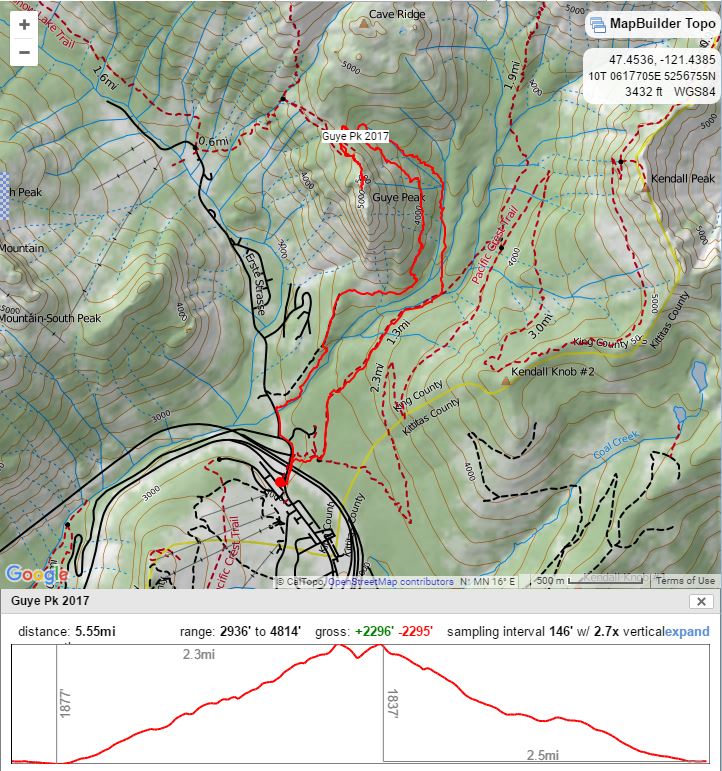
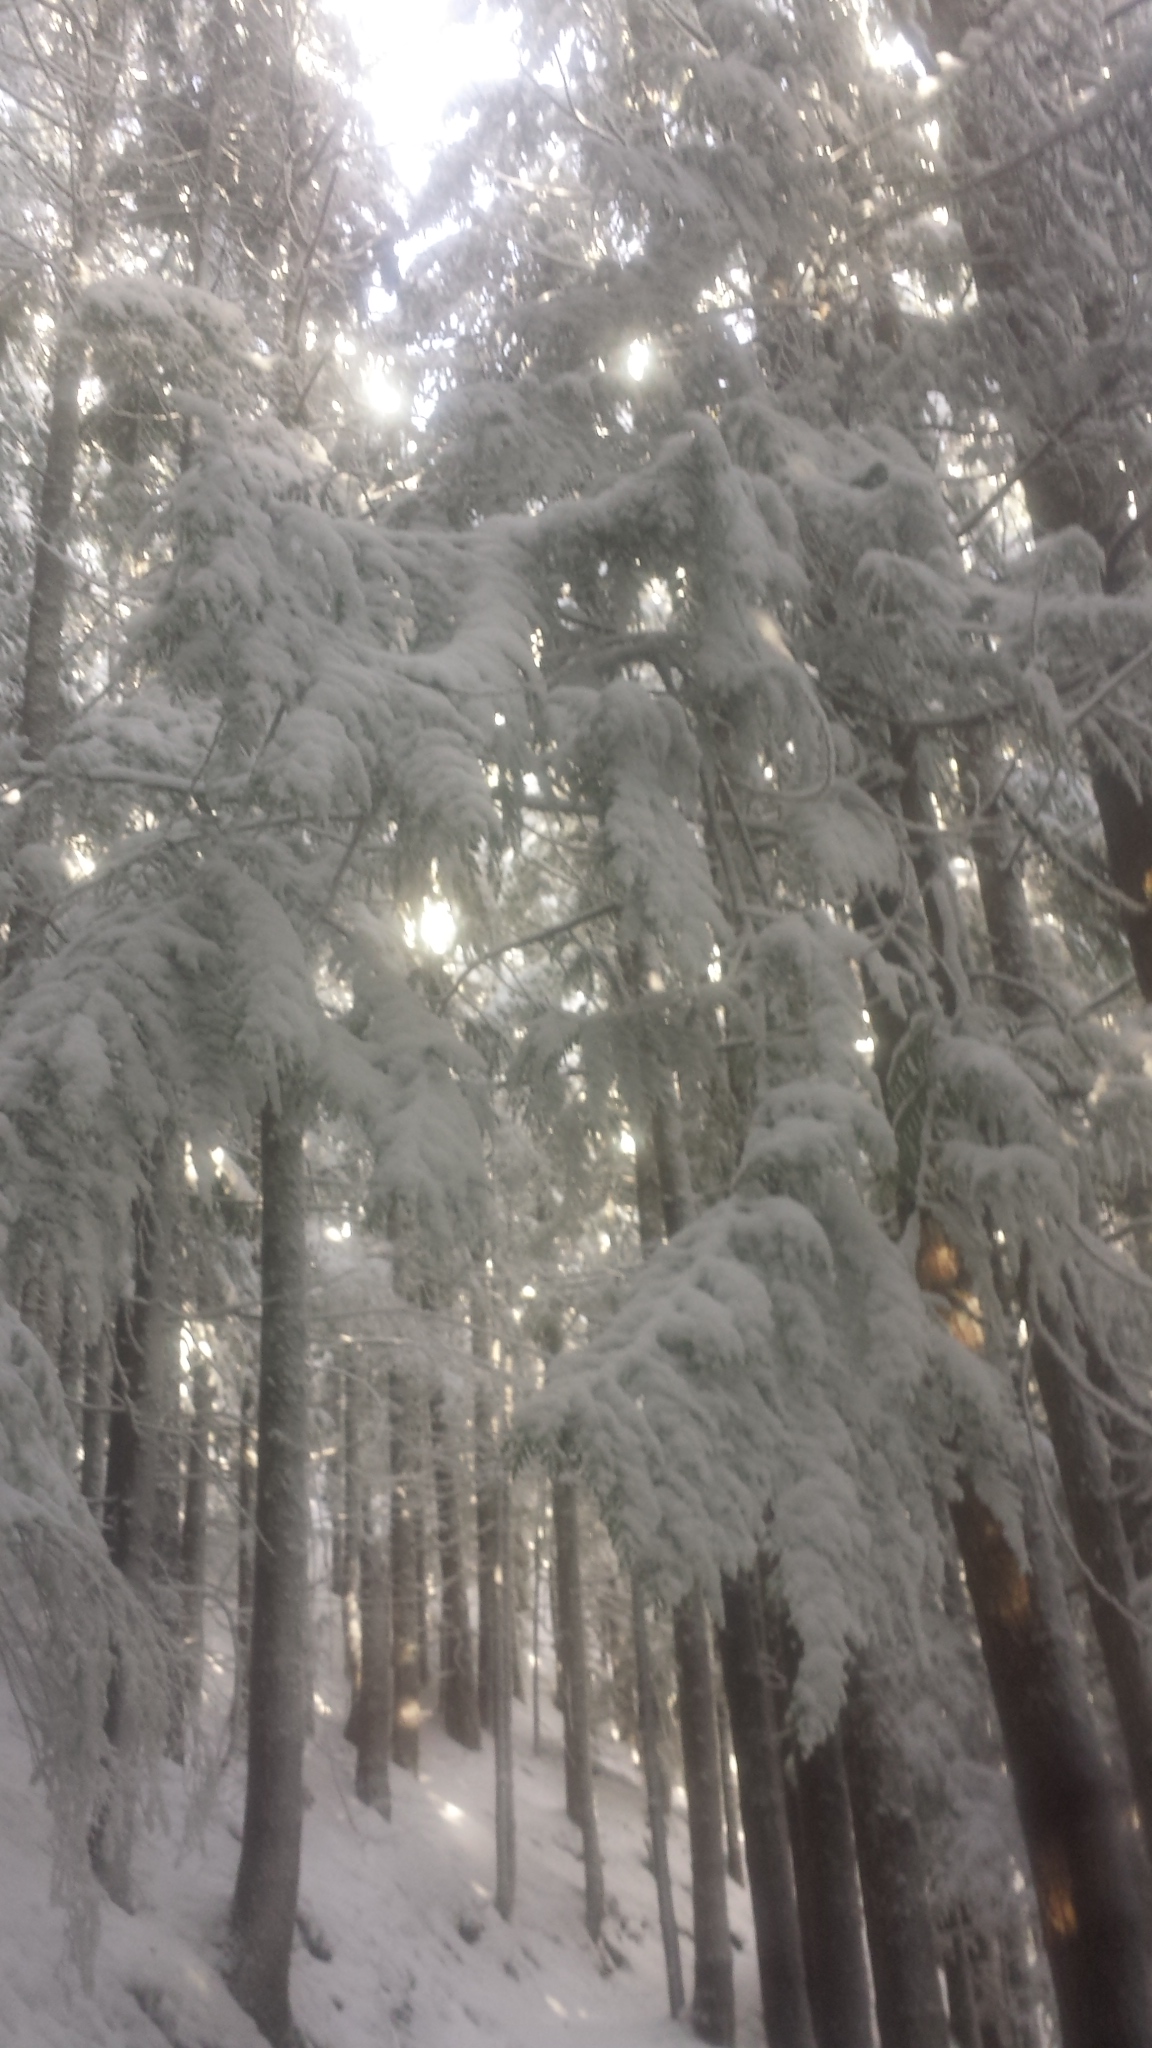
It was a beautiful day, but very cold: 13 Fahrenheit/-10 Celsius. There was no wind and a lot of deep powder snow. We wore snowshoes basically from the trailhead. We roughly followed Commonwealth Creek up toward Cave Ridge and then hooked back around to the summit of Guye Peak.
We noticed, though, that our snowshoes, purchased cheaply at Costco, are unsuitable for climbing. As soon as there is any elevation, we can’t kick steps or plunge-step, we basically float, almost as if on skis. Everyone else had MSR snowshoes. I think we’ll have to check if we need some of those.
Guye Peak from below.
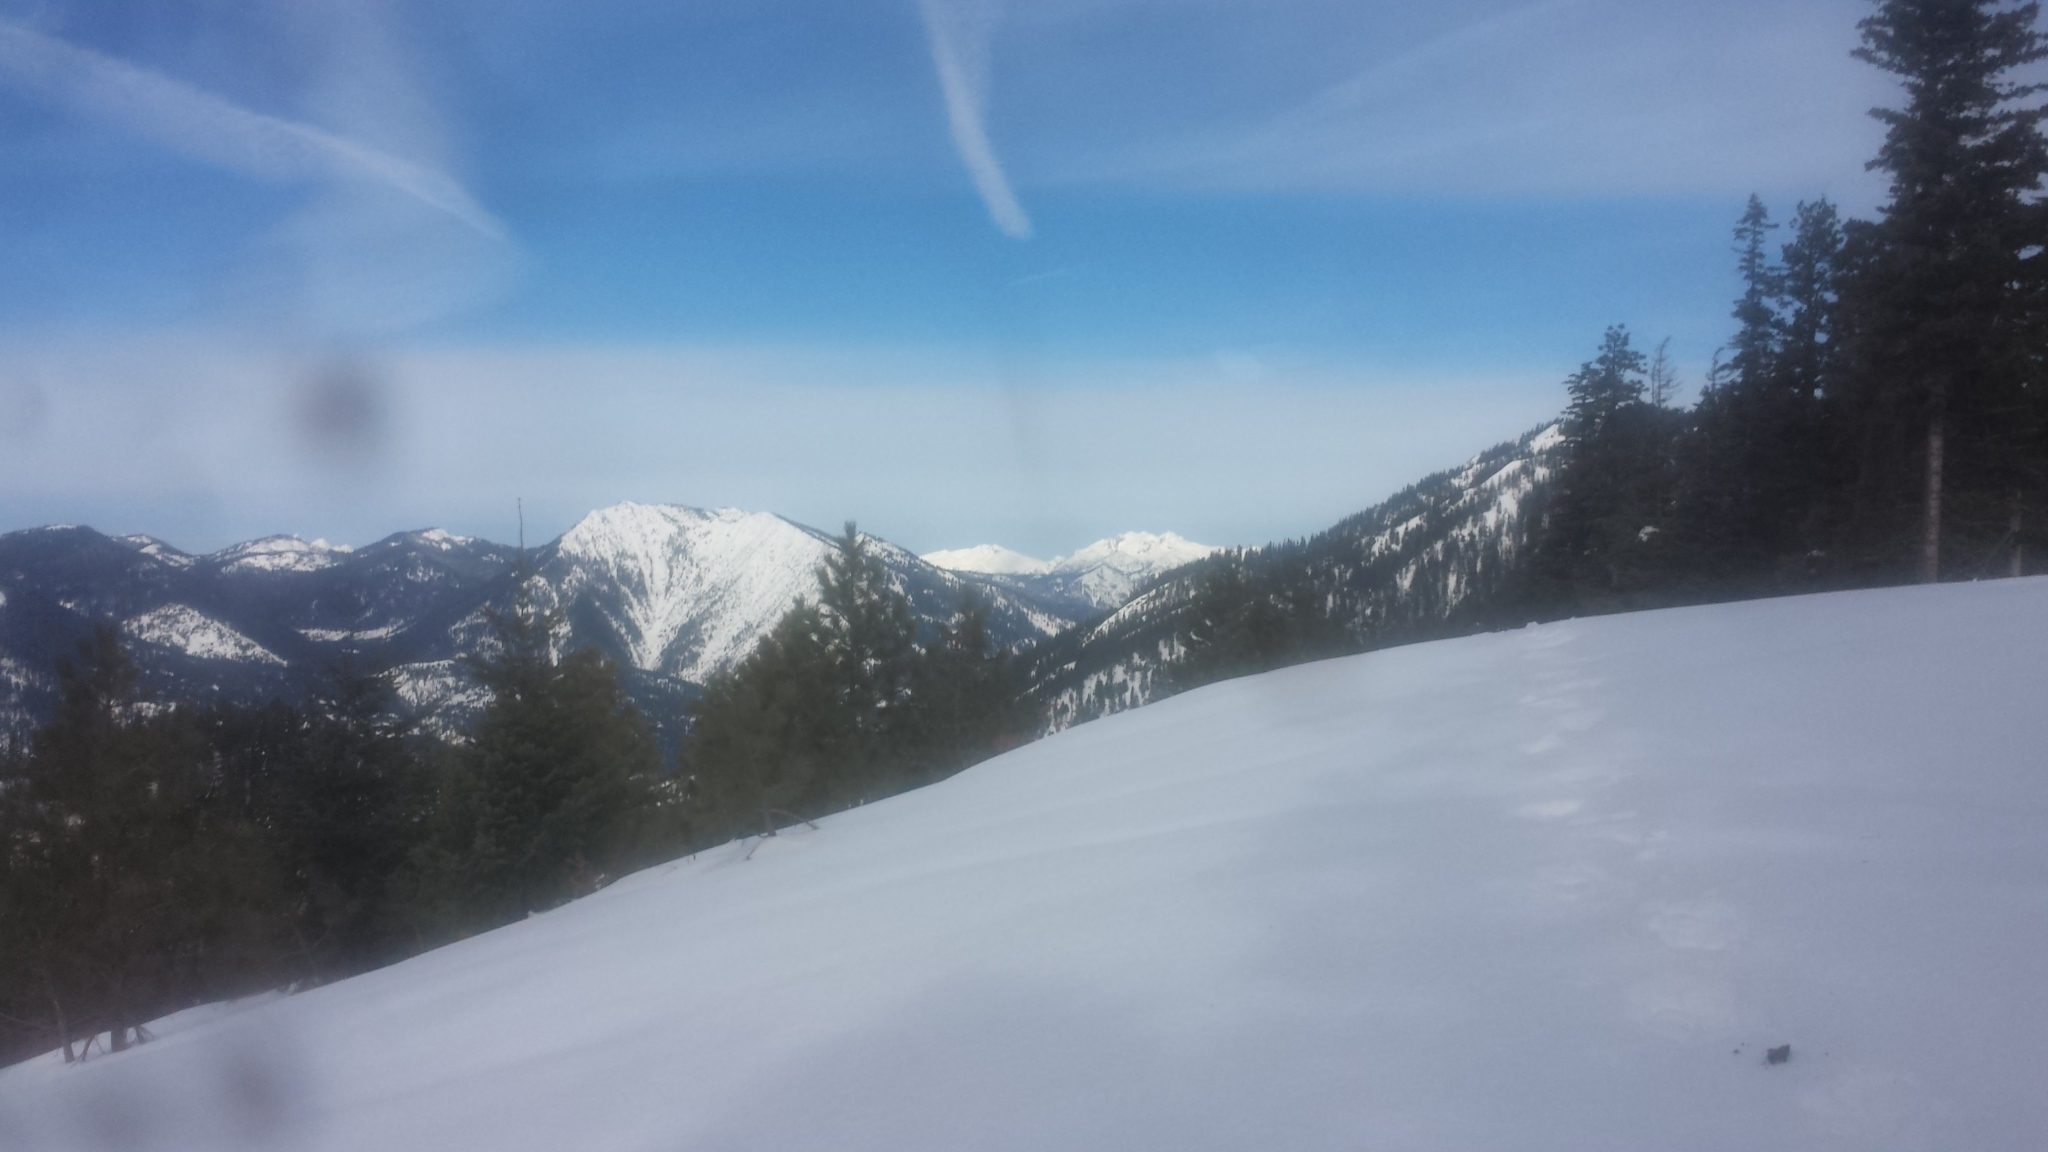
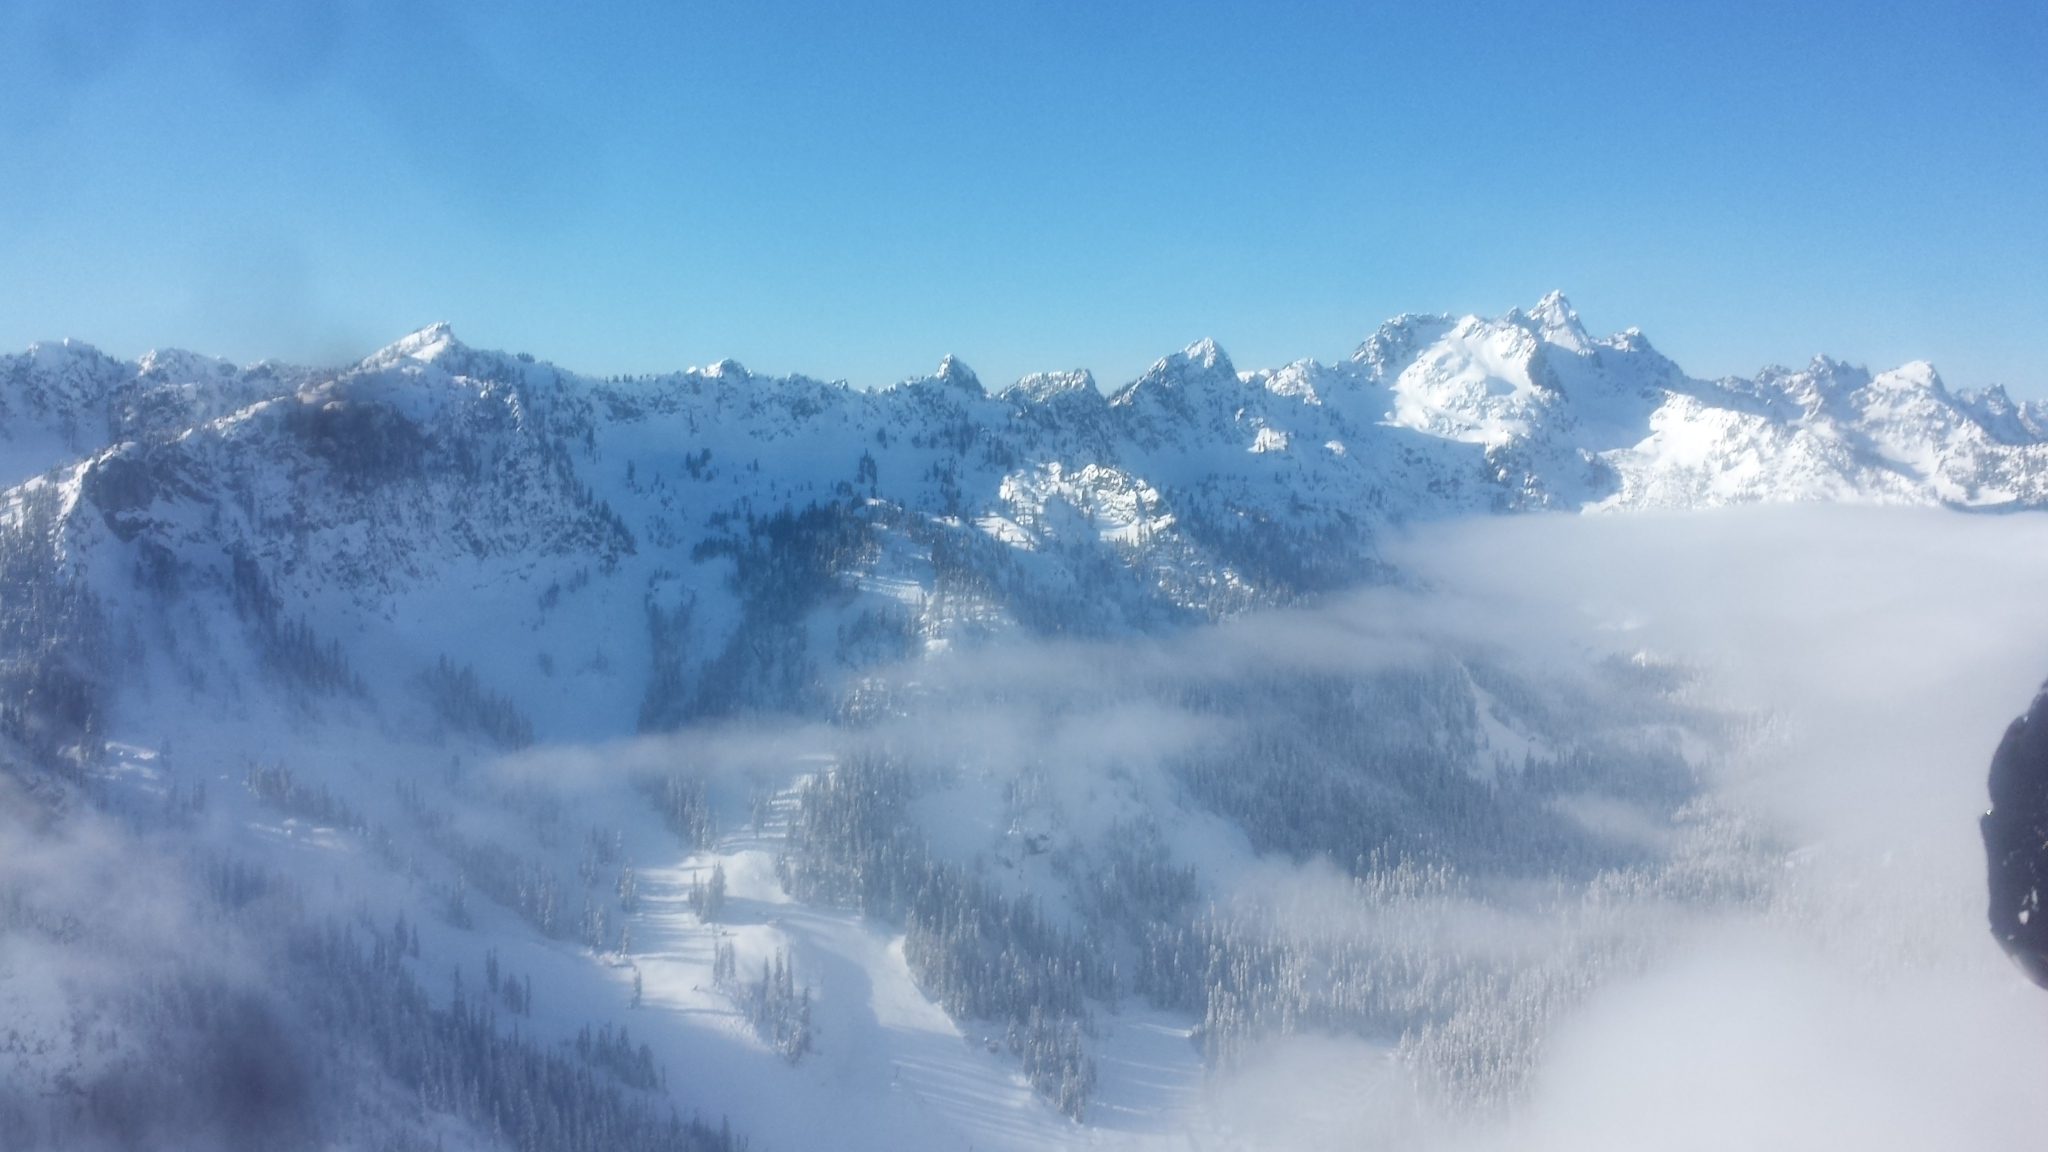
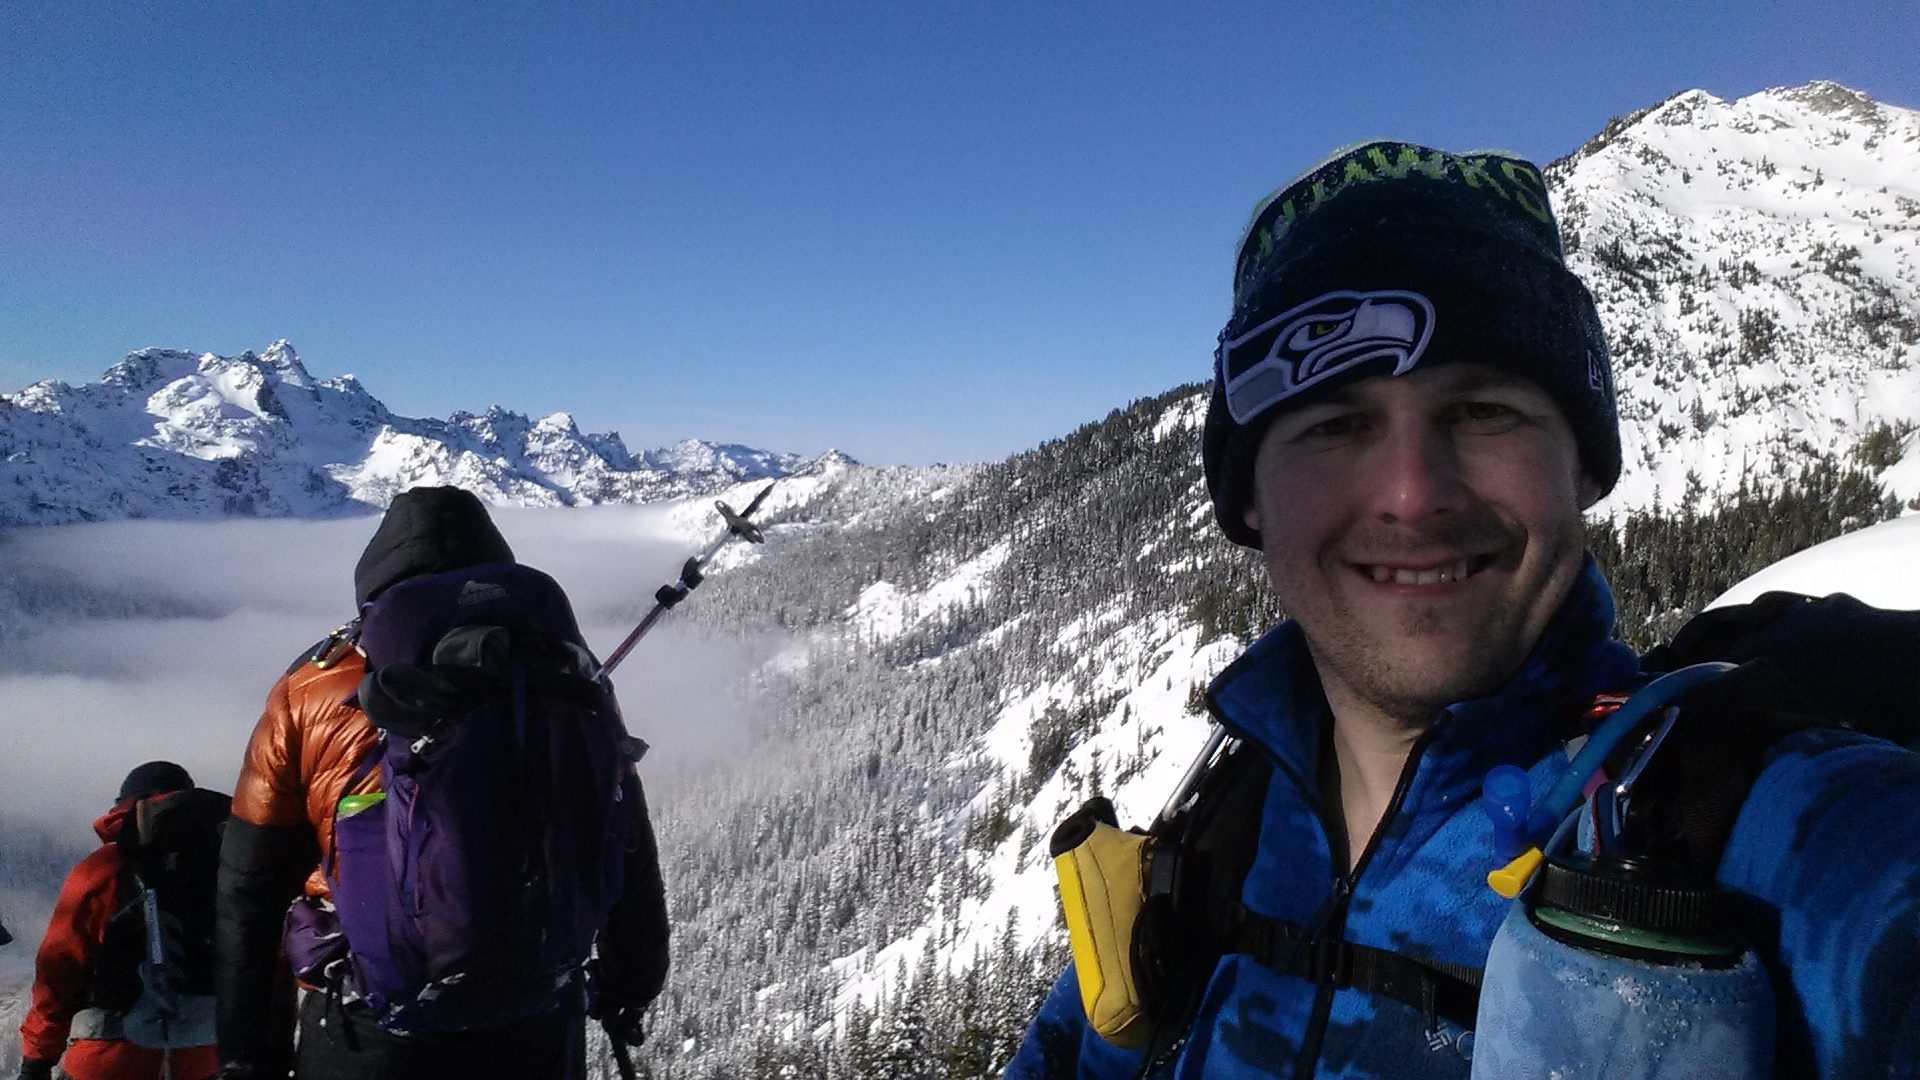
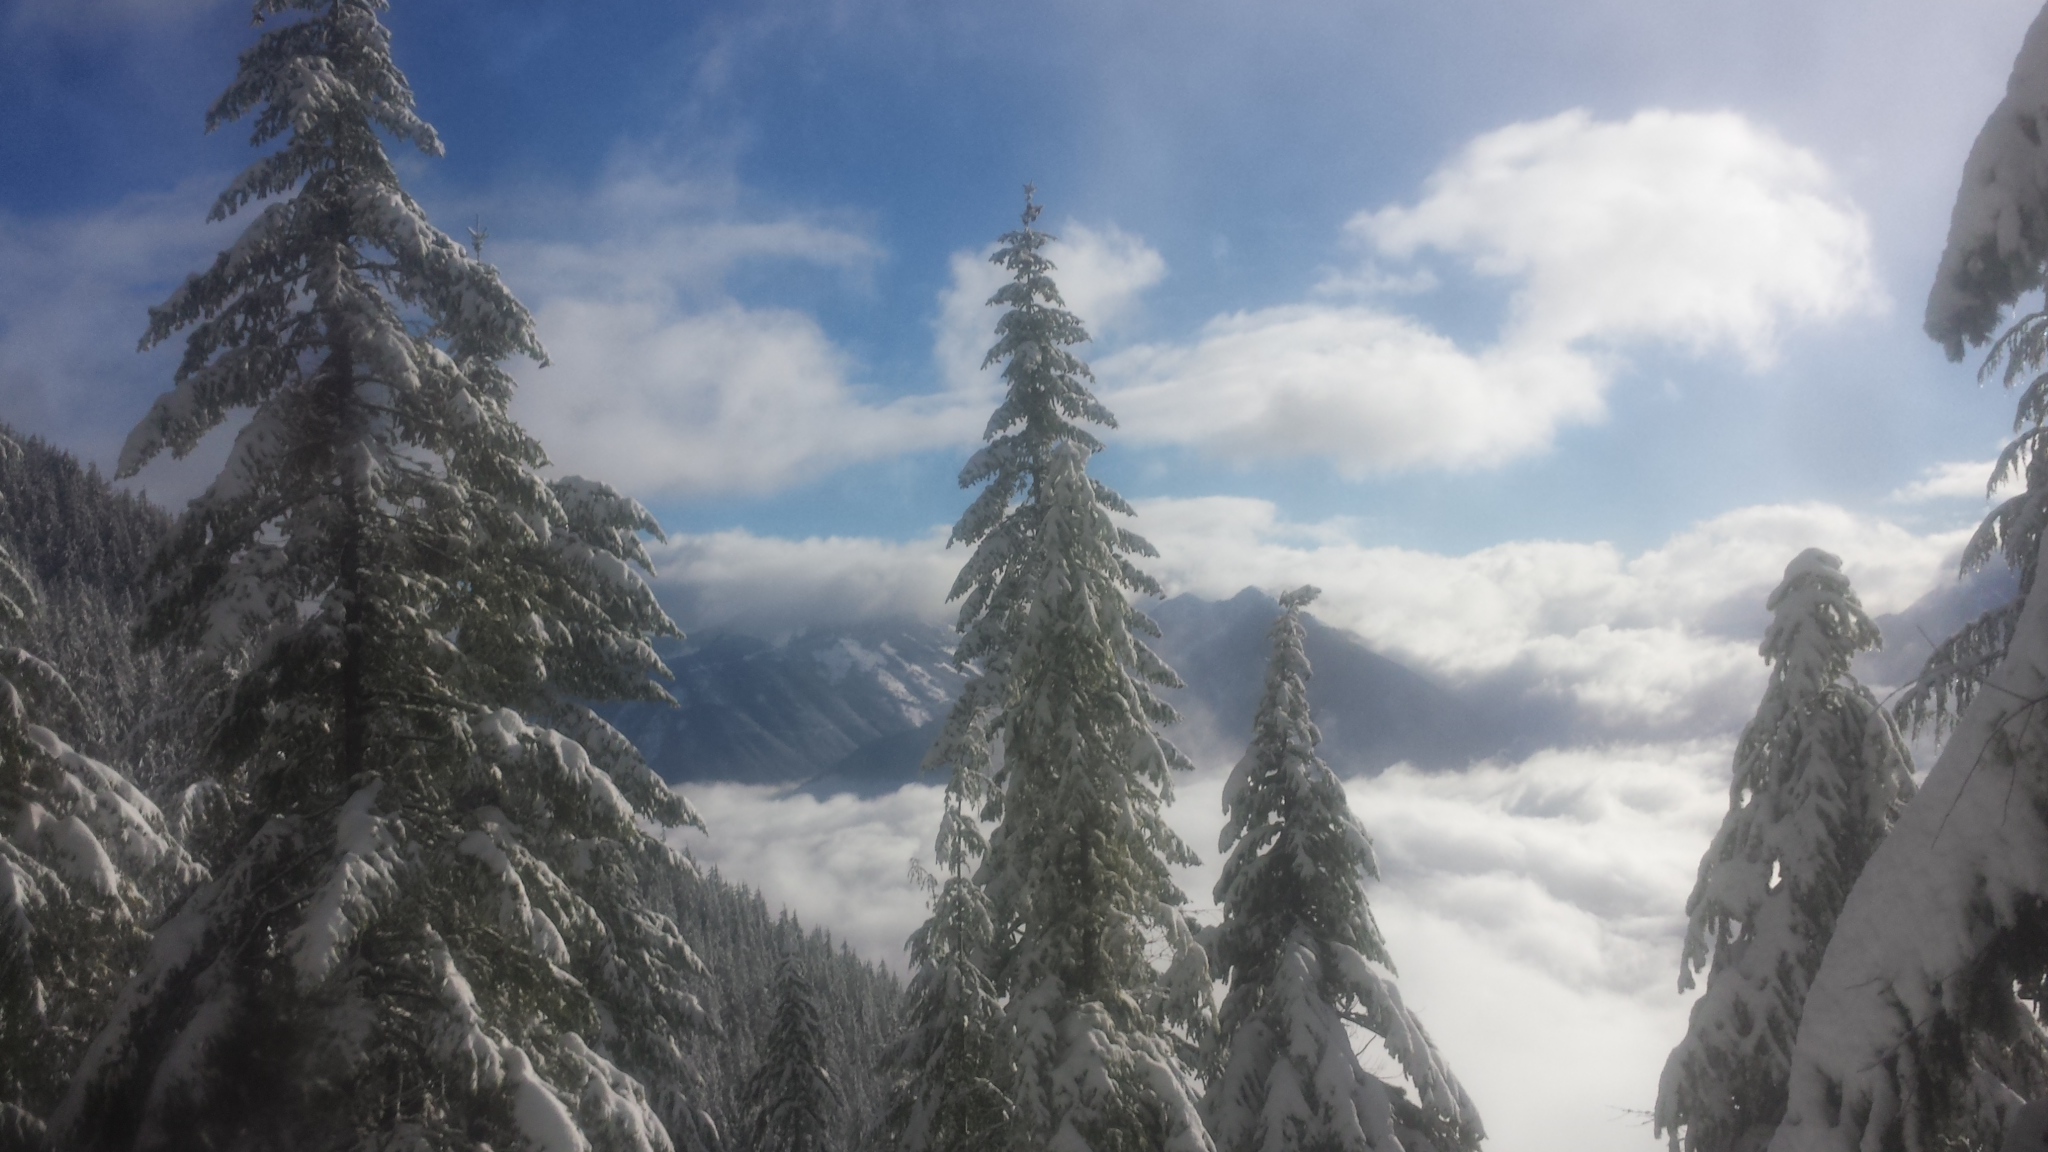
On the Guye Peak summit, looking down toward Chair Peak and Source Lake.
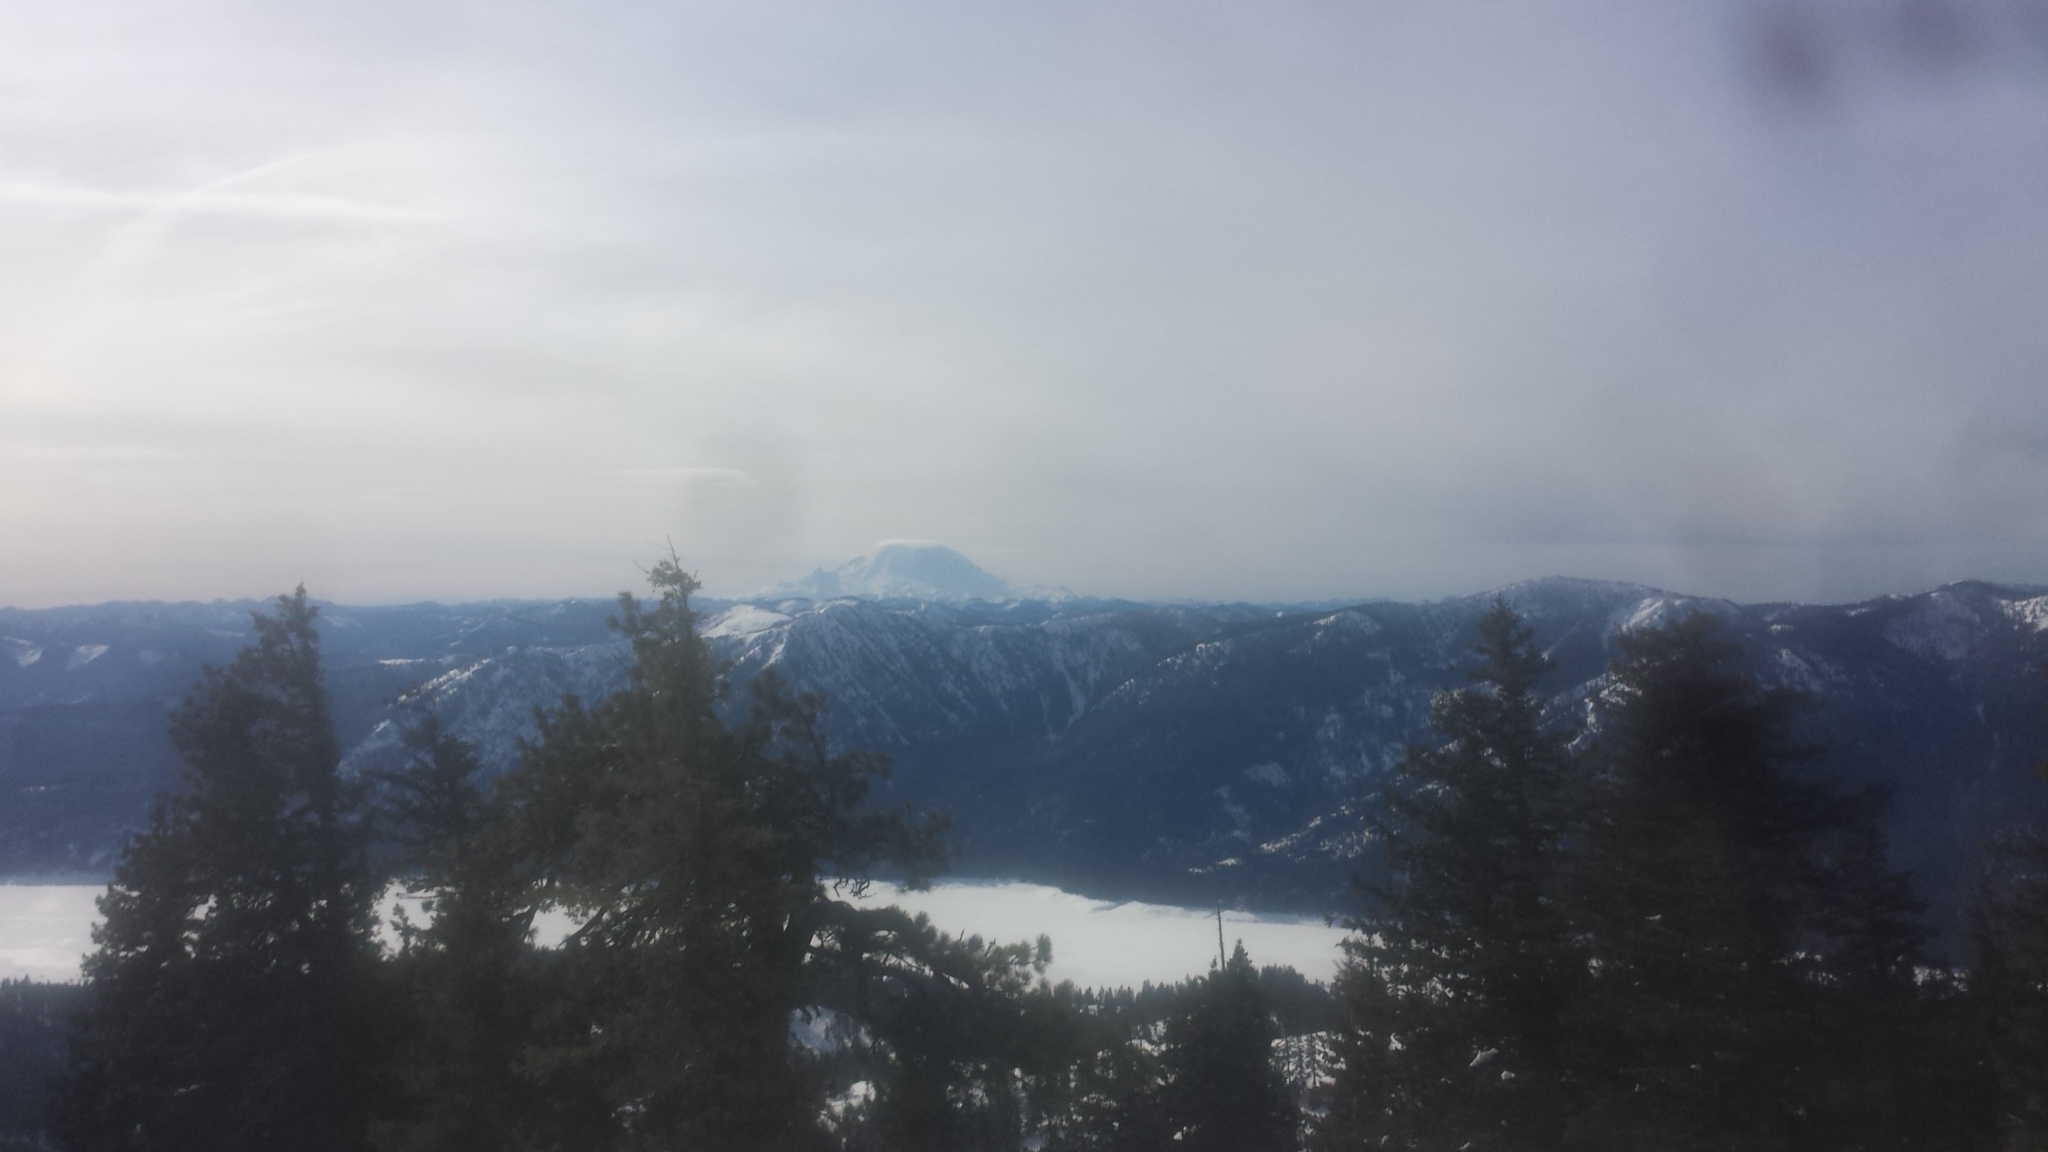
Mount Rainier from Guye Peak.
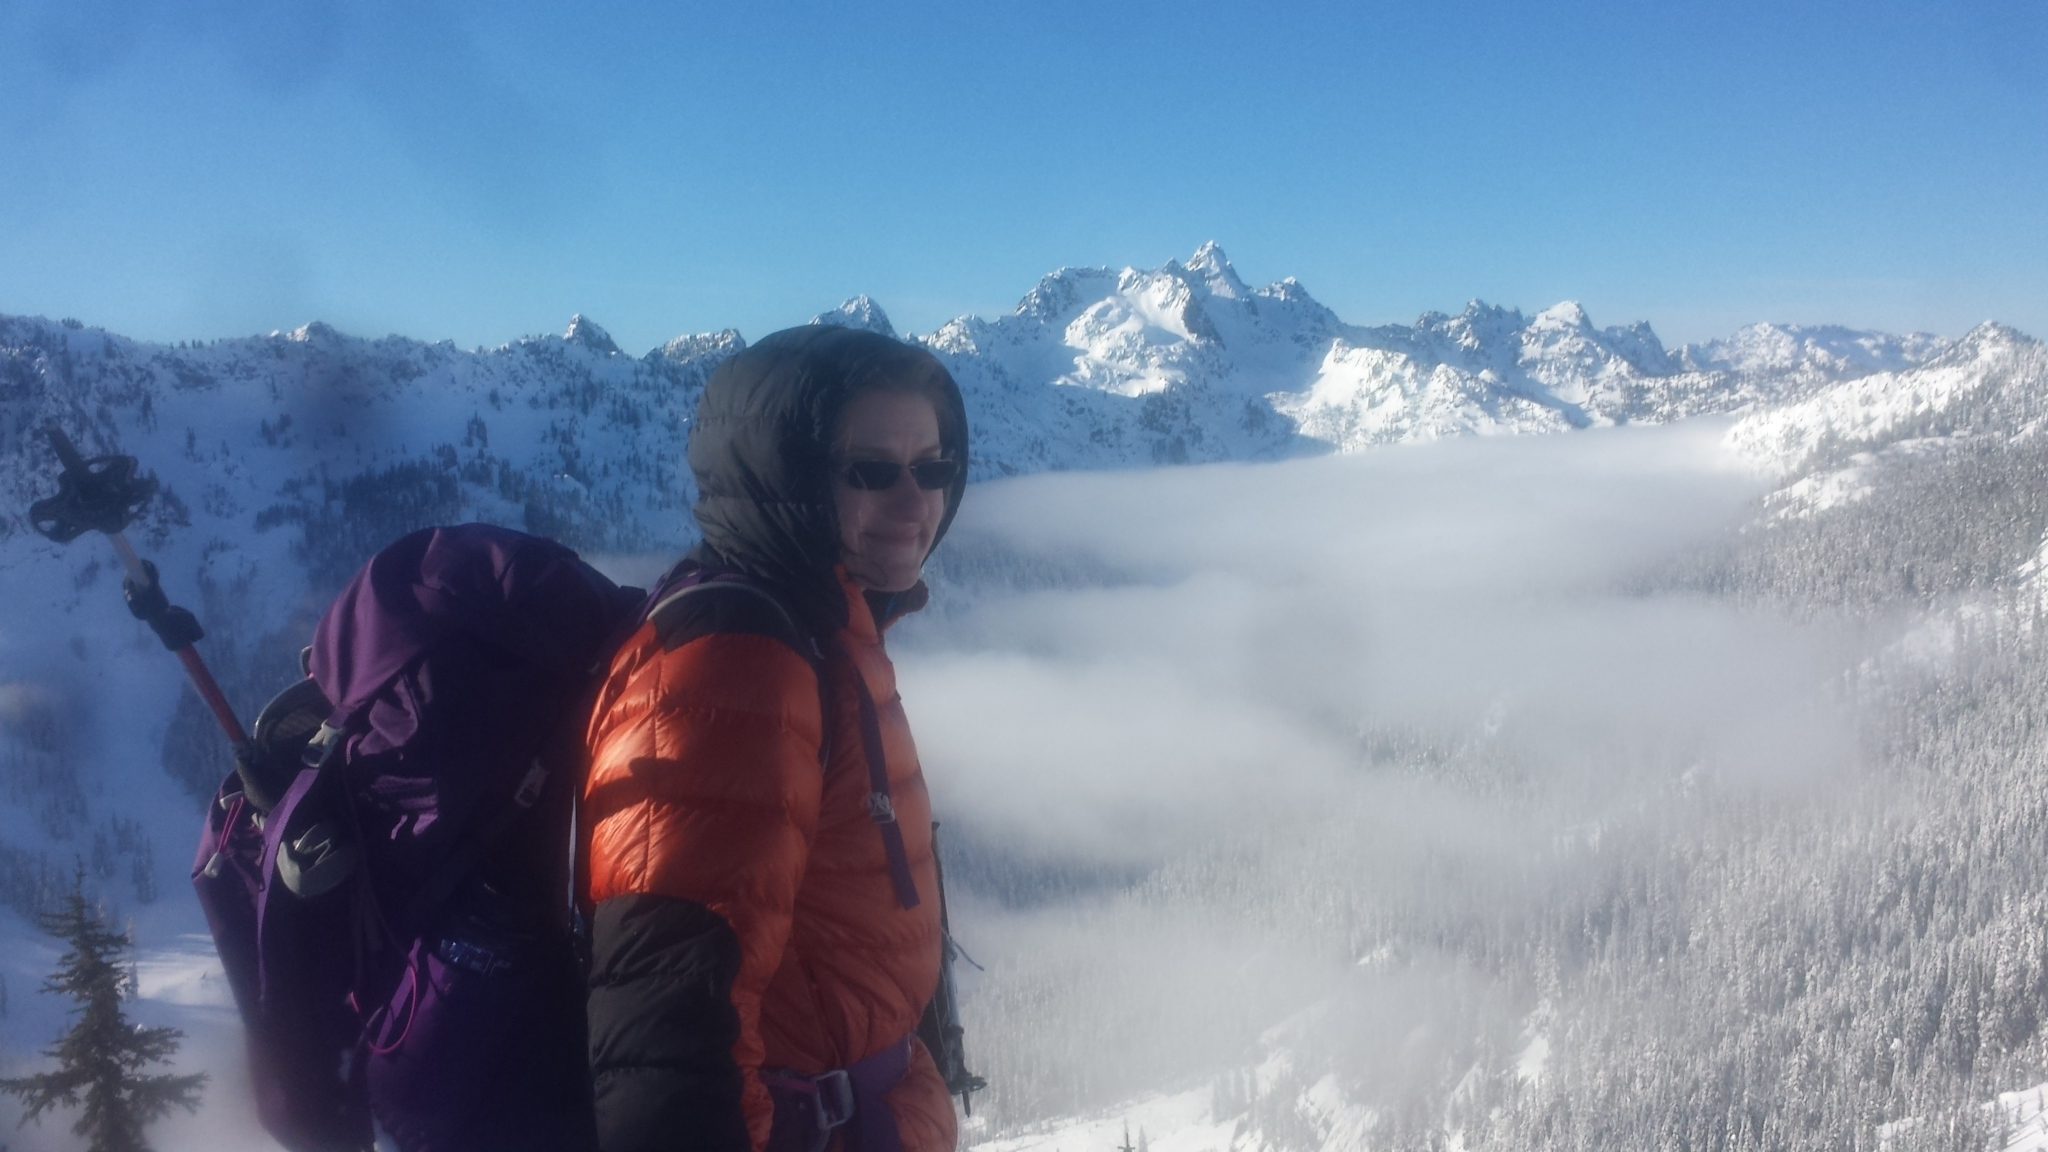
Jenny on the summit cornice of Guye Peak.
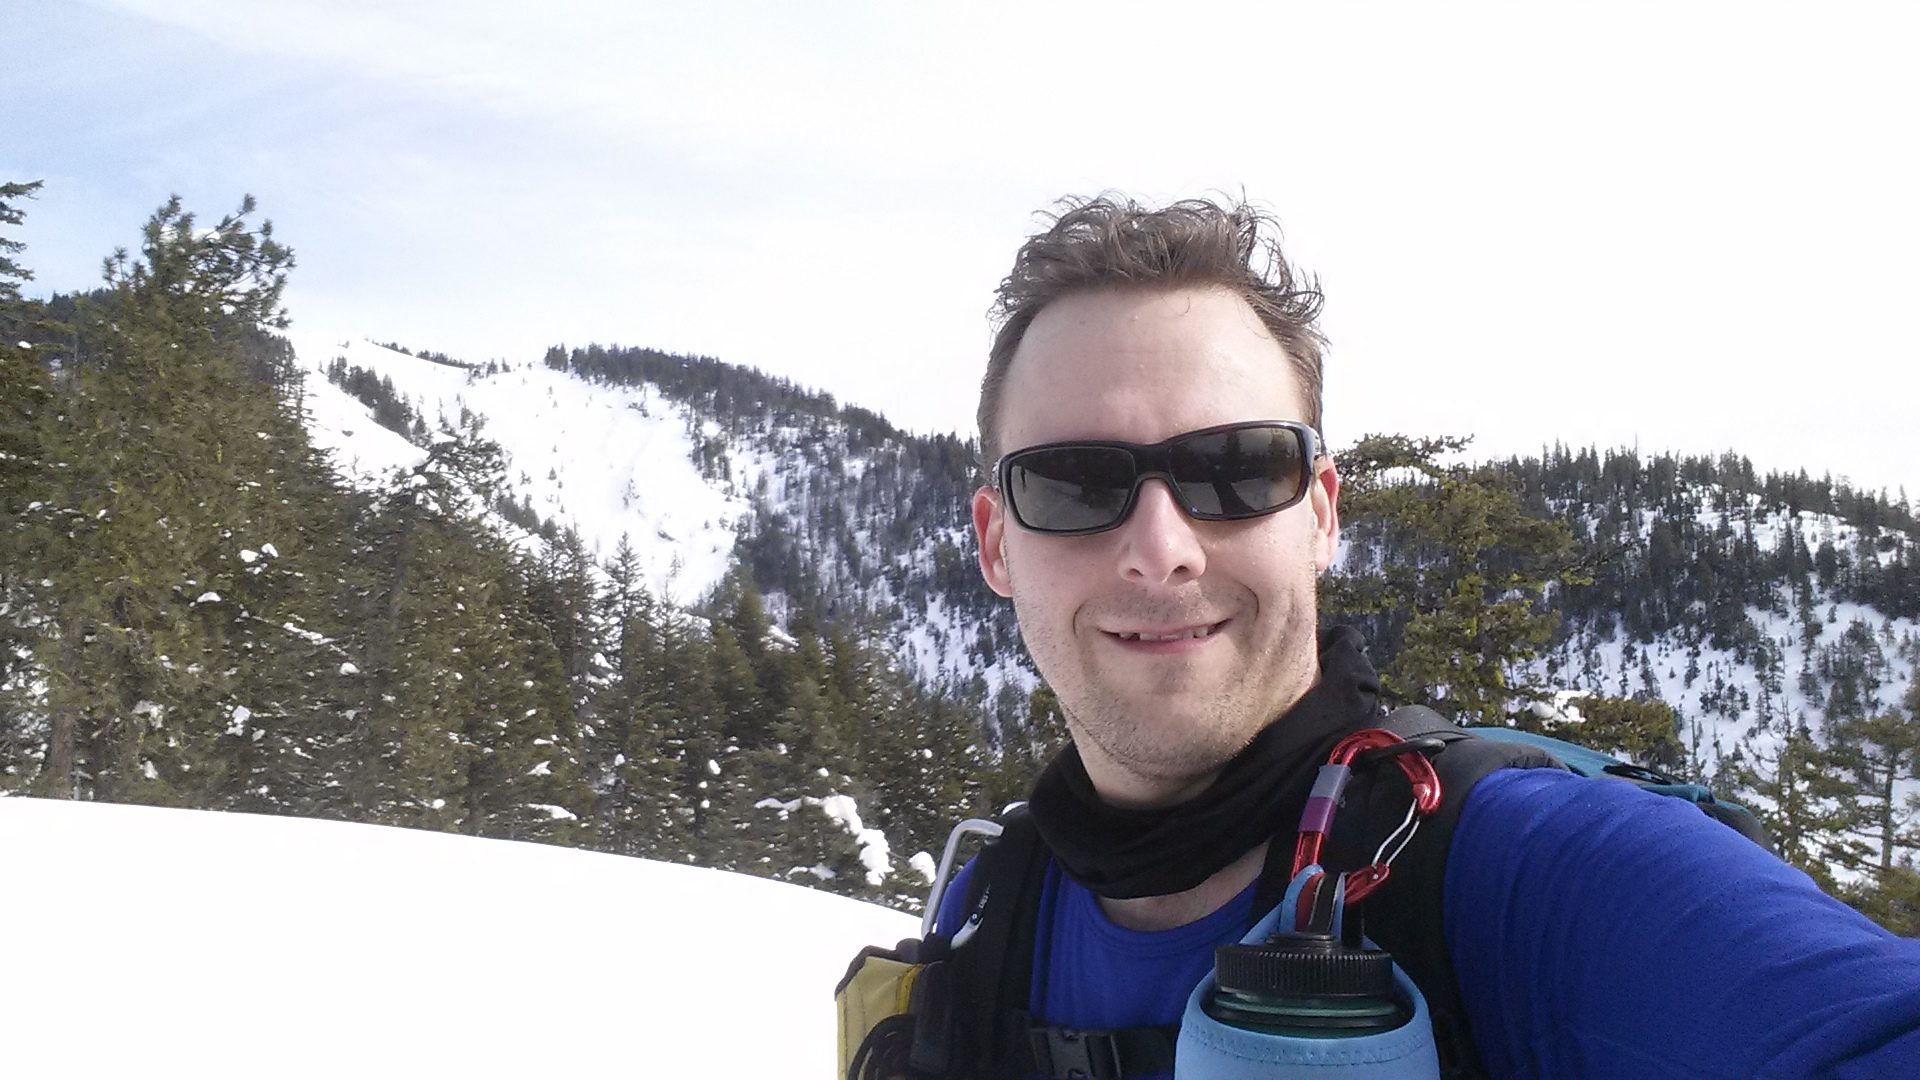
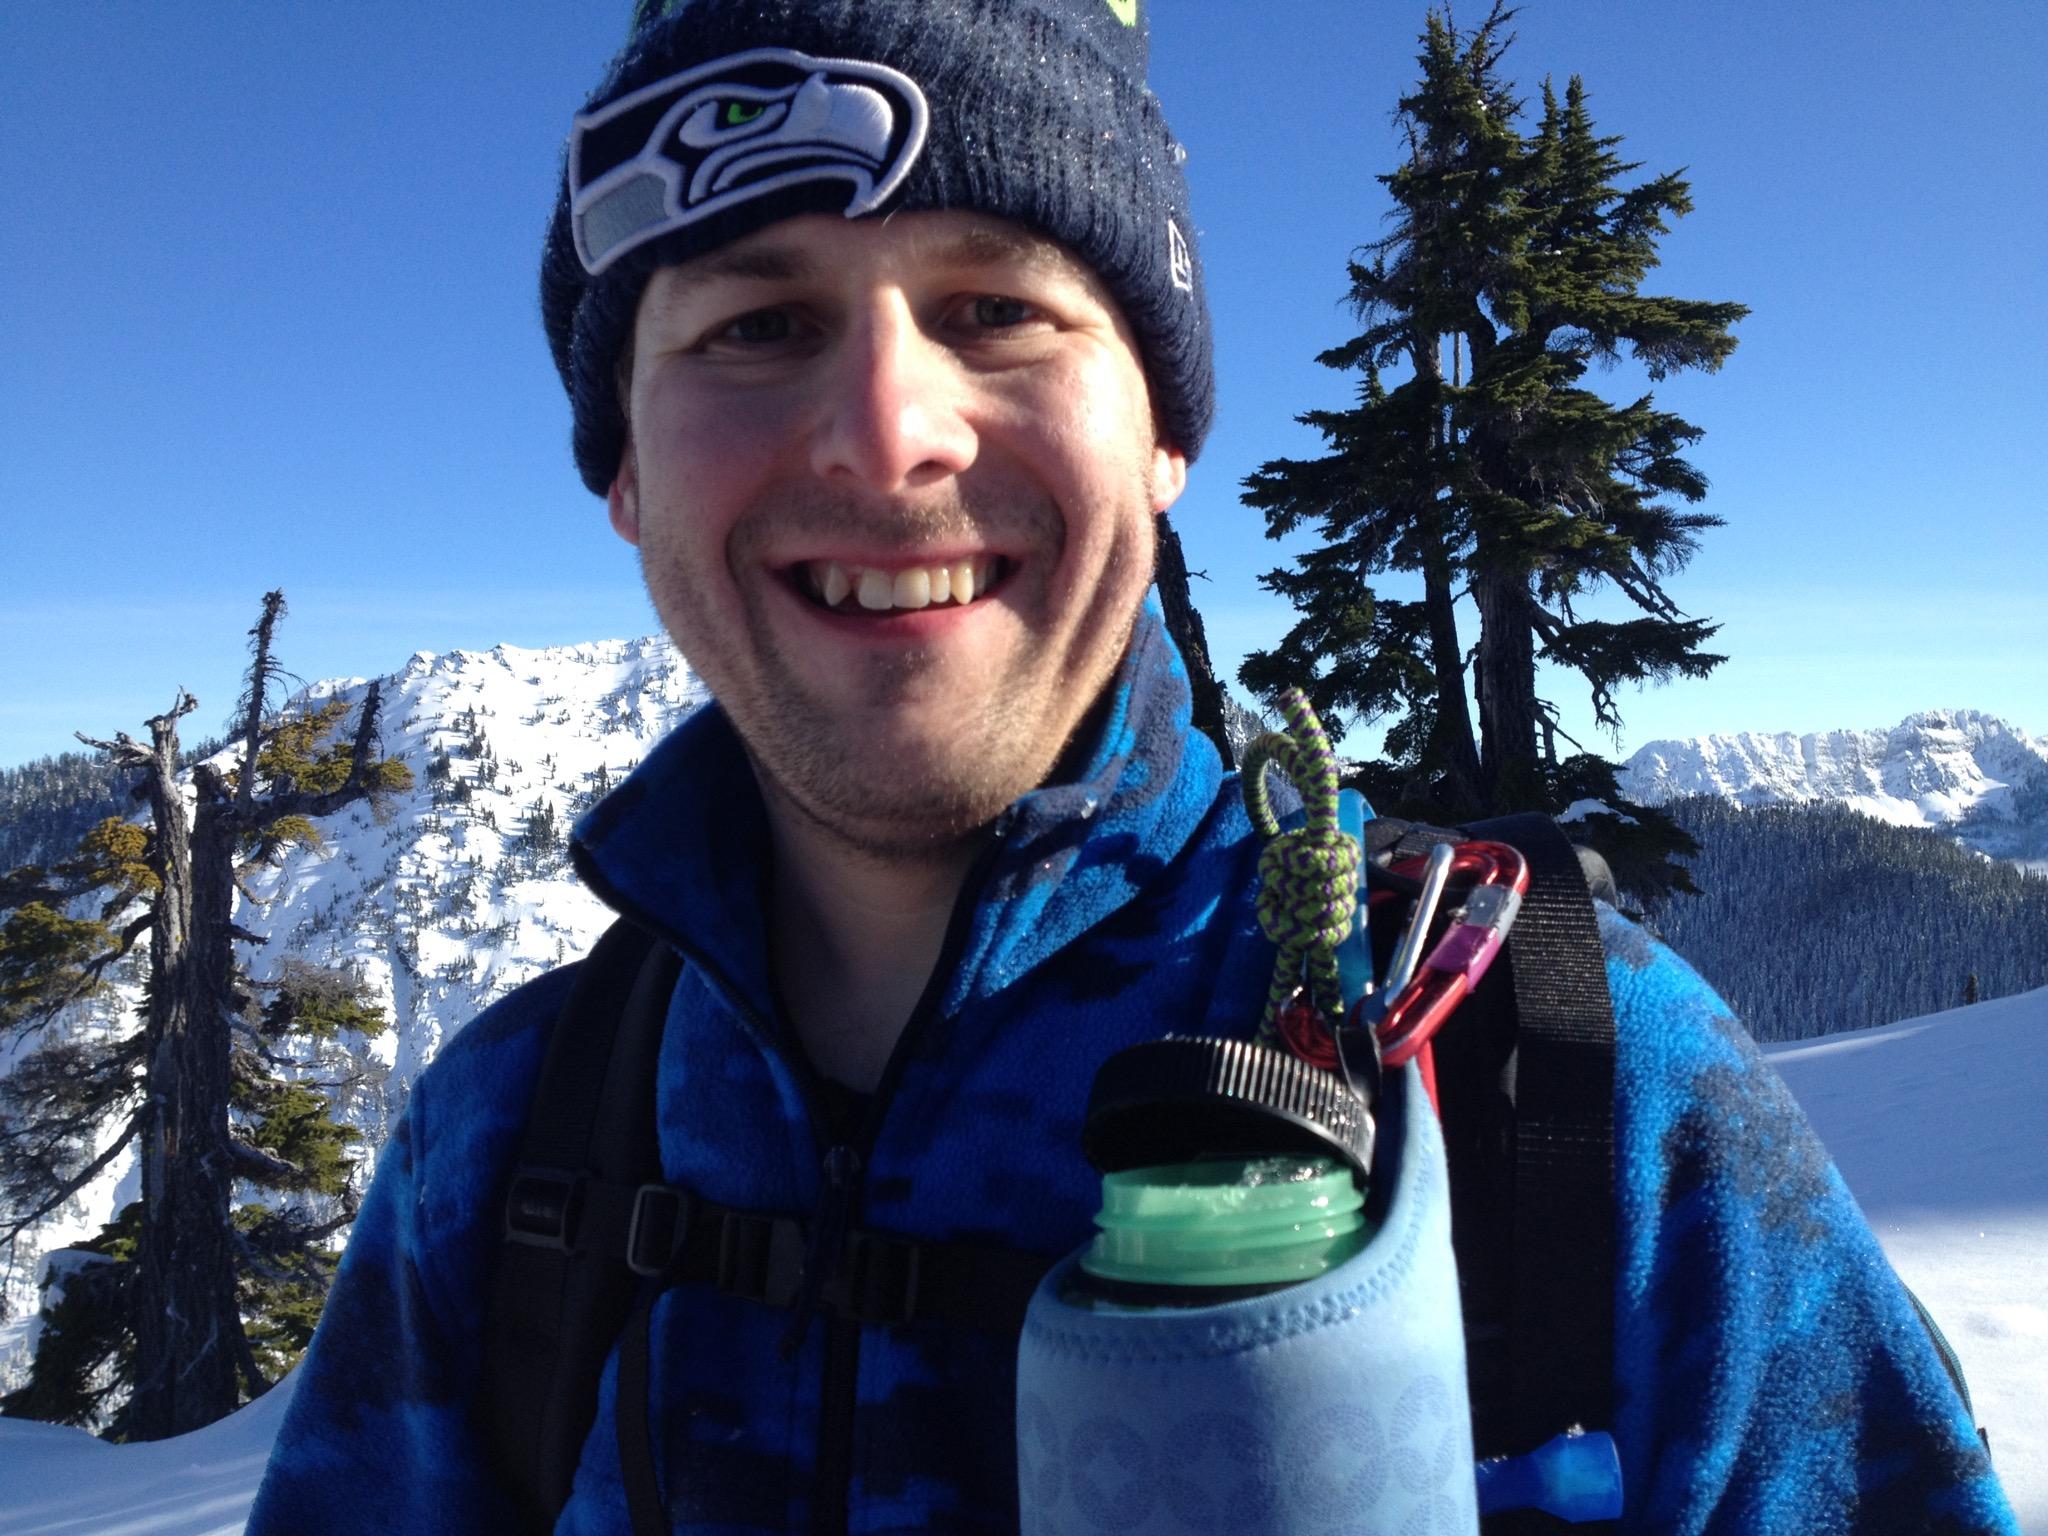
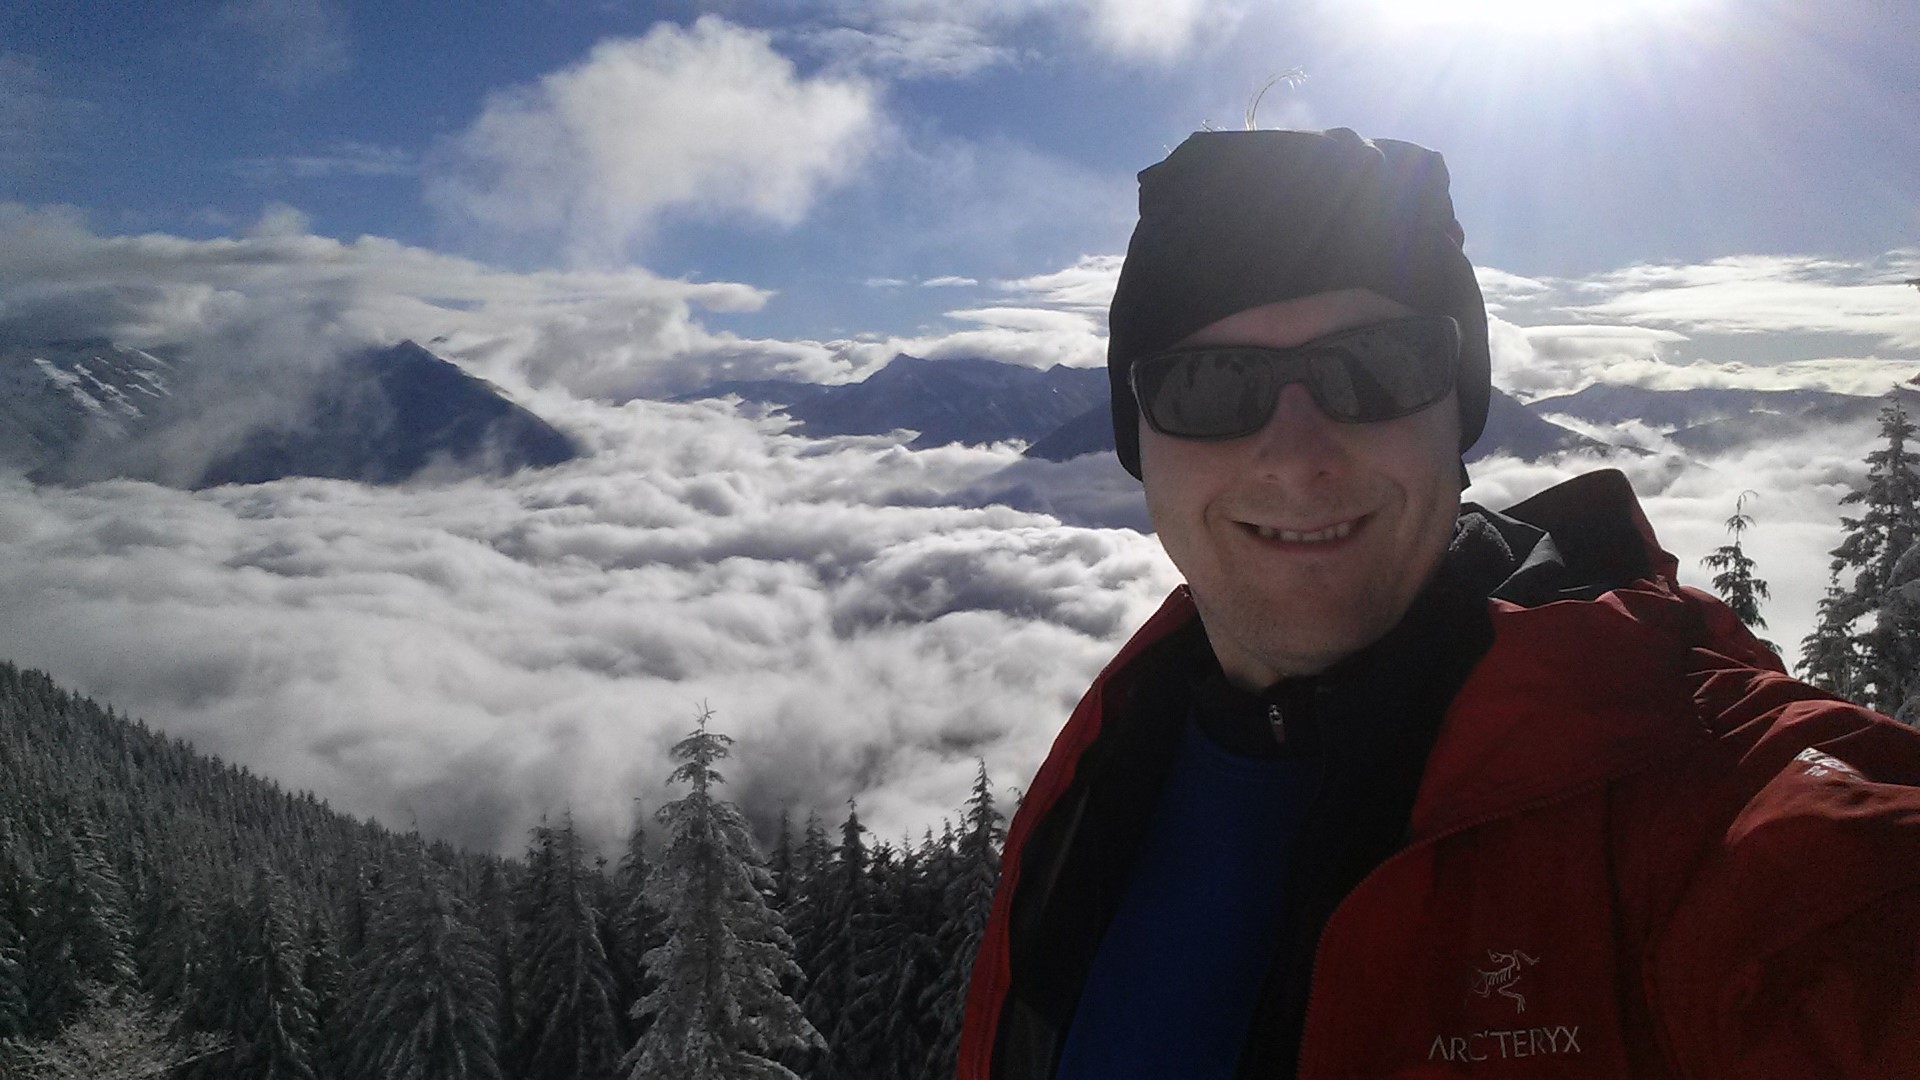
I made it to the summit too!
After coming down from the summit, about to have a bite.
Jenny, about to descend the crux.
All smiles. I knew the crux wouldn’t be too bad (contrary to the the snowshoe descent).
At the end of 2016, I had a 2017 Toyota Corolla loaner car while my own 2011 Toyota Camry was being repaired (a damaged wheel speed sensor from getting stuck in deep snow, which rendered ABS and traction control inoperable).
The 2017 Corolla had a lot more gadgets than my own car. Most significantly, it was equipped with adaptive cruise control, lane departure warning, Bluetooth calling and text-to-speech messaging, and voice control.
I didn’t do much highway driving, but I could see that the adaptive cruise control would be useful. In city traffic, or even on Seattle’s congested freeways, it wasn’t that useful: Many times, a car merged in ahead of me, because the distance was relatively large, and then the cruise control slowed down. But at longer distances, in the country, I think it would work well.
Lane departure warning was also interesting. IT could beep at the driver or even steer a little to stay within the lane. In city traffic, again, though, I often found it a little over-reactive. And often it didn’t pick up the lanes in the city, because they were faded, or the curb was a little far away, or there was a raised median. But again, I think on freeways it would probably be useful.
I did like the Bluetooth integration. The car had all my contacts on my phone, the call history, and I could even dial by voice. It also asked me if I wanted text messages read out aloud. One of the possible ring tones included saying the caller name, if it was in the contacts list. Very useful.
Voice control, on the other hand, aside from making calls, seemed pretty useless, though. And the voice recognition was far worse than that of Alexa in Amazon Echo devices.
The Corolla was also much louder, the engine jerkier, and the controls less intuitive than those of my 2011 Camry. I will never understand, for example, why people choose up/down controls for temperature or fan speed, with a numeric display. Knobs you can turn are so much faster and simpler to use while driving, without looking. And that’s important in a car.
All in all, I’m very glad that I have my old car back now.
Yesterday, on December 30, we were kicked out of work because we were moved from one building to another. Forced day off. I took the opportunity to complete hike number 40 of the year. Unfortunately, Jenny couldn’t get the day off from work, and I had to go by myself.
The avalanche forecast predicted considerable danger, which limited my choices a bit. I also didn’t want to stay out for too long, since we had planned to have a friend over in the evening.
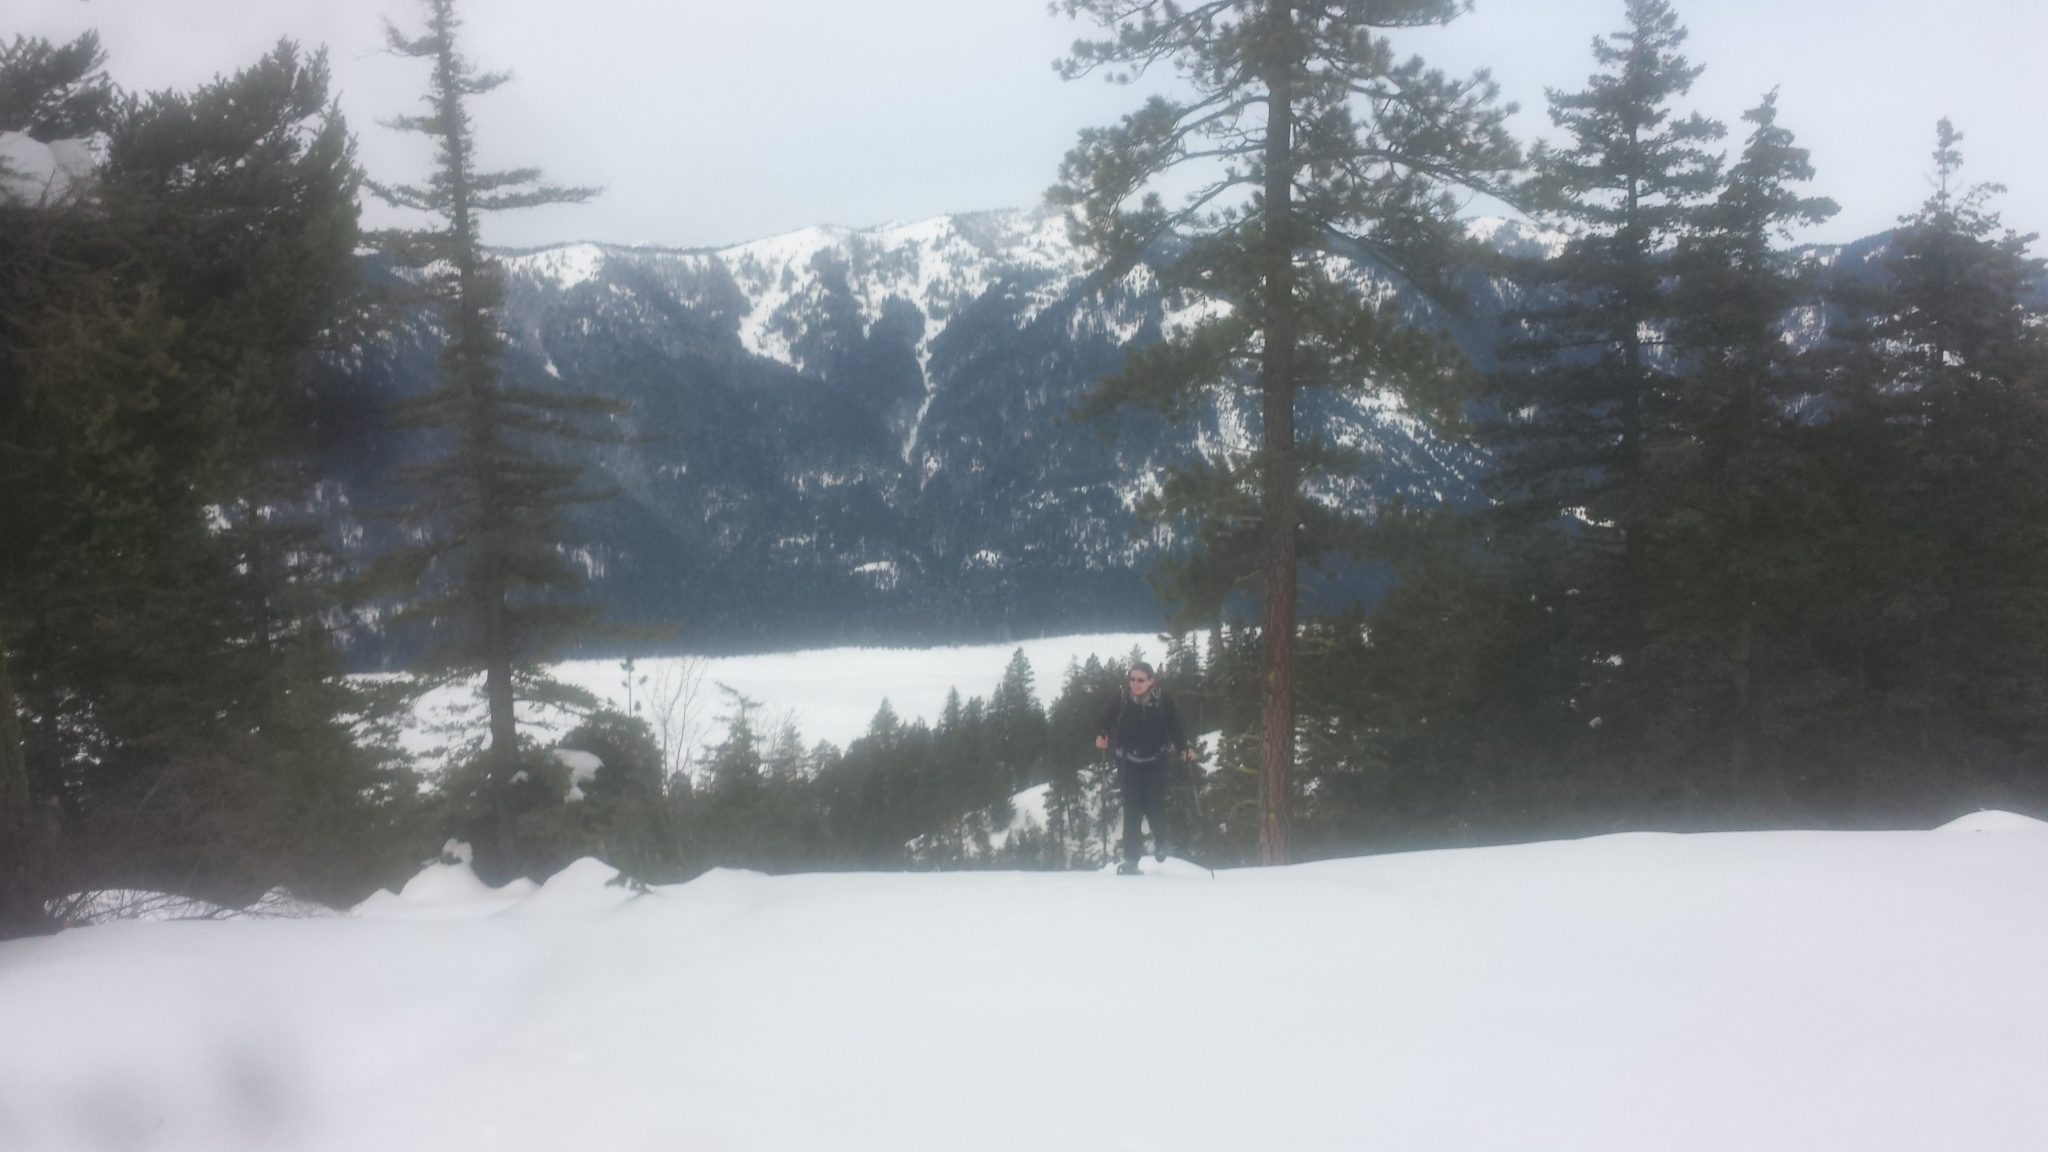
I therefore defaulted to Mount Si, the old Mountaineers treadmill. But it was a gorgeous day. Starting at about 1.6 miles, there was snow. I don’t have microspikes, only full crampons, and that seemed like overkill, so I moved a bit more cautiously just in my boots. Mount Teneriffe and a very snowy Mailbox Peak showed off their beauty.
I’m quite happy that I made it to 40 hikes this year. That’s 12 more than in 2015, and 2015 was my most active year before.
I still have a Samsung Galaxy S4. It’s old and slow, the (second) battery is bad, and the magnetometer is probably completely broken, but at least it doesn’t explode. And it’s paid off.
For the last few months, however, I’ve had the problem that the Galaxy S4 “forgets” that it has a SIM card inserted, necessitating a reboot. This got so bad that it only lasted a few minutes between reboots. Heat and movement seemed to make it worse.
I tried something similar to what was suggested in this blog post: i wedged a folded up sticky note between the phone, just above the battery, and the back. My case holds it nicely in place.
I don’t want to jinx it, but in the last five days, my phone hasn’t crashed. After fixing the USB connector, yet another win over planned obsolescence!